sandman2211

joined 1 year ago
MODERATOR OF
diy
[–] sandman2211 5 points 1 month ago

Kessler Syndrome, here we come!

[–] sandman2211 3 points 1 month ago

Looks solid!

[–] sandman2211 3 points 4 months ago (1 children)

Do you have any IoT devices chewing up a lot more bandwidth than they should be?

[–] sandman2211 1 points 4 months ago (1 children)

The factory reset idea is mostly to clear out any unauthorized customization that may have been made. If you can confirm that hasn't happened then it wouldn't be necessary. I have a router that's not supported by my ISP so I feel your pain. Fortunately I only had to figure out how to tag a particular vlan on the WAN to get it working and someone else had posted a guide that got me most of the way there.

[–] sandman2211 3 points 4 months ago (5 children)

Can you get into your router's admin interface? At the very least assuming you don't have much networking experience I'd do these things in this order:

1 - Check for firmware updates and apply them

2 - Factory reset

3 - Change password

4 - Recheck for updates in case the reset wiped them out

There's a million other things you can do to get more info on what's going on and put in security layers to do this and that. But if you just want the maximum results for the minimum effort this is the best place to start.

[–] sandman2211 2 points 11 months ago

Sorry, I've been trying to login at least a couple times a week but haven't seen any notifications that there were new posts. I tried to watch the video but it says the r/DIY community is private. Just based on your description though I was wondering if maybe you need to balance the fan blade. I've had that problem with a few cheap fans and was able to get them to run about 90% more quietly by just eyeballing the blades and bending the one that looked "off" back into place. I think Mattias Wandel has a video somewhere on how to get really scientific about it if you want to get down to zero vibration.

[–] sandman2211 2 points 1 year ago

Thanks! They only use it for paper, cardboard, and really thin boards, like less than 1/8". Sheet metal would definitely have a sharp edge and the little crescent moon chips it makes would be absolute hell if they ever were to get spilled in the carpet or lawn.

[–] sandman2211 2 points 1 year ago

Sounds like you're looking for boots, not shoes. I hear you, I hate how I can rarely find a good pair of shoes and then when I finally do, they wear out in 1-2 years and anything remotely similar to them has been discontinued. I hate walking through a snowbank in winter and having it get wedged around my ankles. I hate stepping in a puddle and it turns out it's deeper than expected and your feet get soaked. Fuck shoes.

Several years ago I got a pair of Redwing 4473 boots with the zipper insert (I'm too lazy to mess with all those laces) and they're still my primary work boots. I just had them resoled for the 2nd time and they're in excellent shape again. Awhile back I realized that they were by far the most durable, comfortable, and all around best pieces of footwear I've ever worn in my life despite a complete absence of cushioning, gel insoles, foam padding, etc. So I ditched shoes altogether and just wear work boots that can be resoled. I just don't wear the nicer pair when I'm painting, digging, mowing, etc.

They don't make the 4473 anymore and I heard the overall quality has gone downhill but I think you still need to research the individual boot model as much as the maker because some are winners and others are lemons. For my nice not-work boots I'm trying out the Solovair crazy horse gaucho 11 eye derby boot. A local cobbler installed a side zip on them for me for $70 because again, I'm lazy and don't like to screw with boot laces. I won't know whether they're worth it or not for a few more years but I like how they look and they've been comfy enough so far. Pair some good leather goodyear welted boots that are properly broken in with a pair of wool Darn Tough socks and you'll never go back.

[–] sandman2211 2 points 1 year ago

Thanks! They're not quite as convenient to move around as those foldable lawnchair things everyone uses but they're far more comfortable.

[–] sandman2211 2 points 1 year ago

I added a sink to it over the weekend, now there's a place to rinse out paintbrushes and wash hands. It's hooked up to a garden hose, so there's no hot water. There's a twist timer at the end of the hose so it will shut the water off automatically after 2 hours in case the 3 year old leaves the sink running. The drain just goes out the back corner and into the lawn. I've been dumping my buckets of paint water in the side yard for several years now and it hasn't killed my grass yet so it should be OK.

It works perfectly! I was able to leave a 6 and 3 year old out there with 50 little paint bottles completely unattended for 45 minutes while I made dinner last night. There's paint all over the place in the playhouse but none got in their hair or in our house so I call that a win.

[–] sandman2211 3 points 1 year ago
 

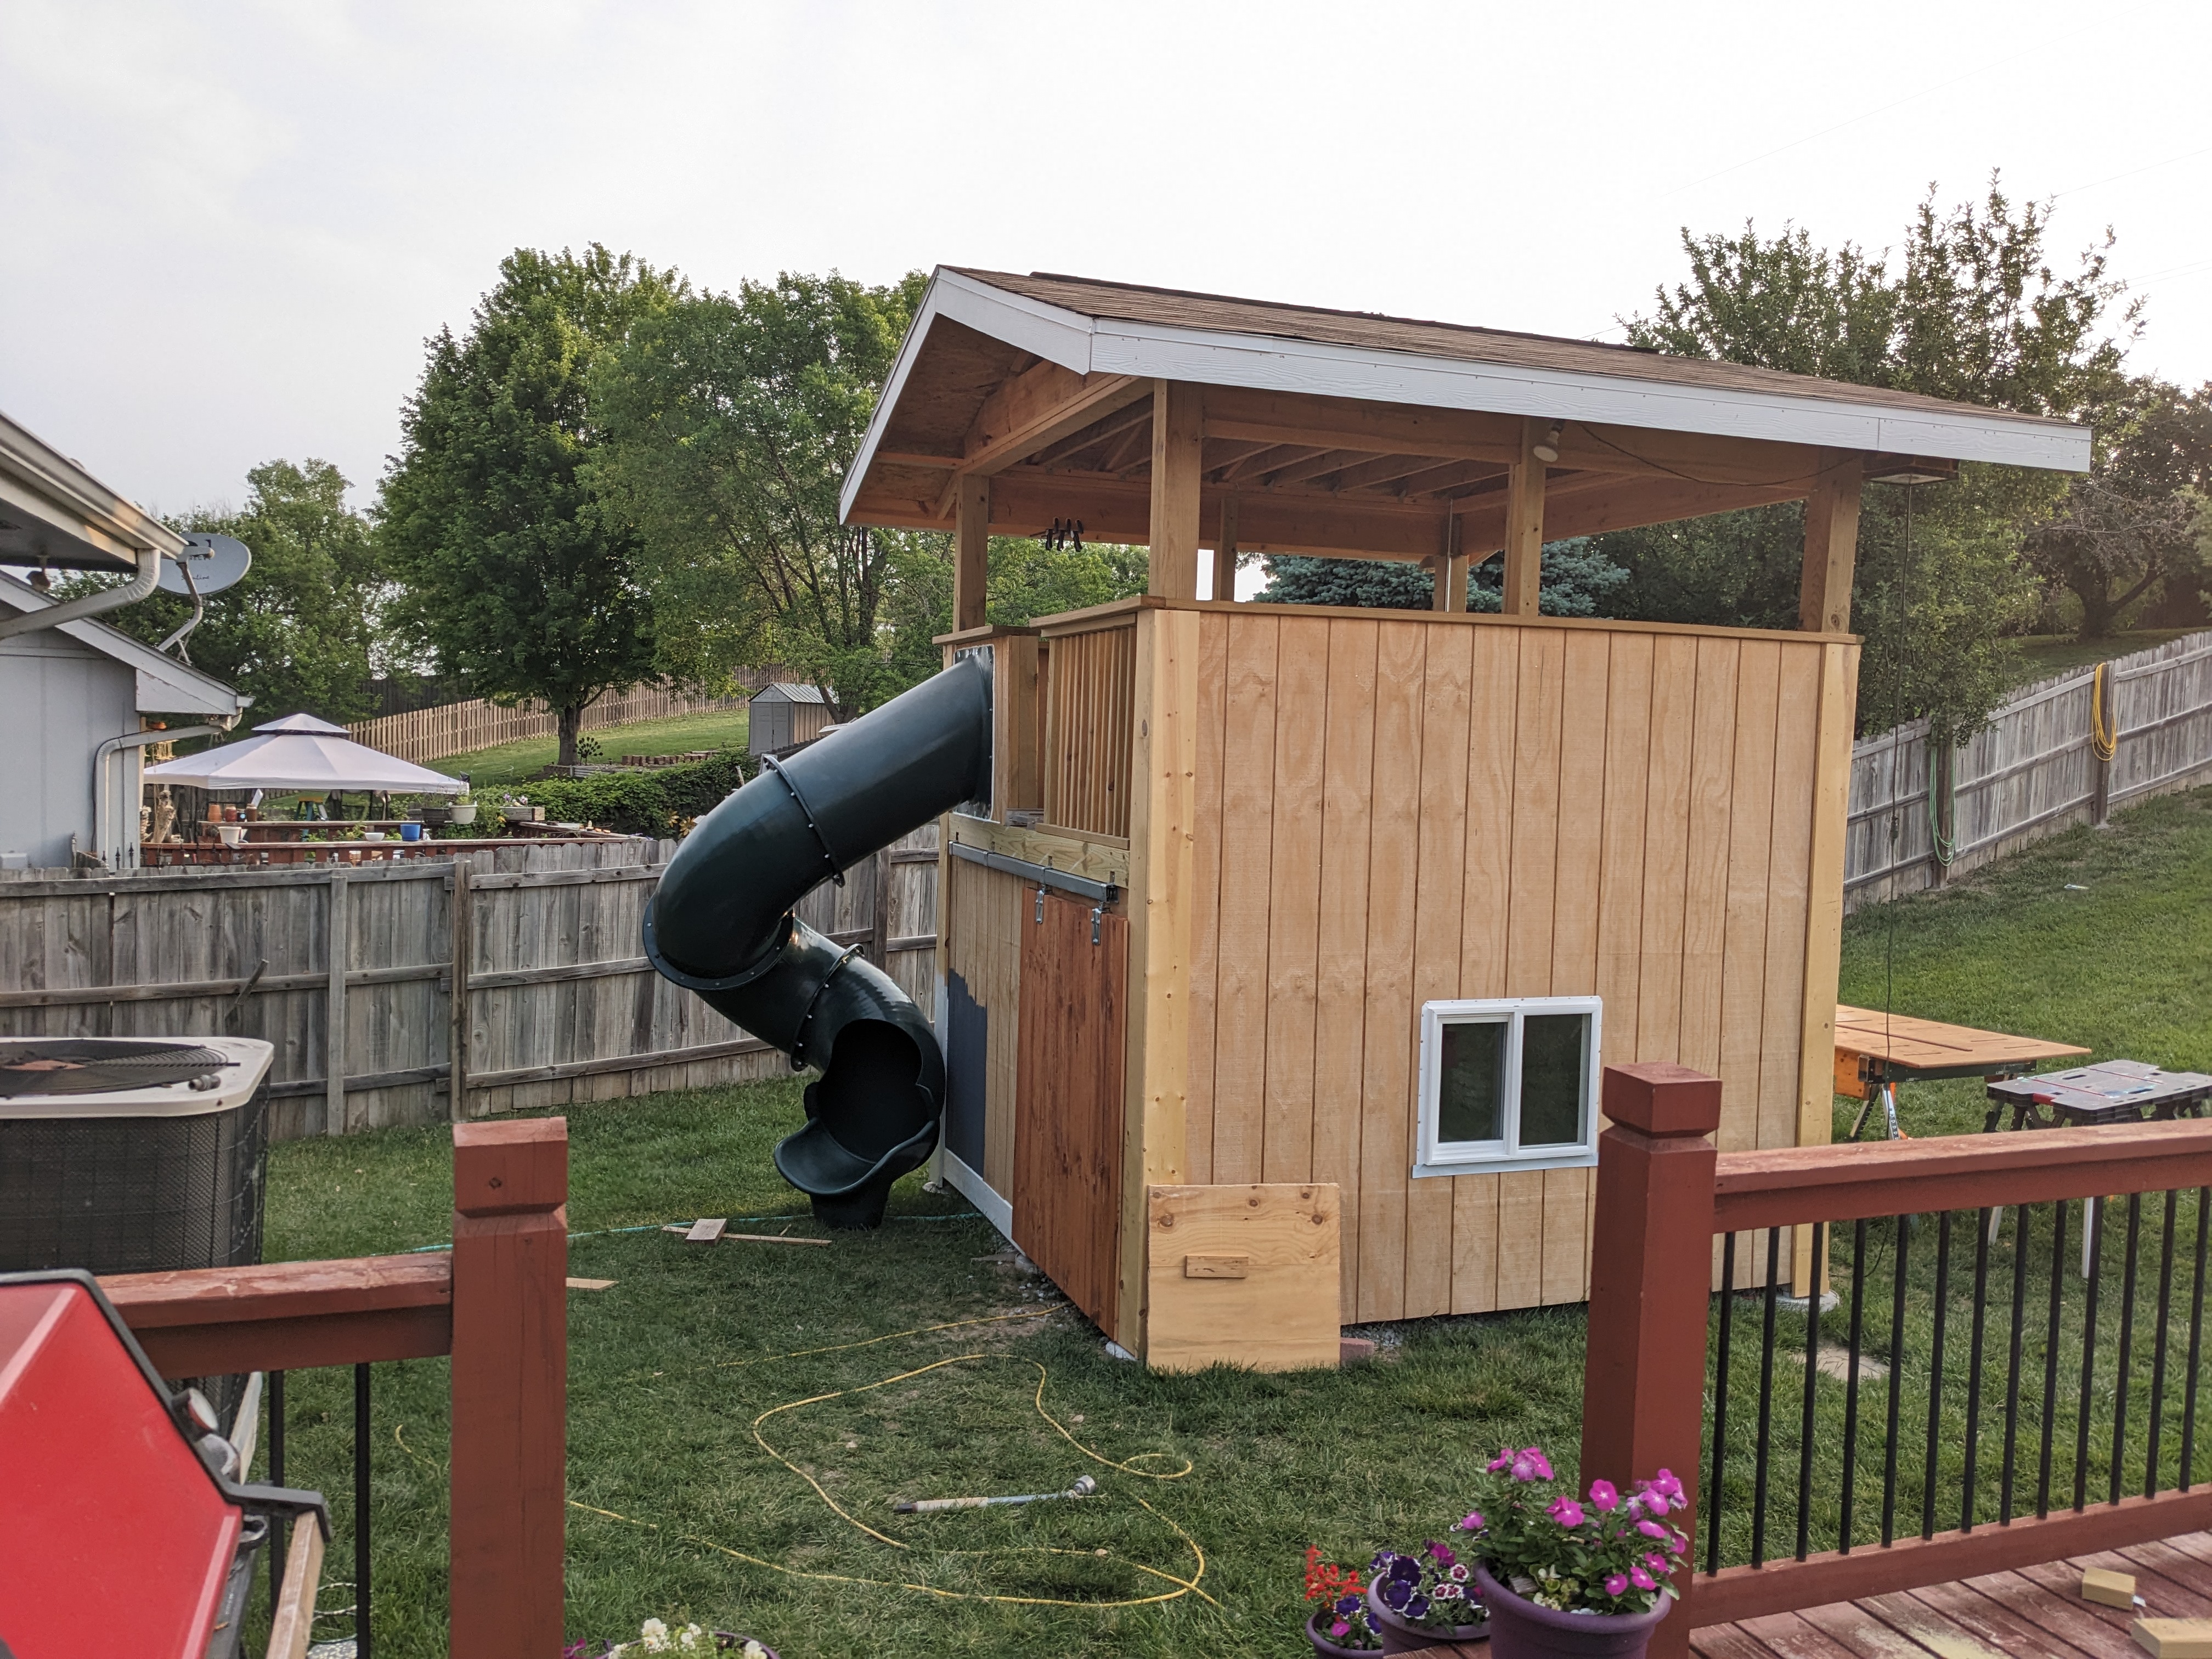
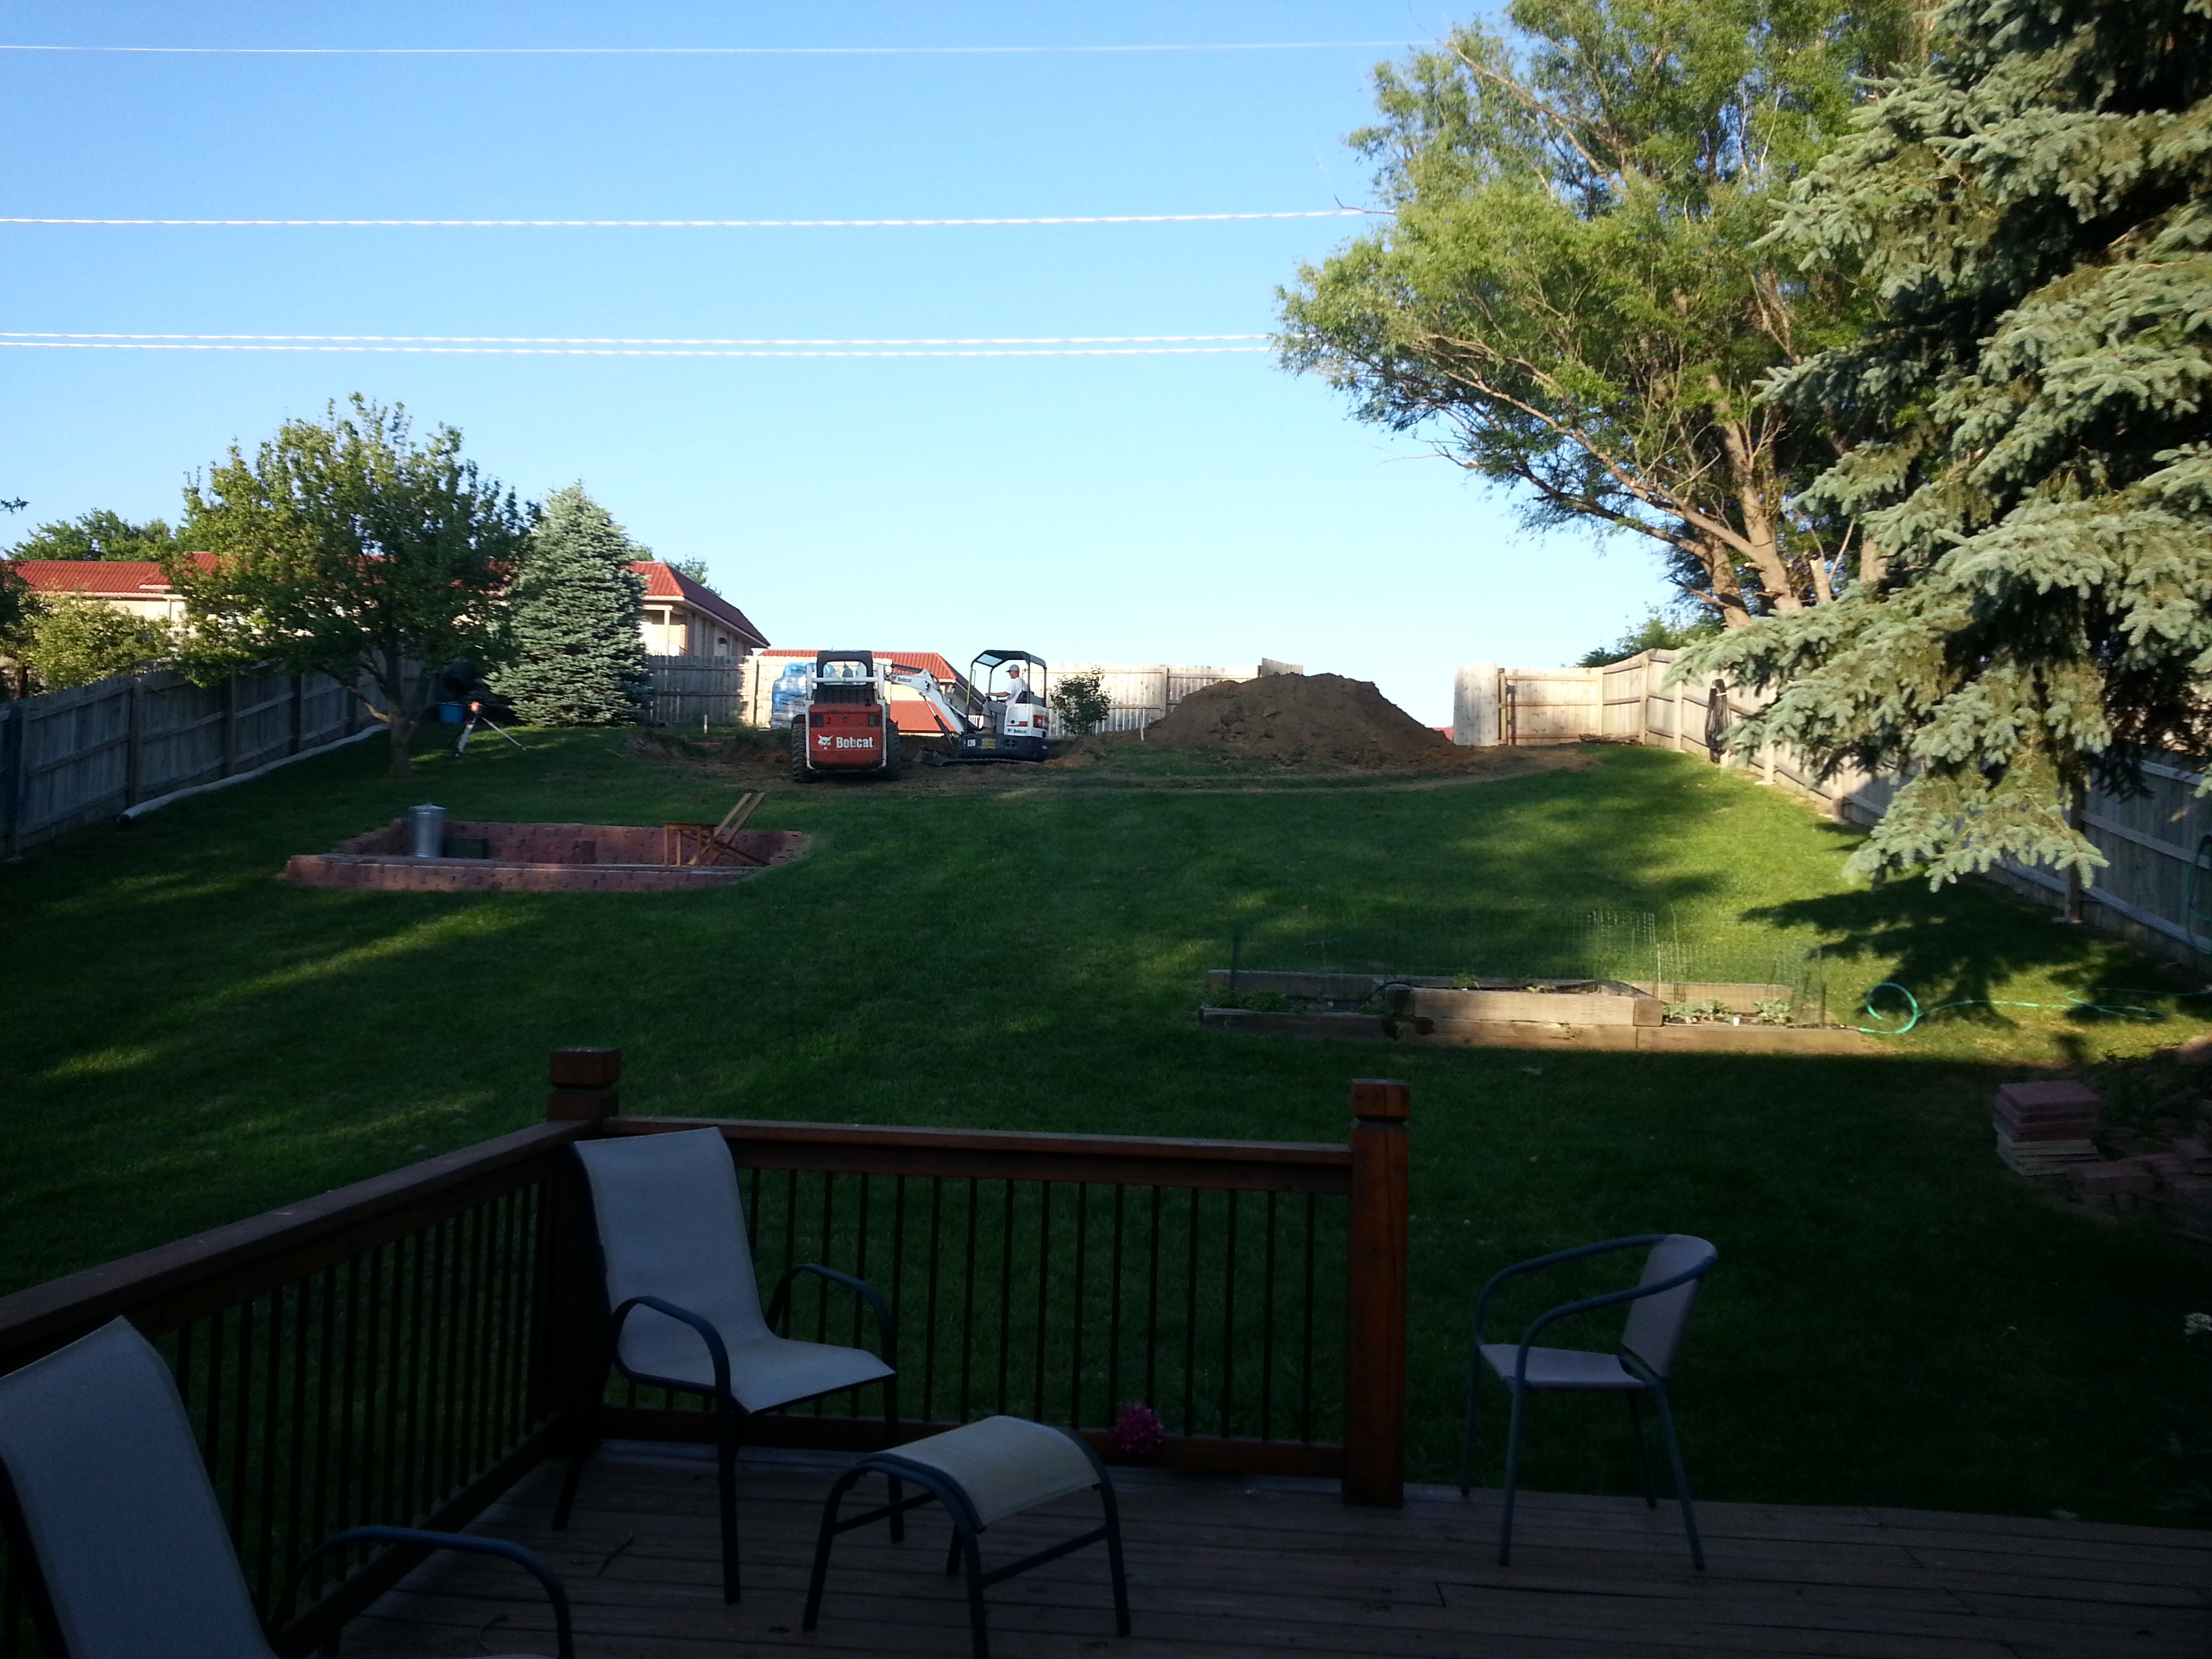
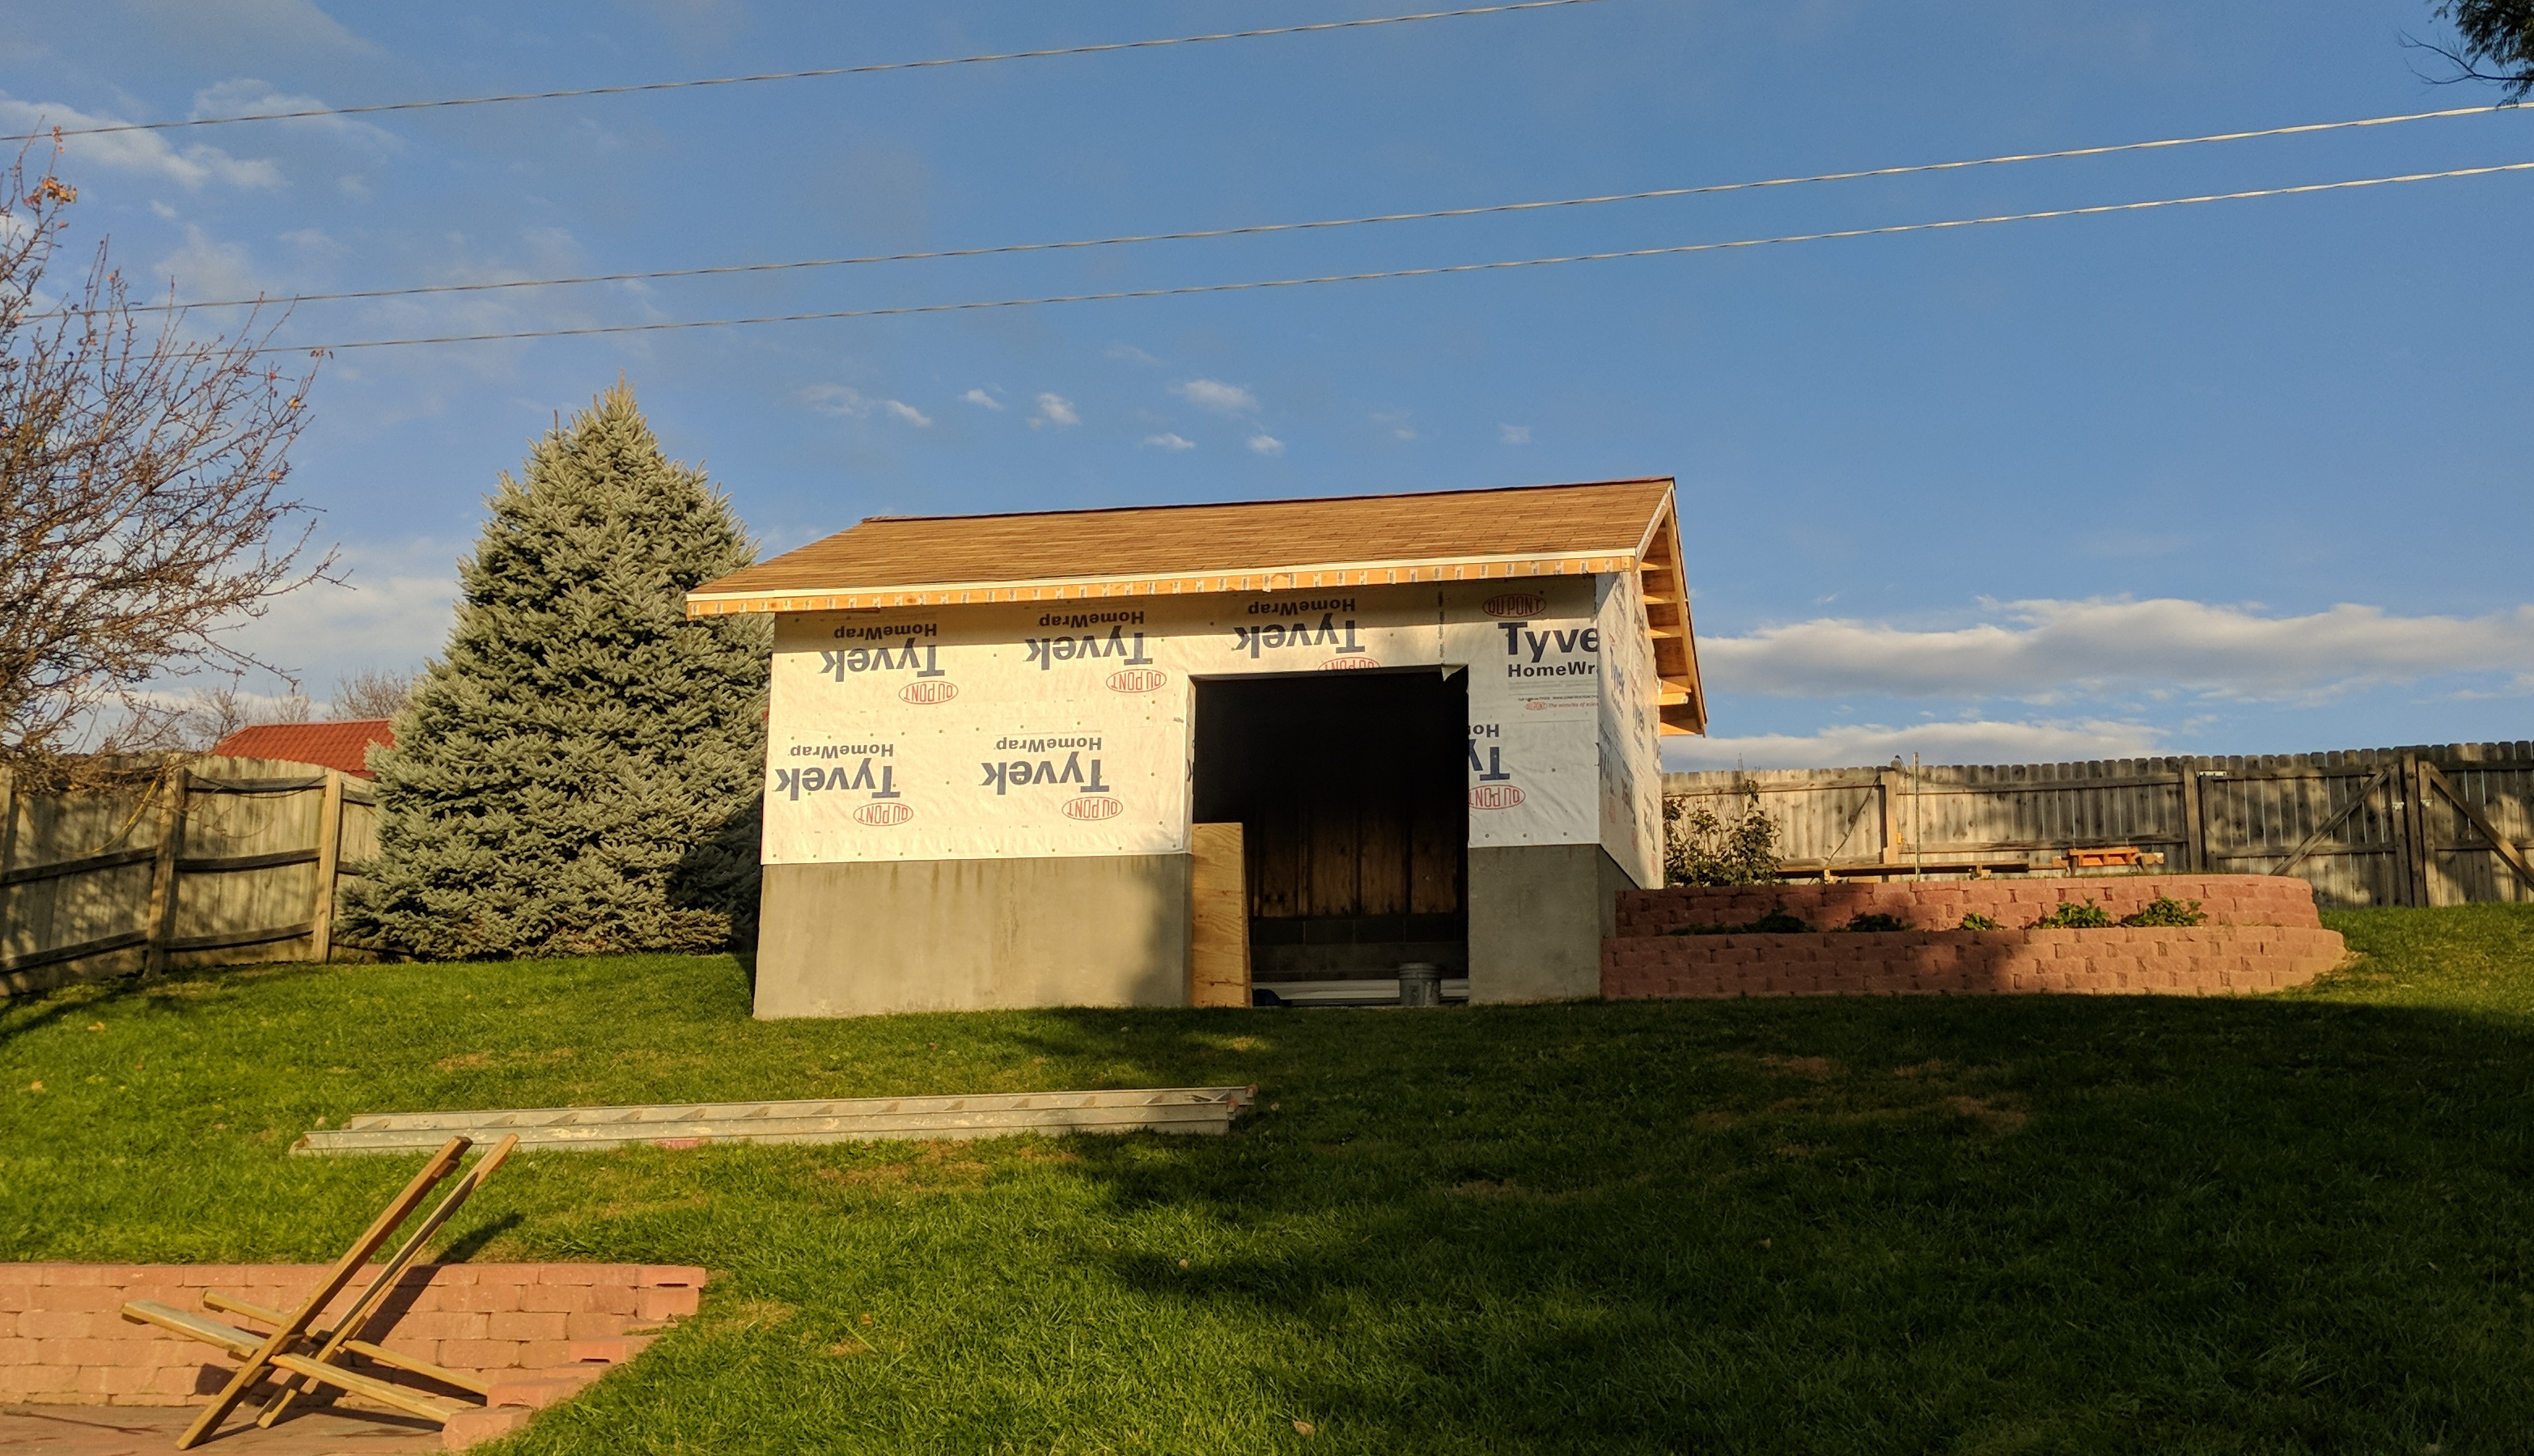
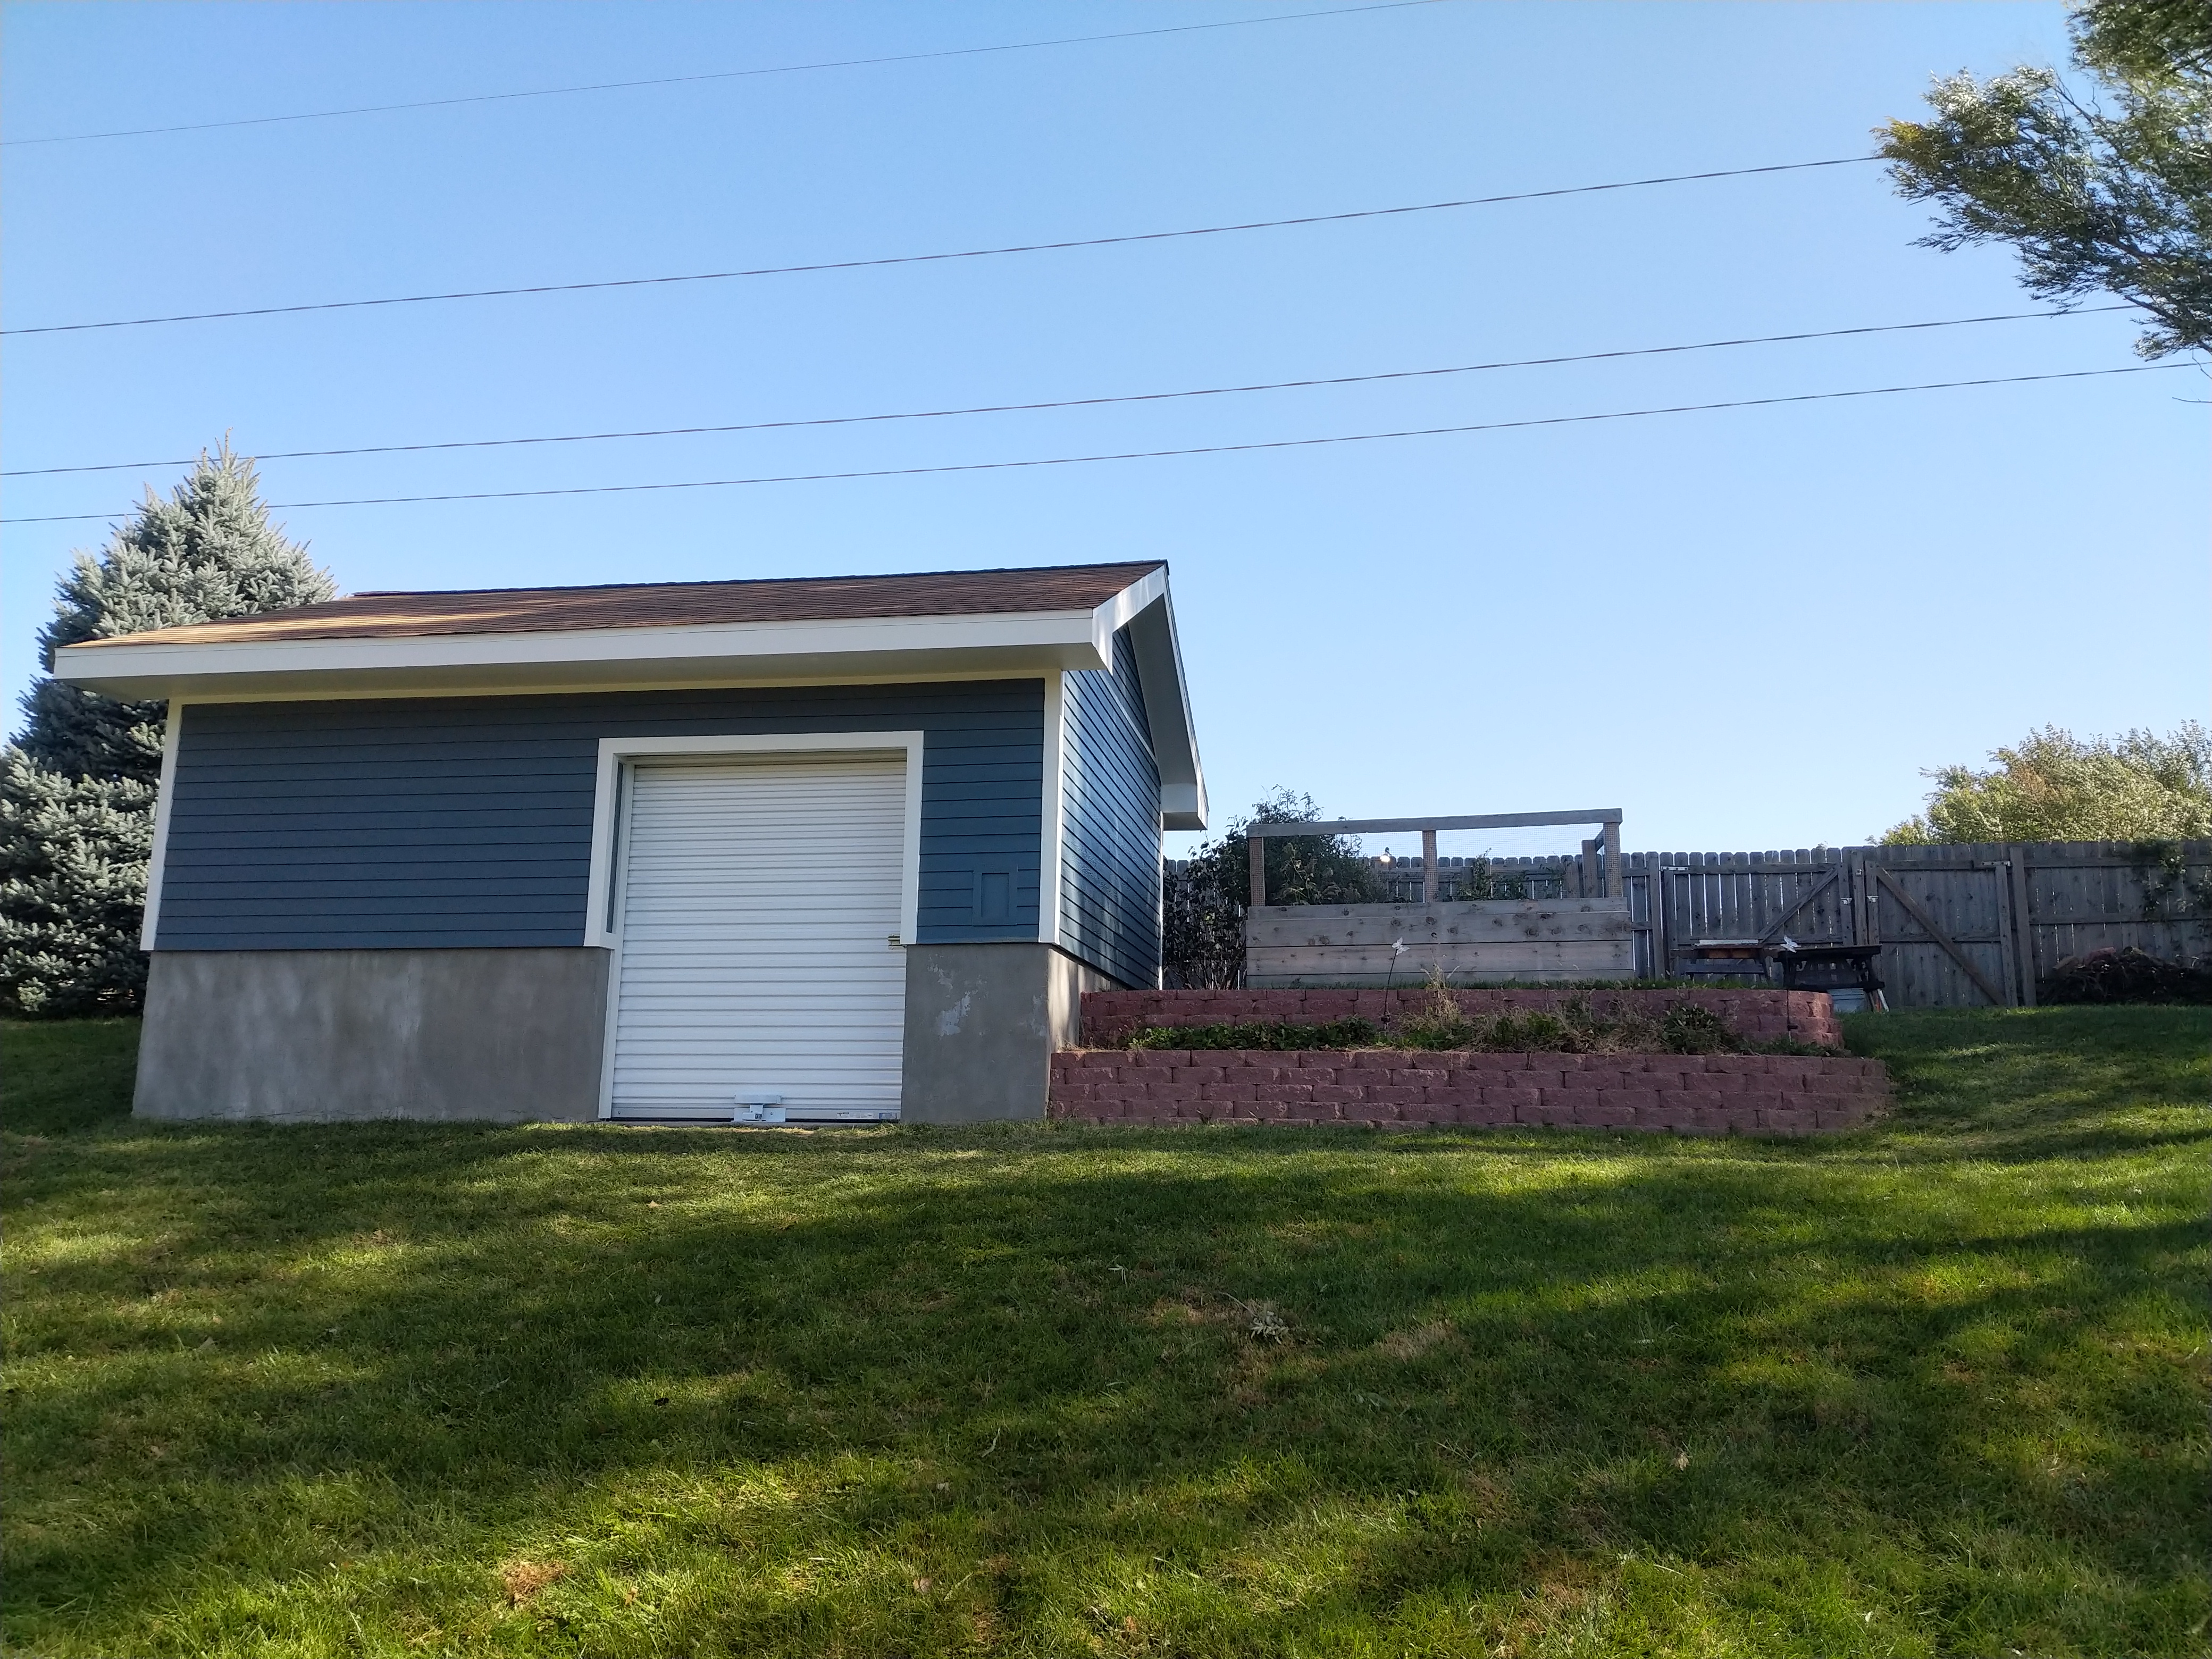
This one is still a work in progress, I'm hoping to have all the finish work done by next month. I probably won't get the lighting and stereo and all that installed until the end of the summer. I'm hoping this can be a hangout spot for them and their friends after they outgrow the slide. The huge roof is kind of the keystone of the whole thing. I've driven past hundreds of backyard playhouses and I've never observed a kid actually playing on one of them. I think a large part of it is because once you're done with the built-in toys, it's just not that fun anymore. Plus it's hot as hell under there, even in the shade. I noticed my covered deck is pretty nice and chill even on a hot day due to having a real roof overhead so I wanted to put the same thing over the playhouse. This thing isn't a play set, it's more of an outdoor space where they can hang out, craft, paint, read, play, build, and have their own place to do their own thing. So far they've been out there almost constantly.

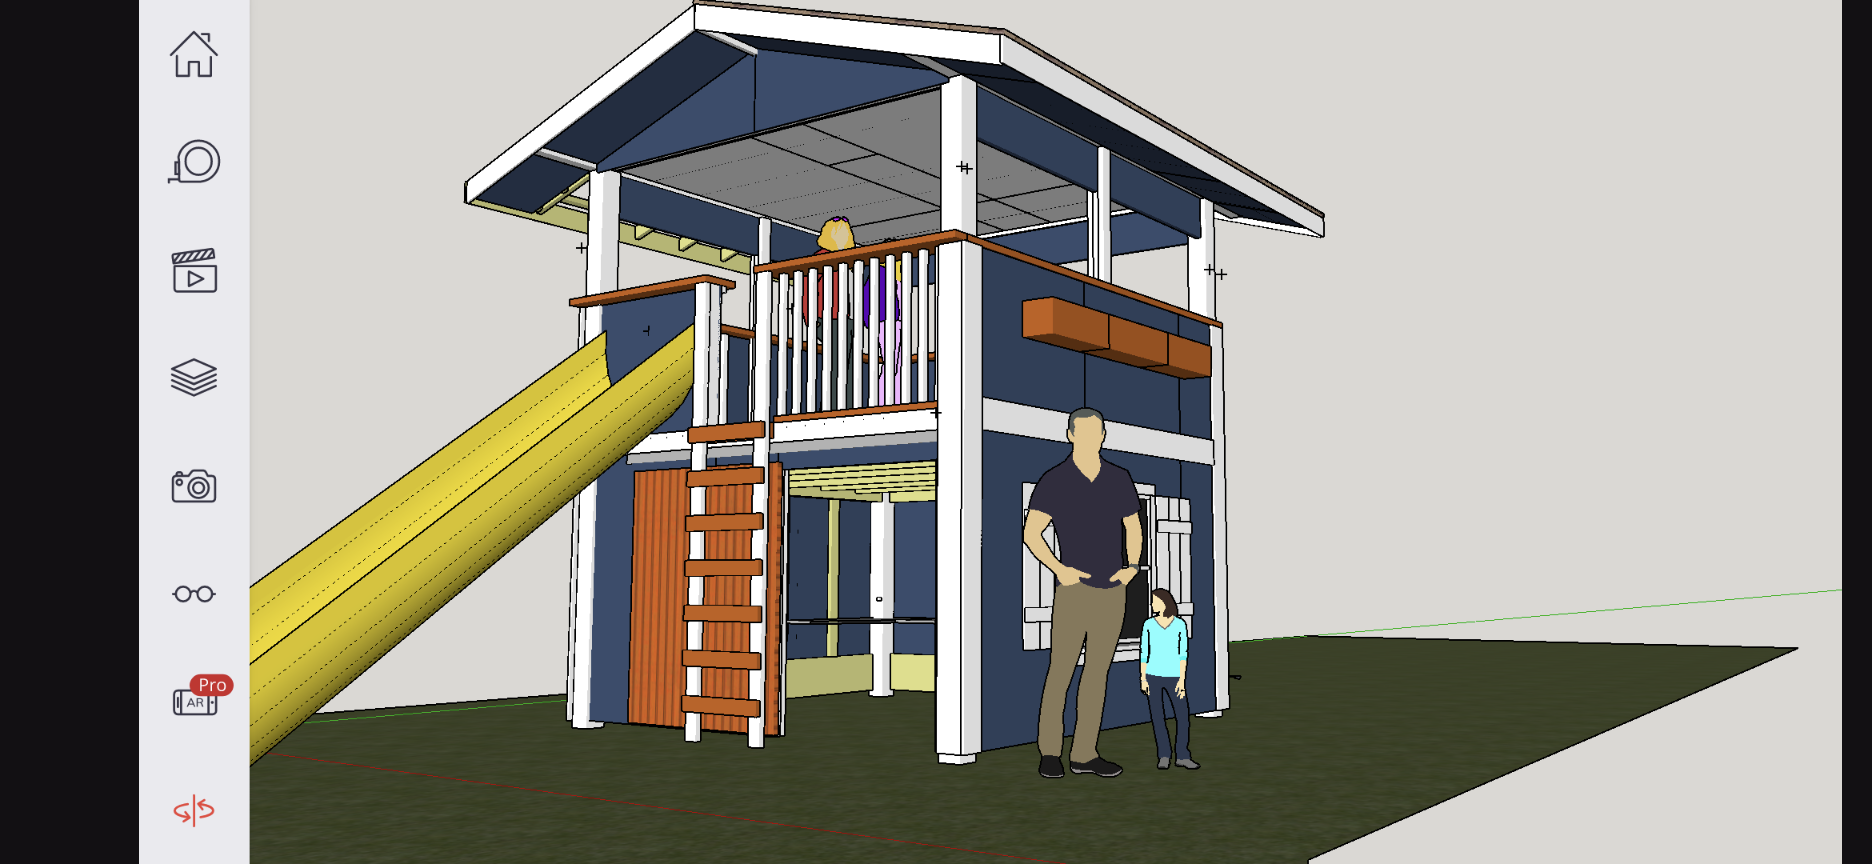
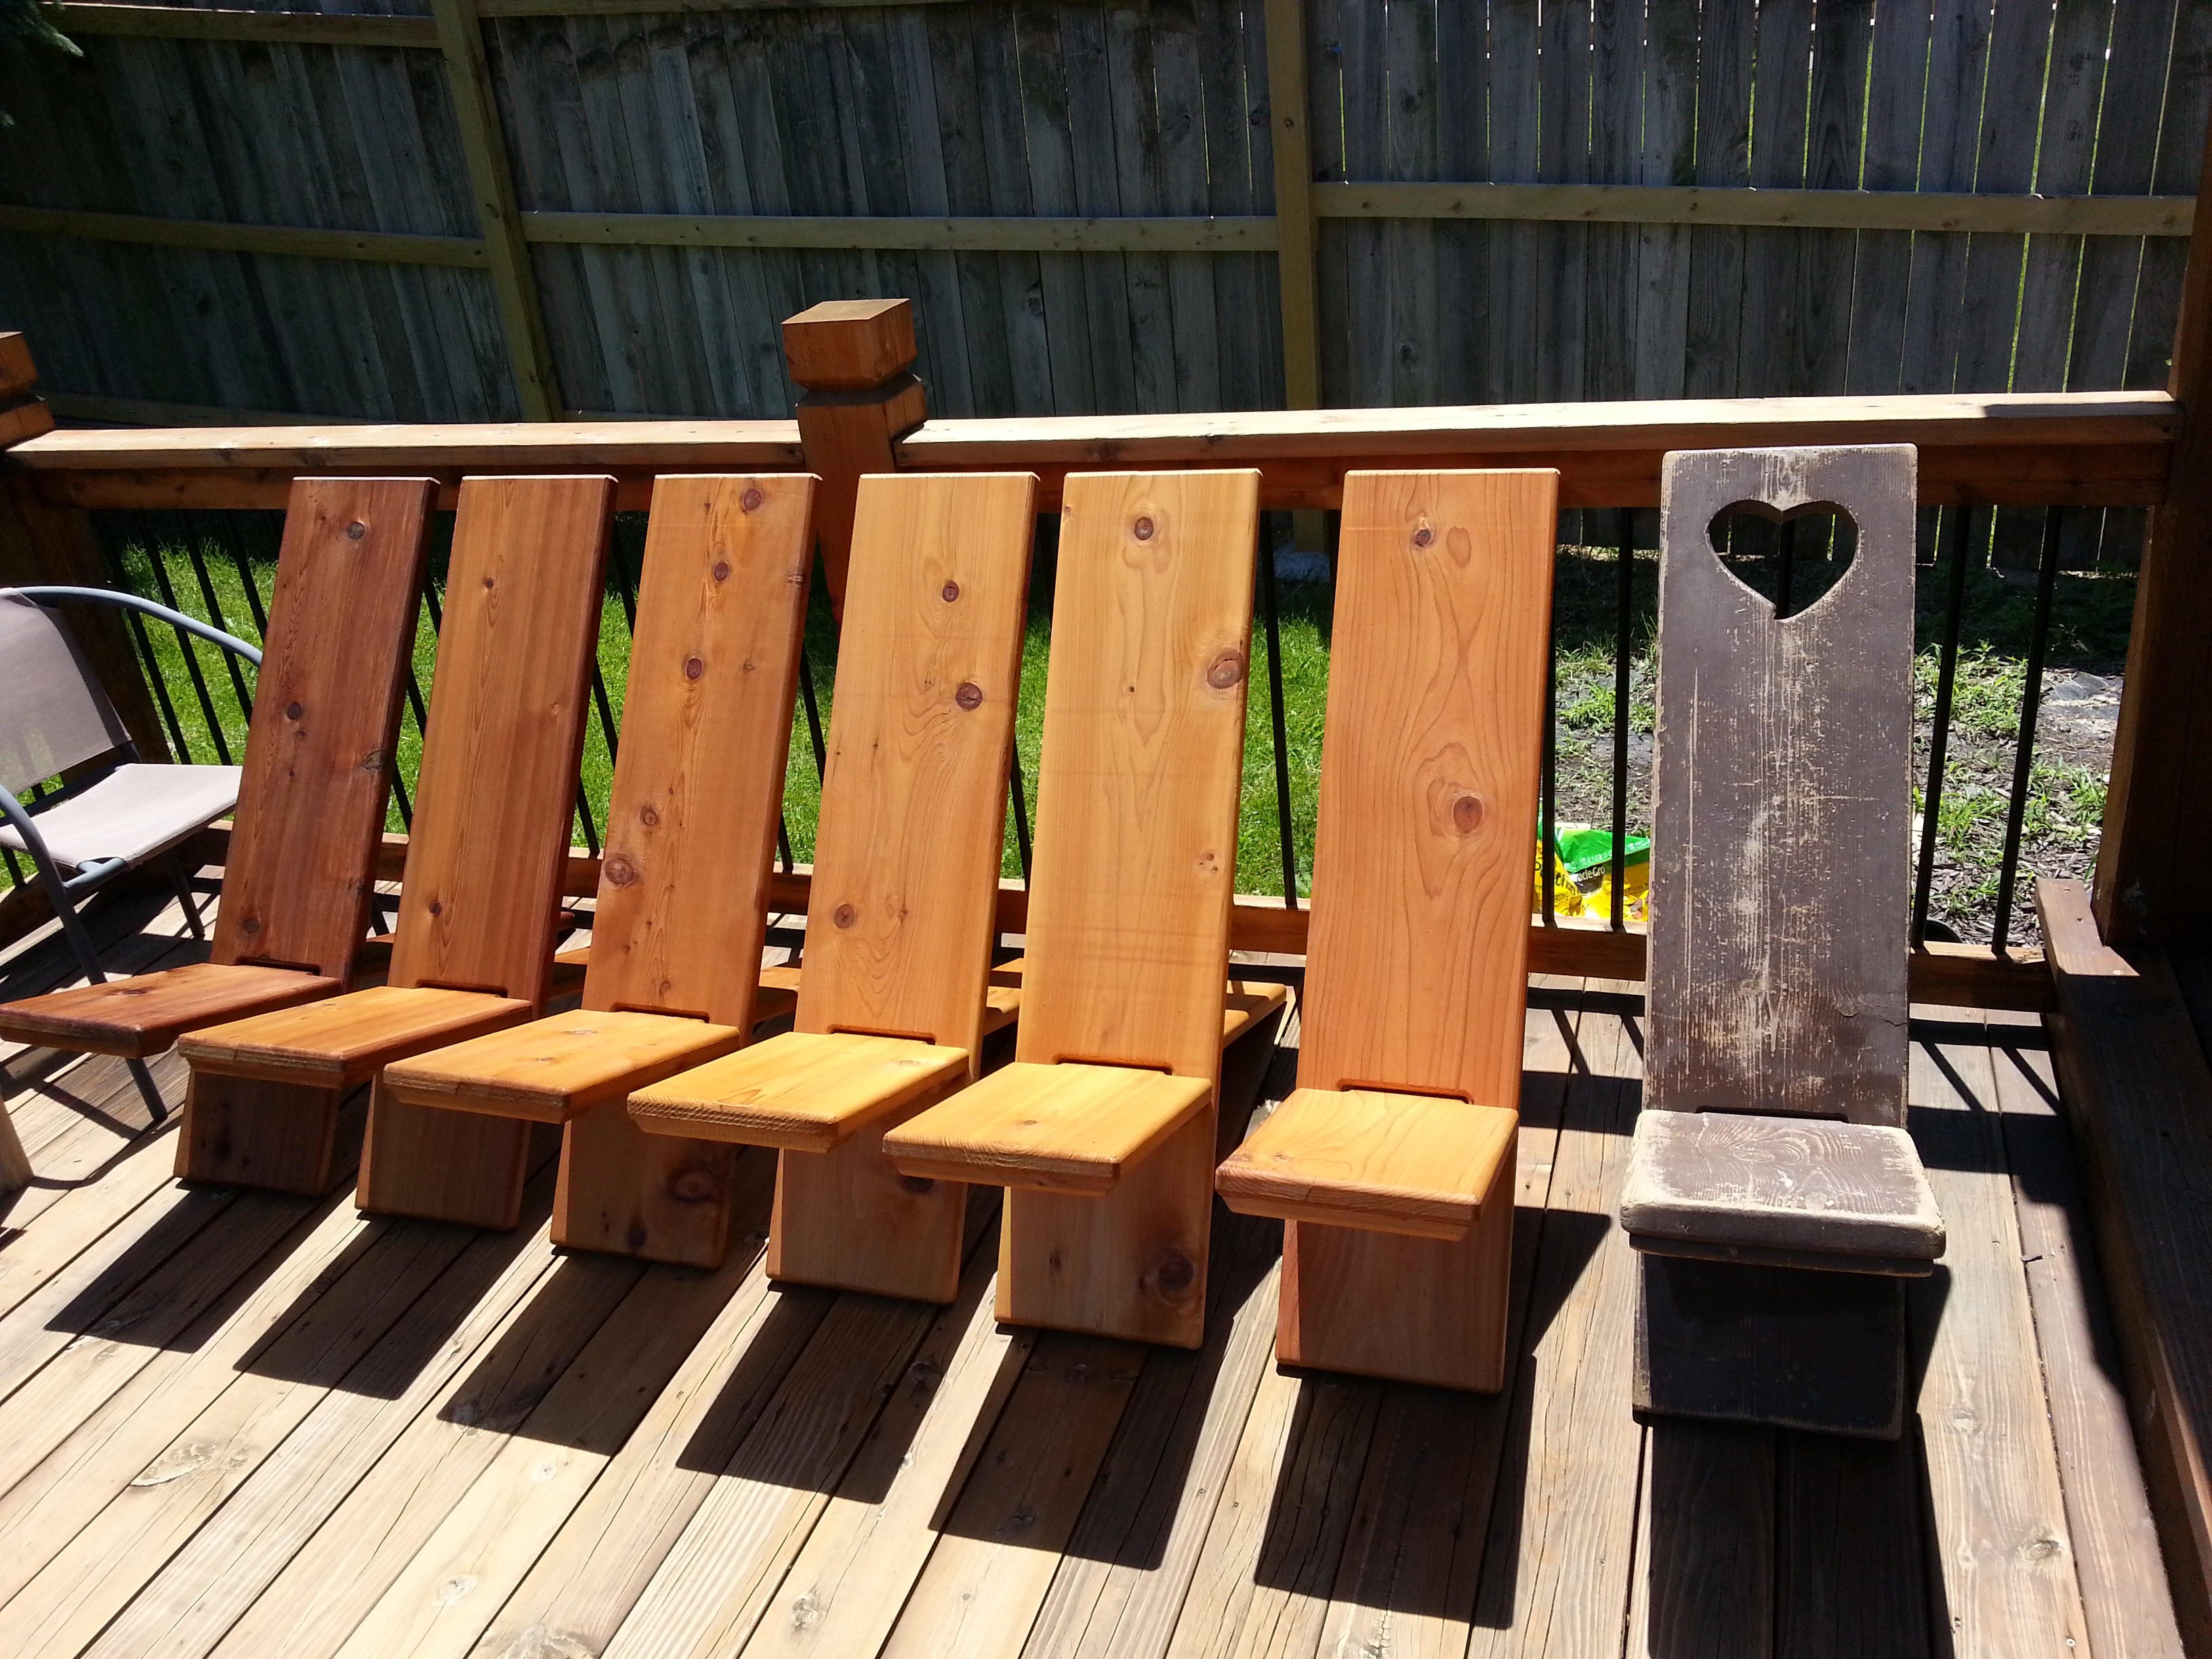
Here's the sketchup model I made. It's my first project using CAD instead of scribbling on notepads and offcuts but it has been extremely helpful and I will definitely be using it again.

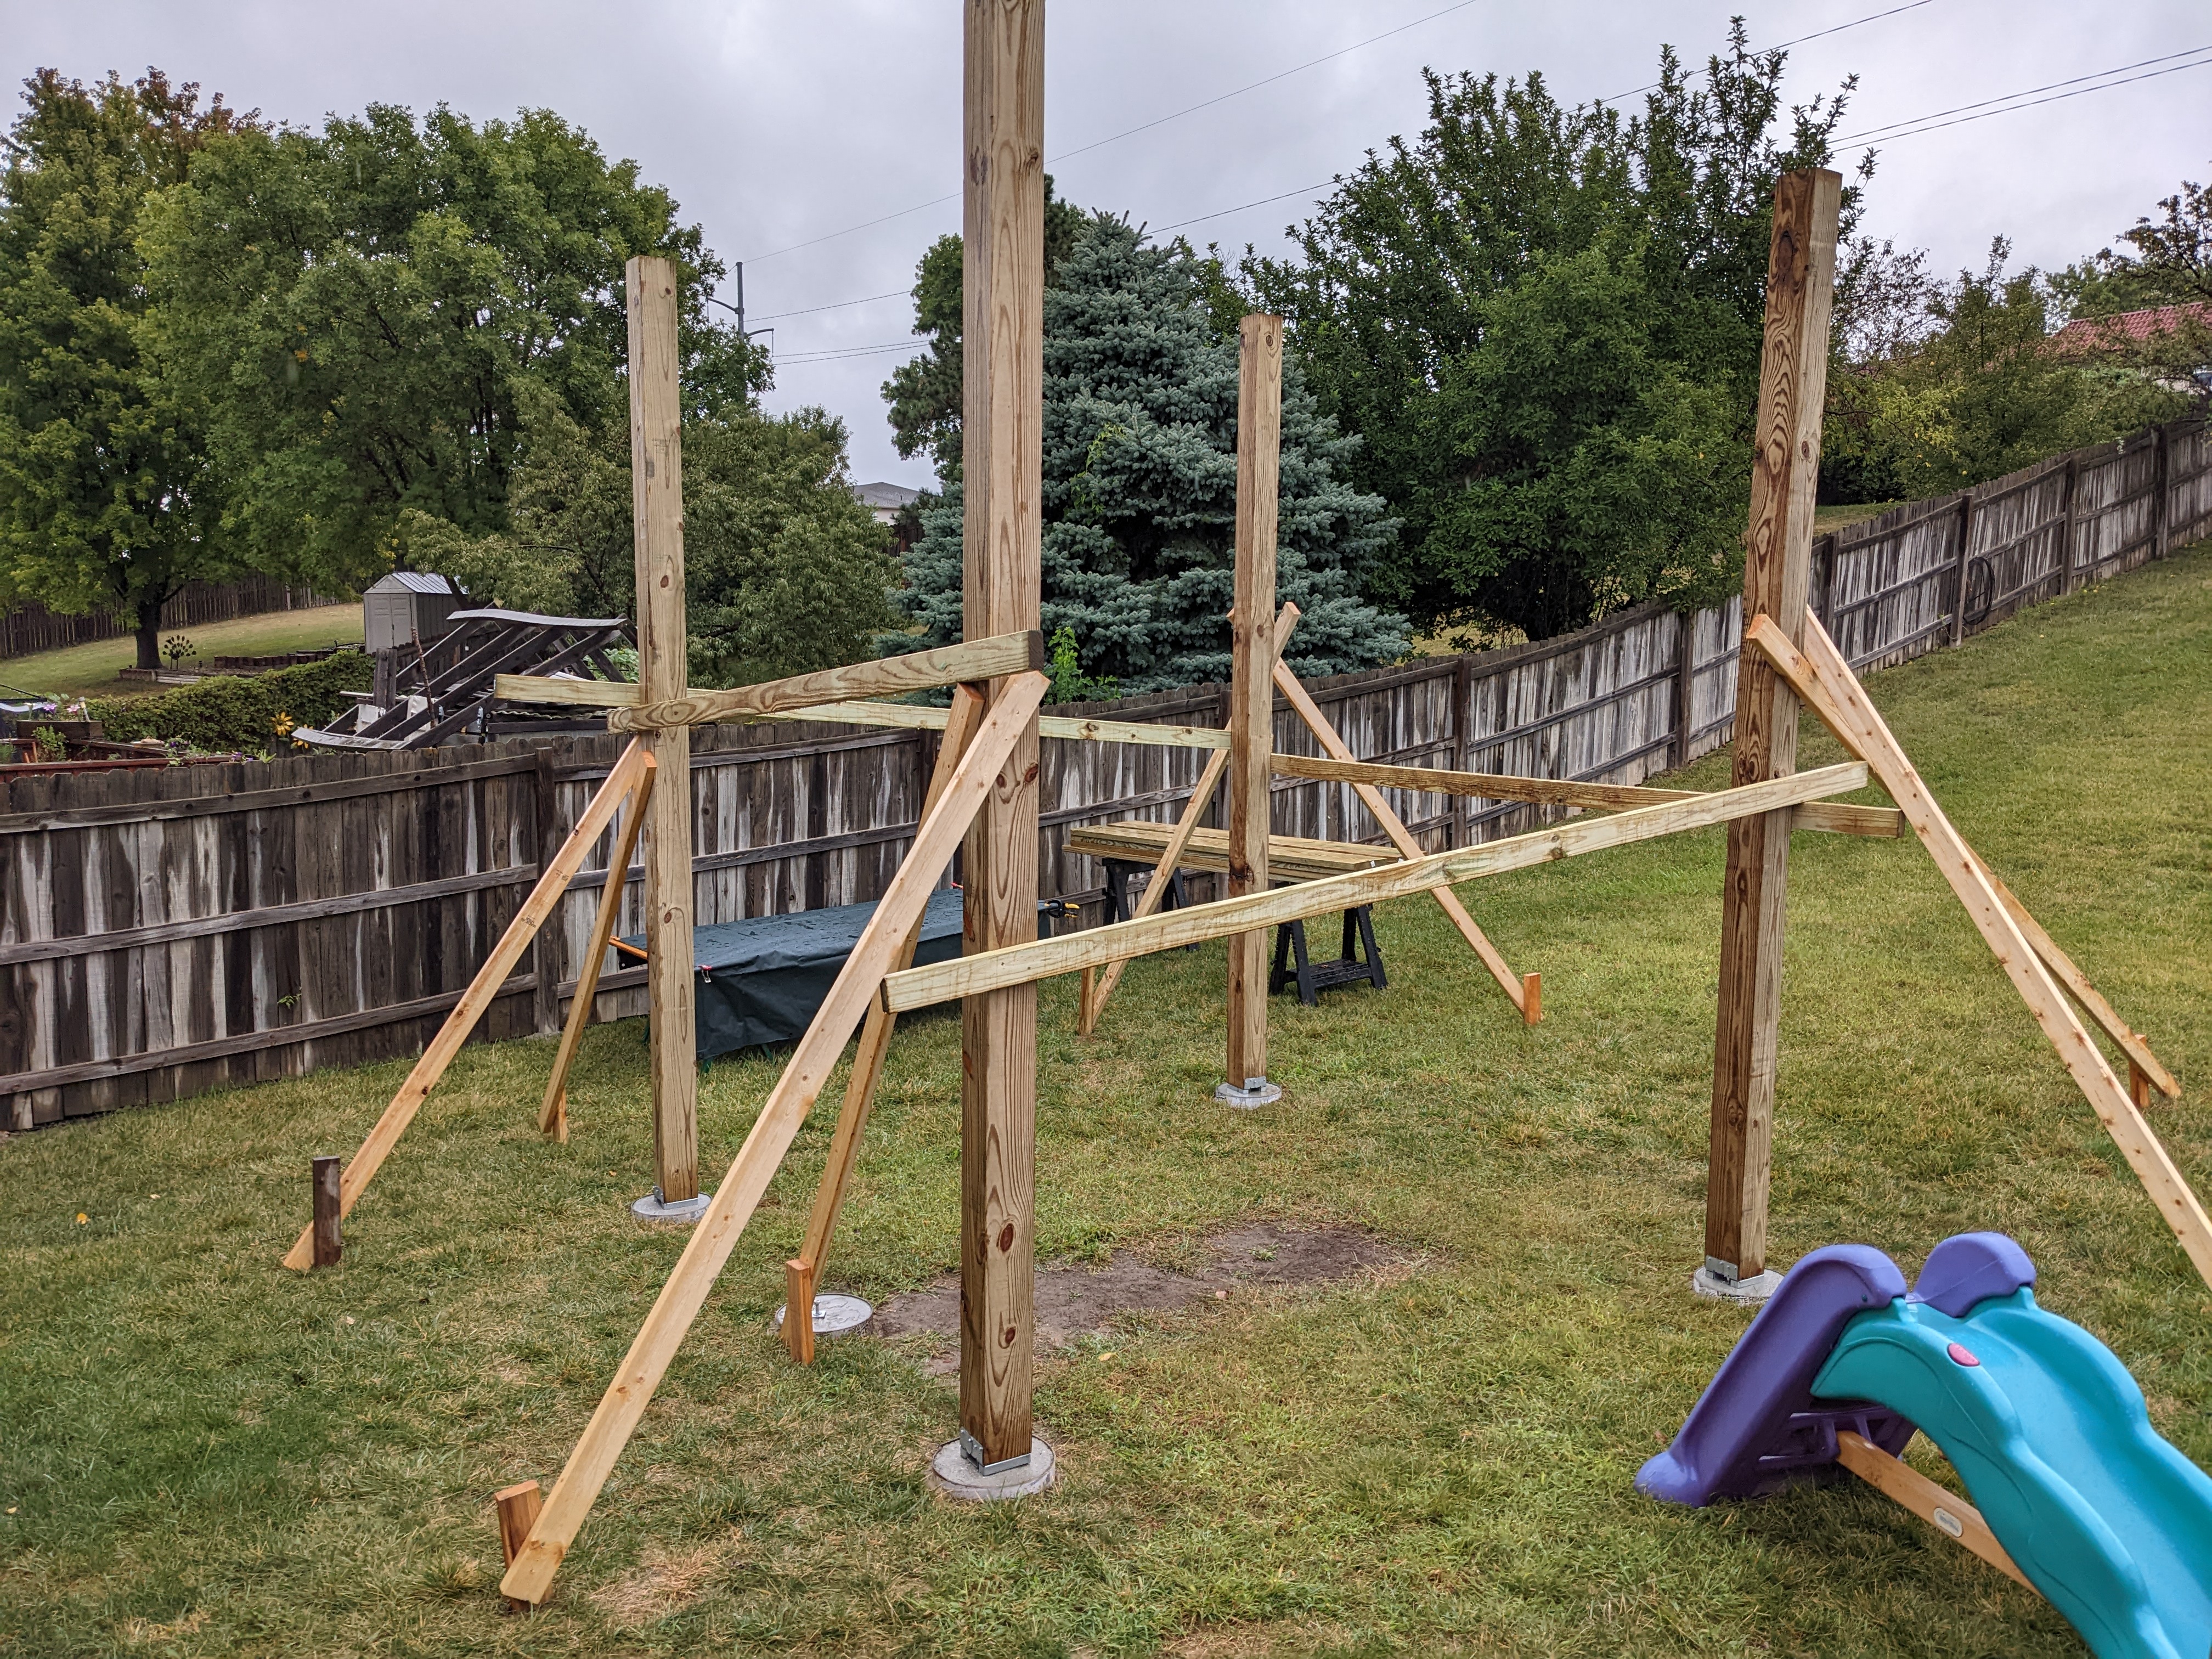
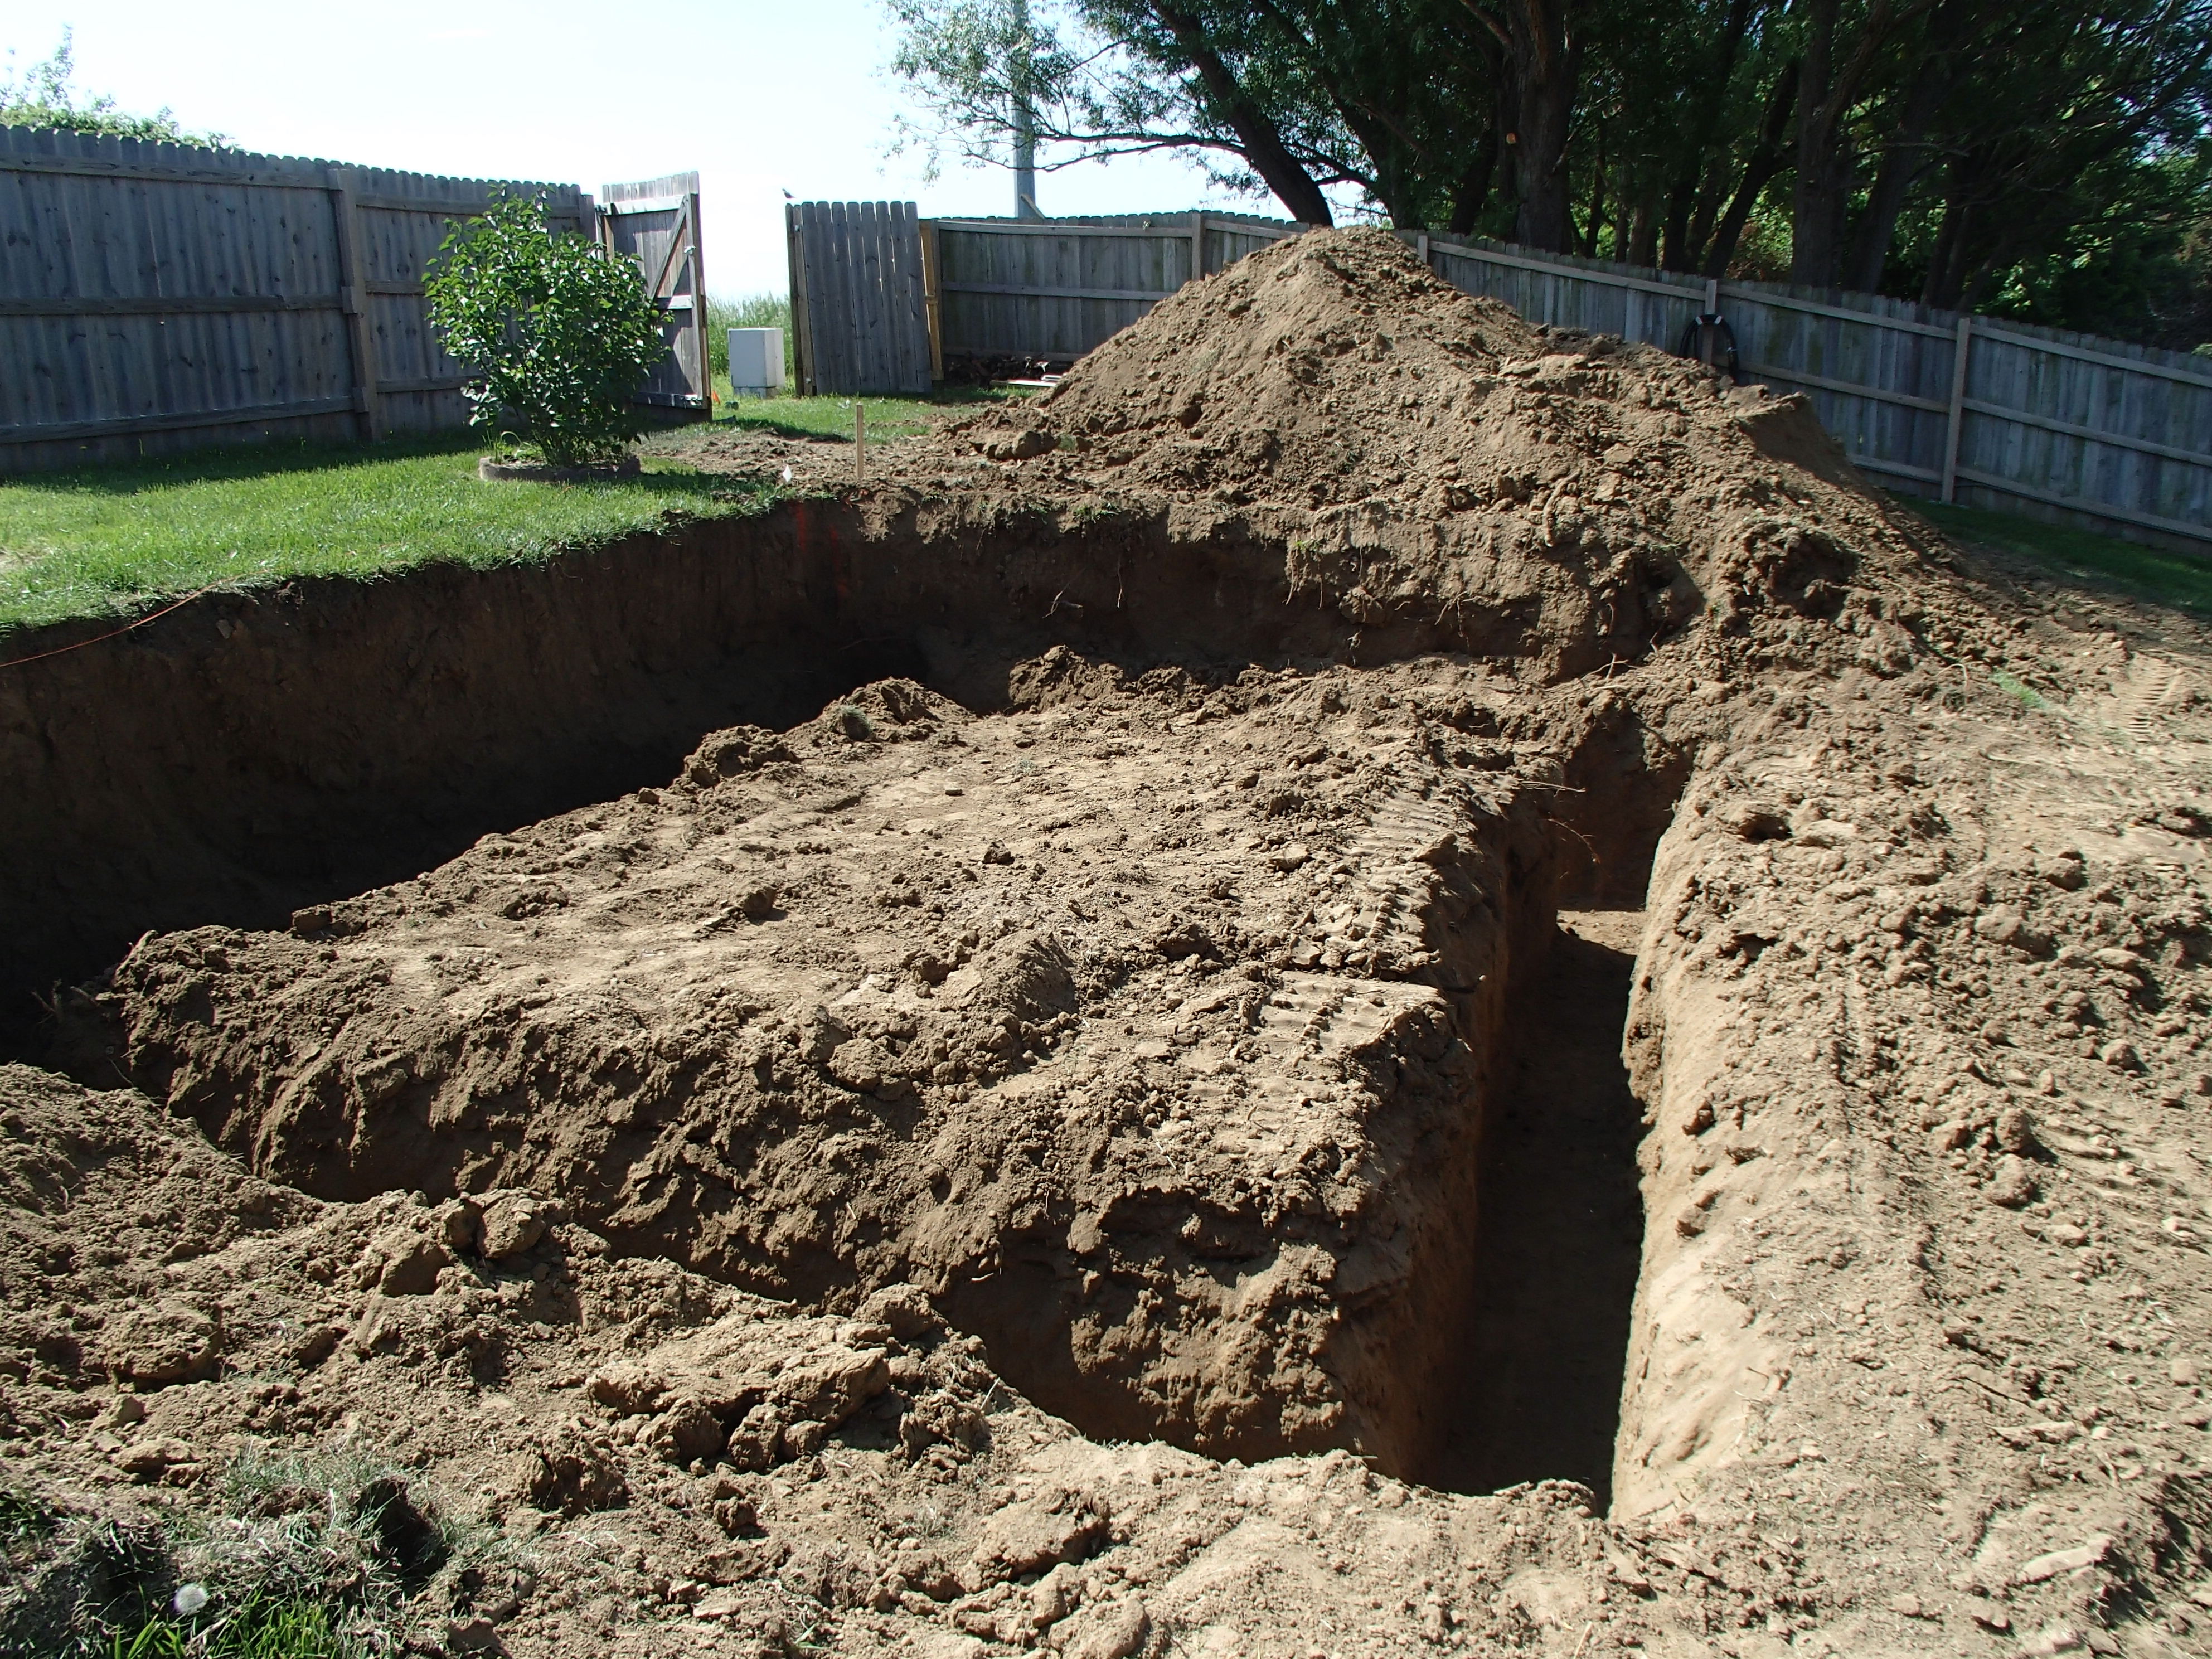
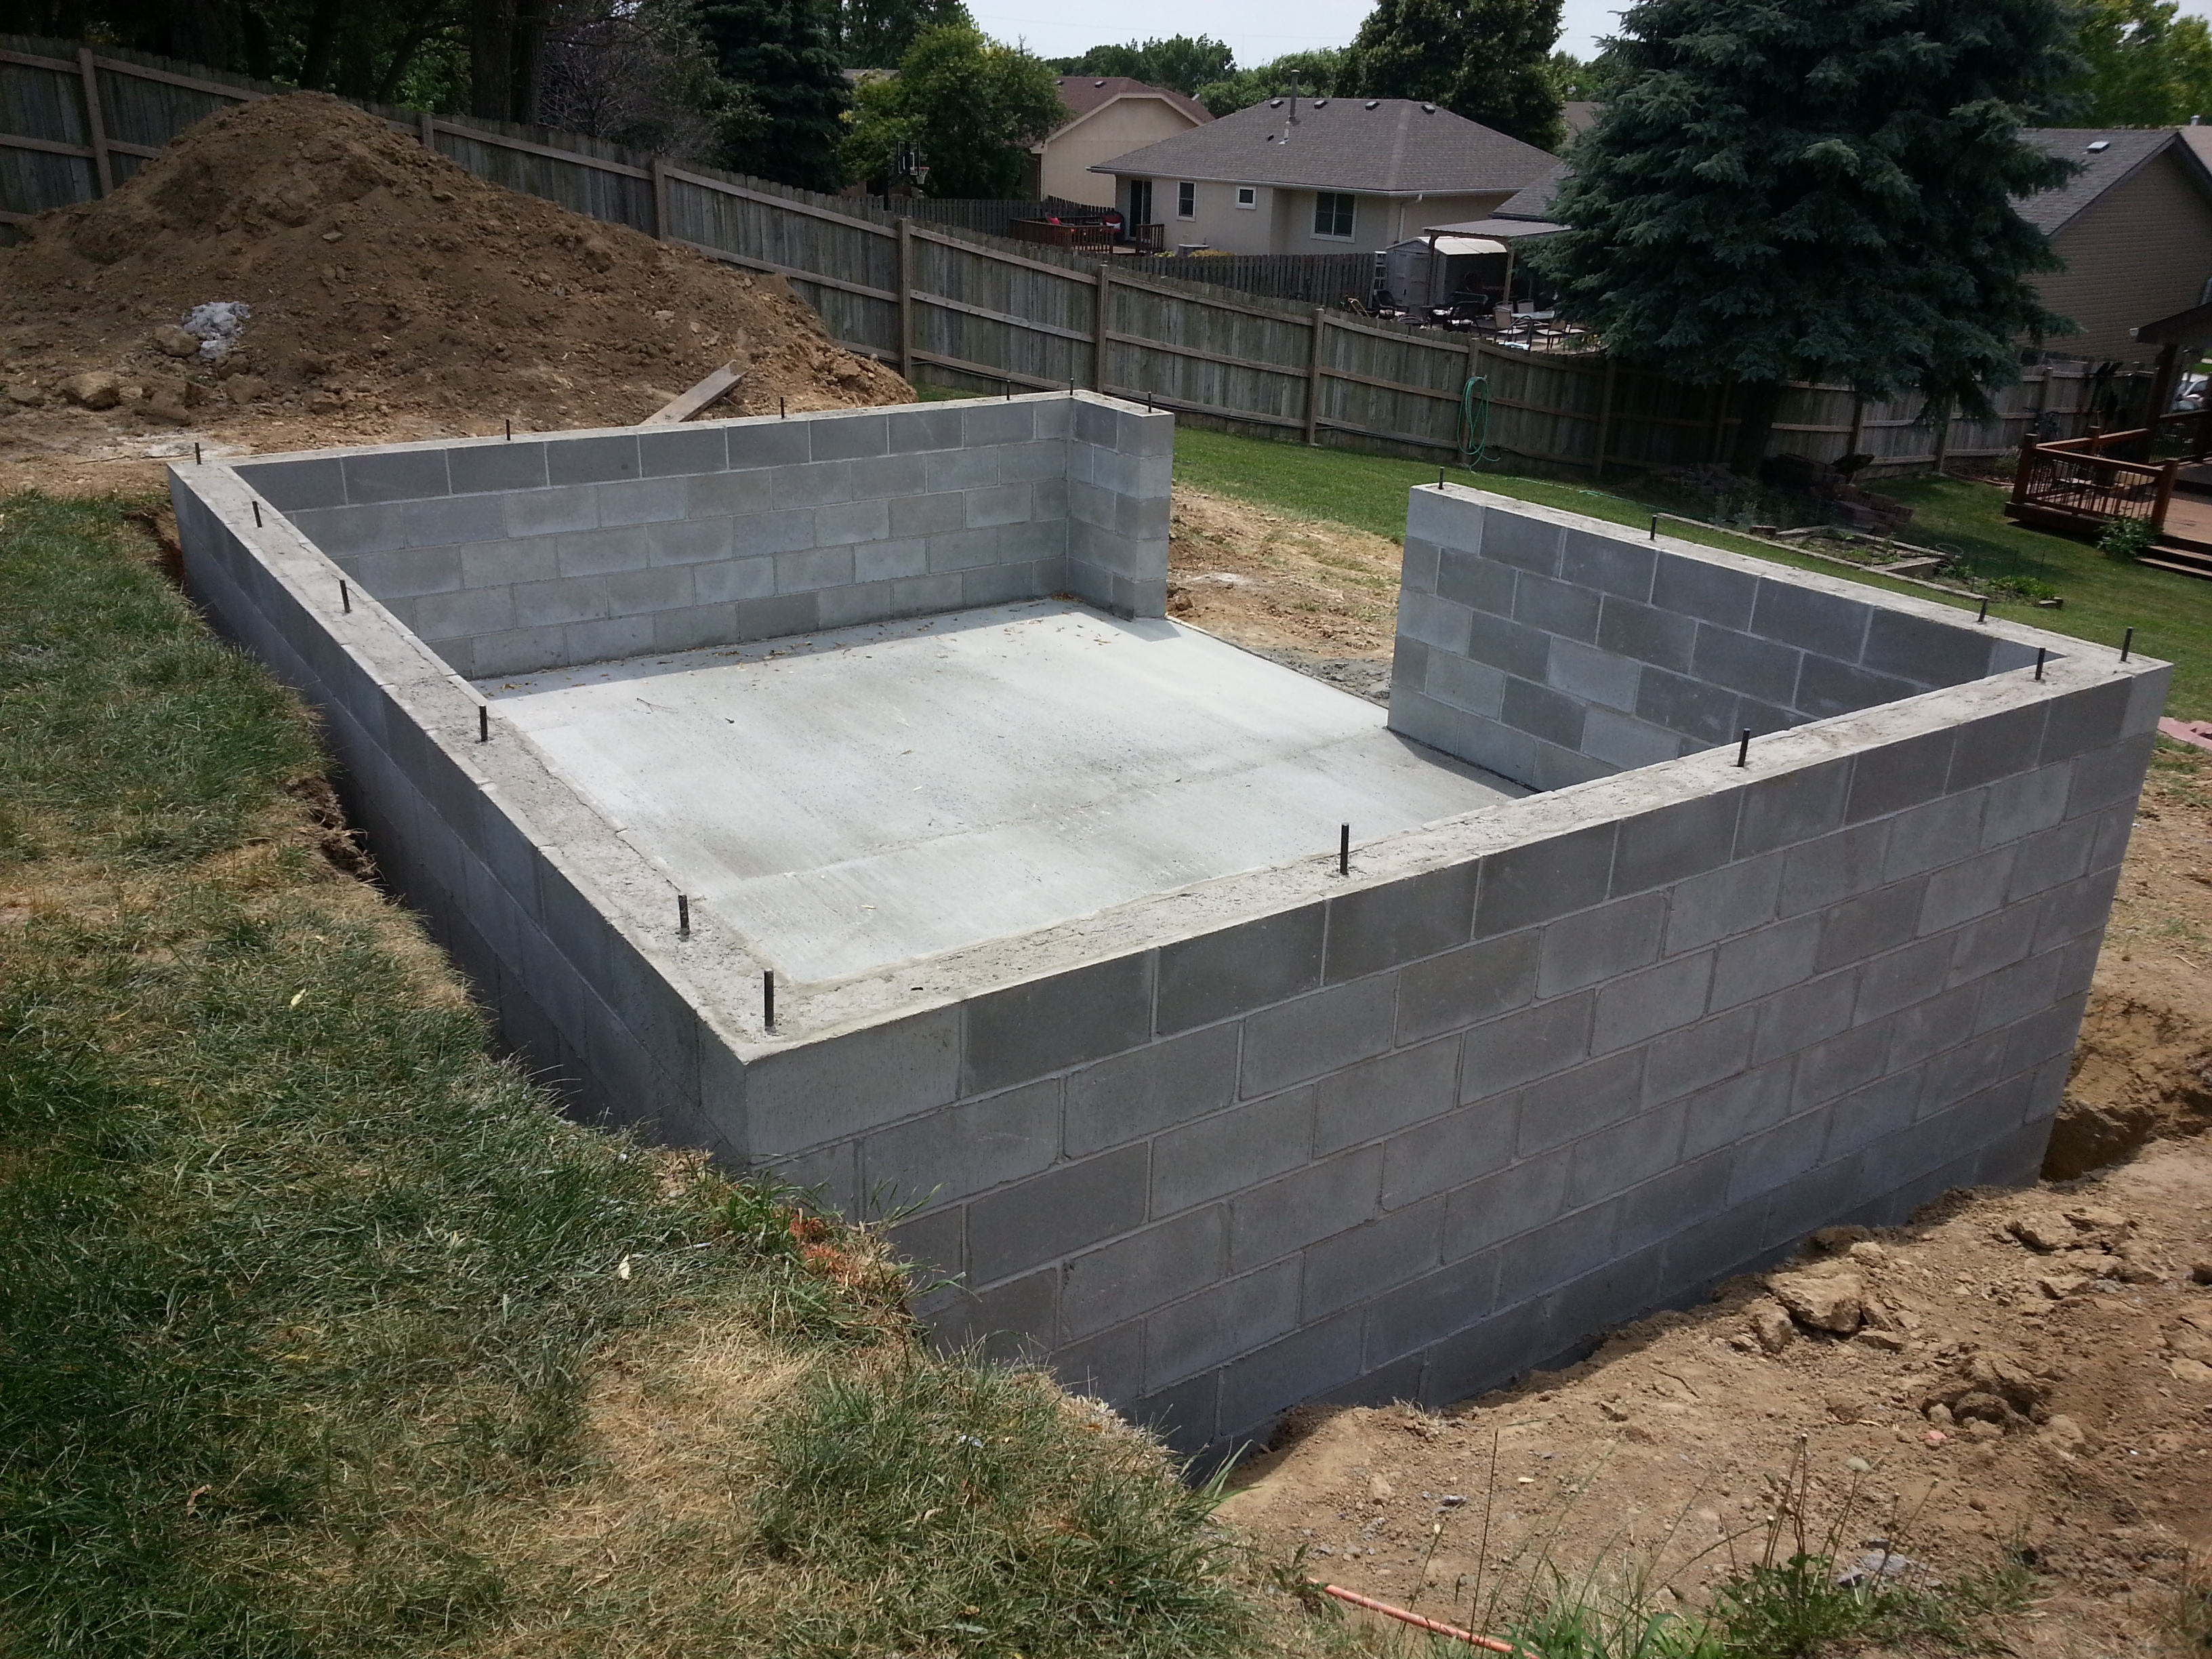
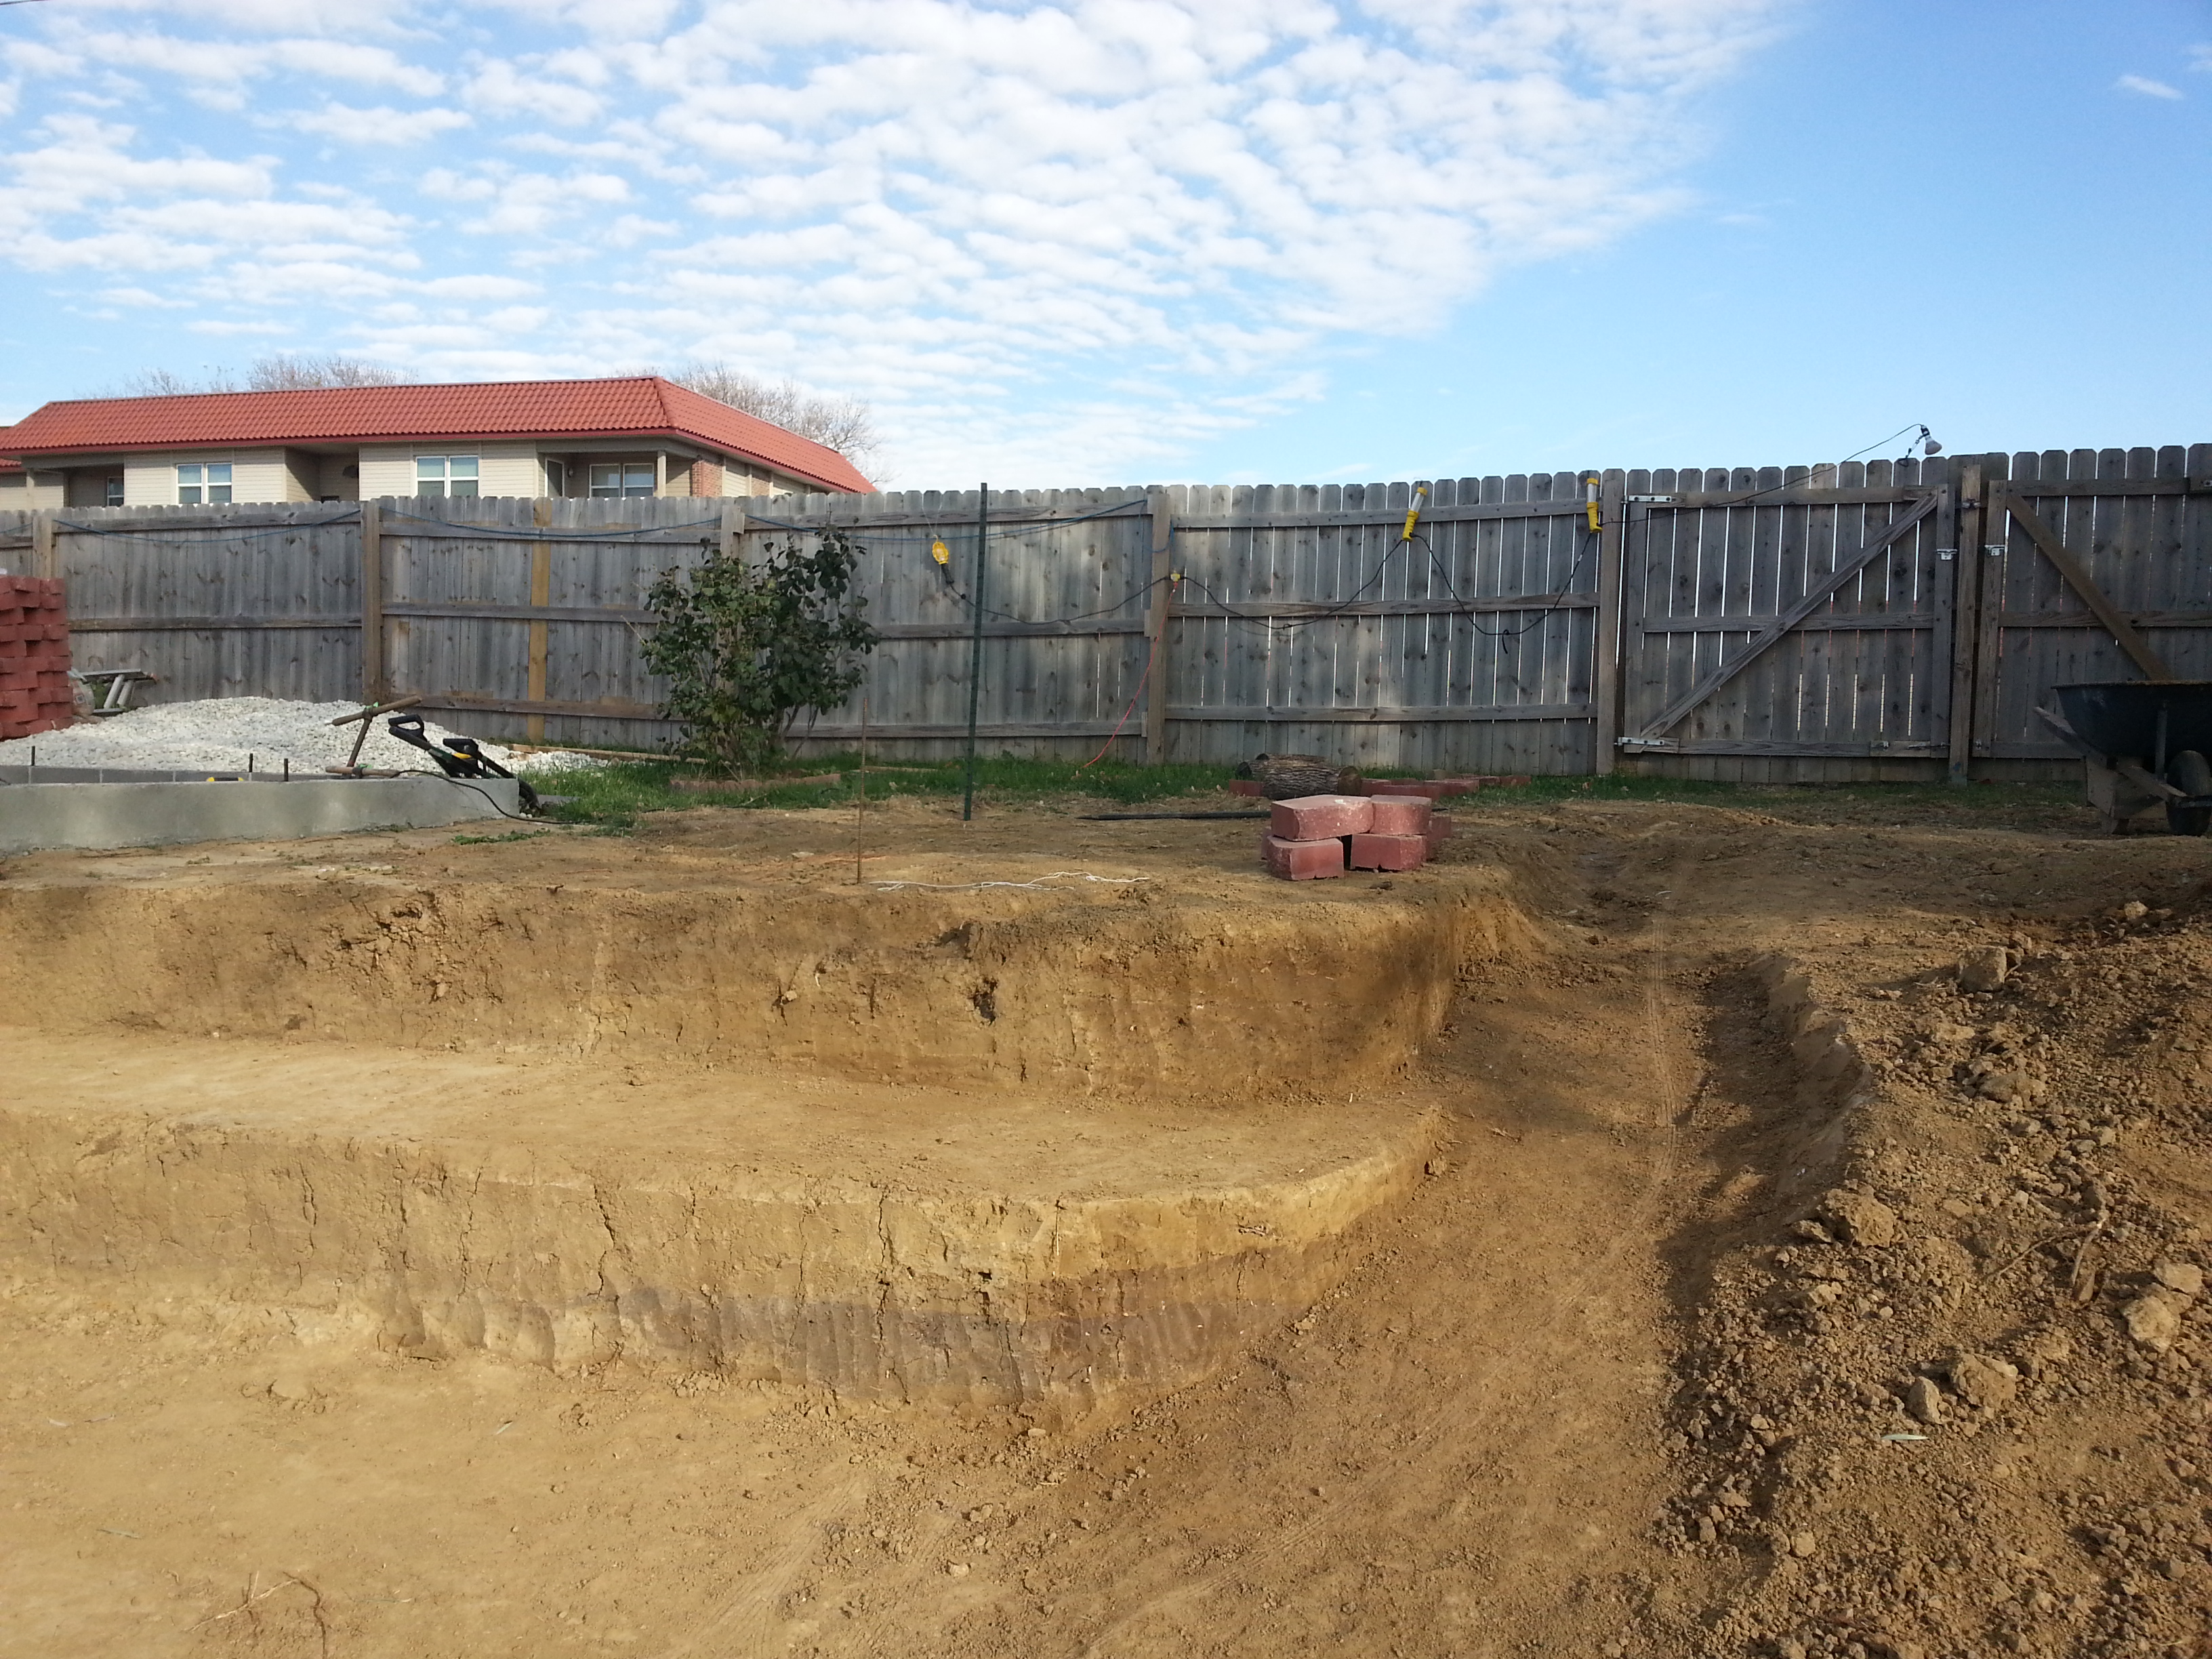
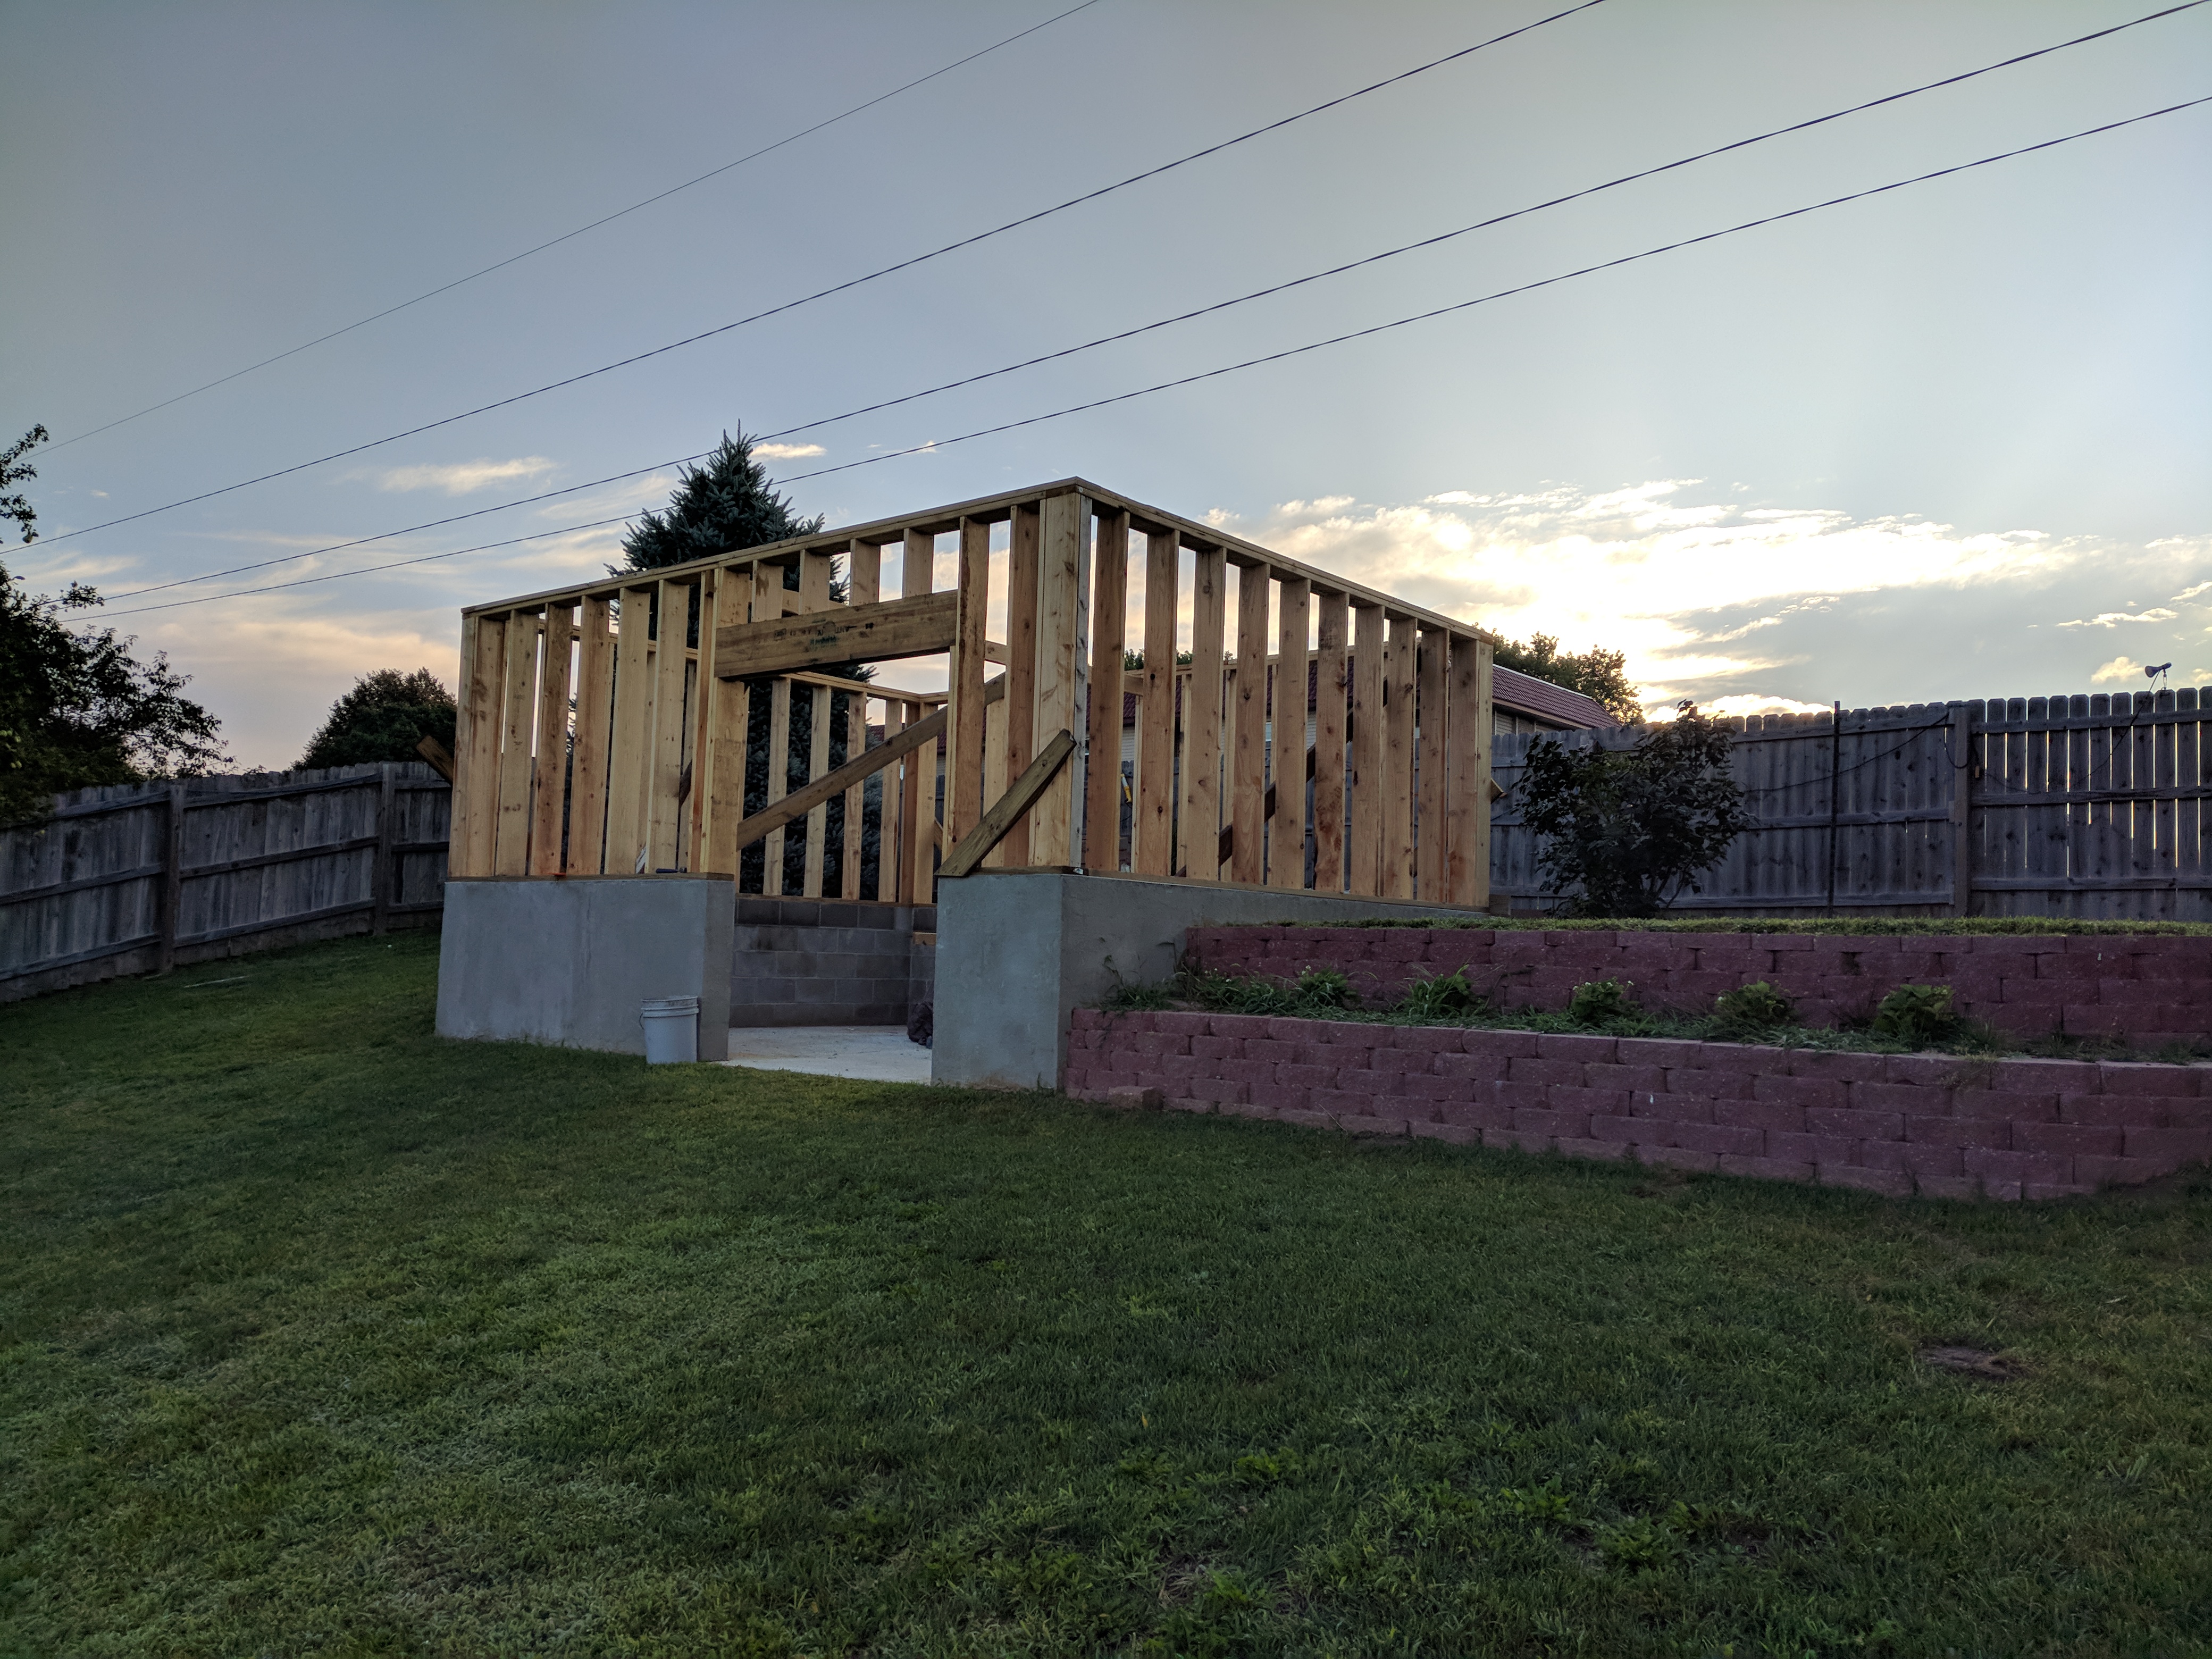
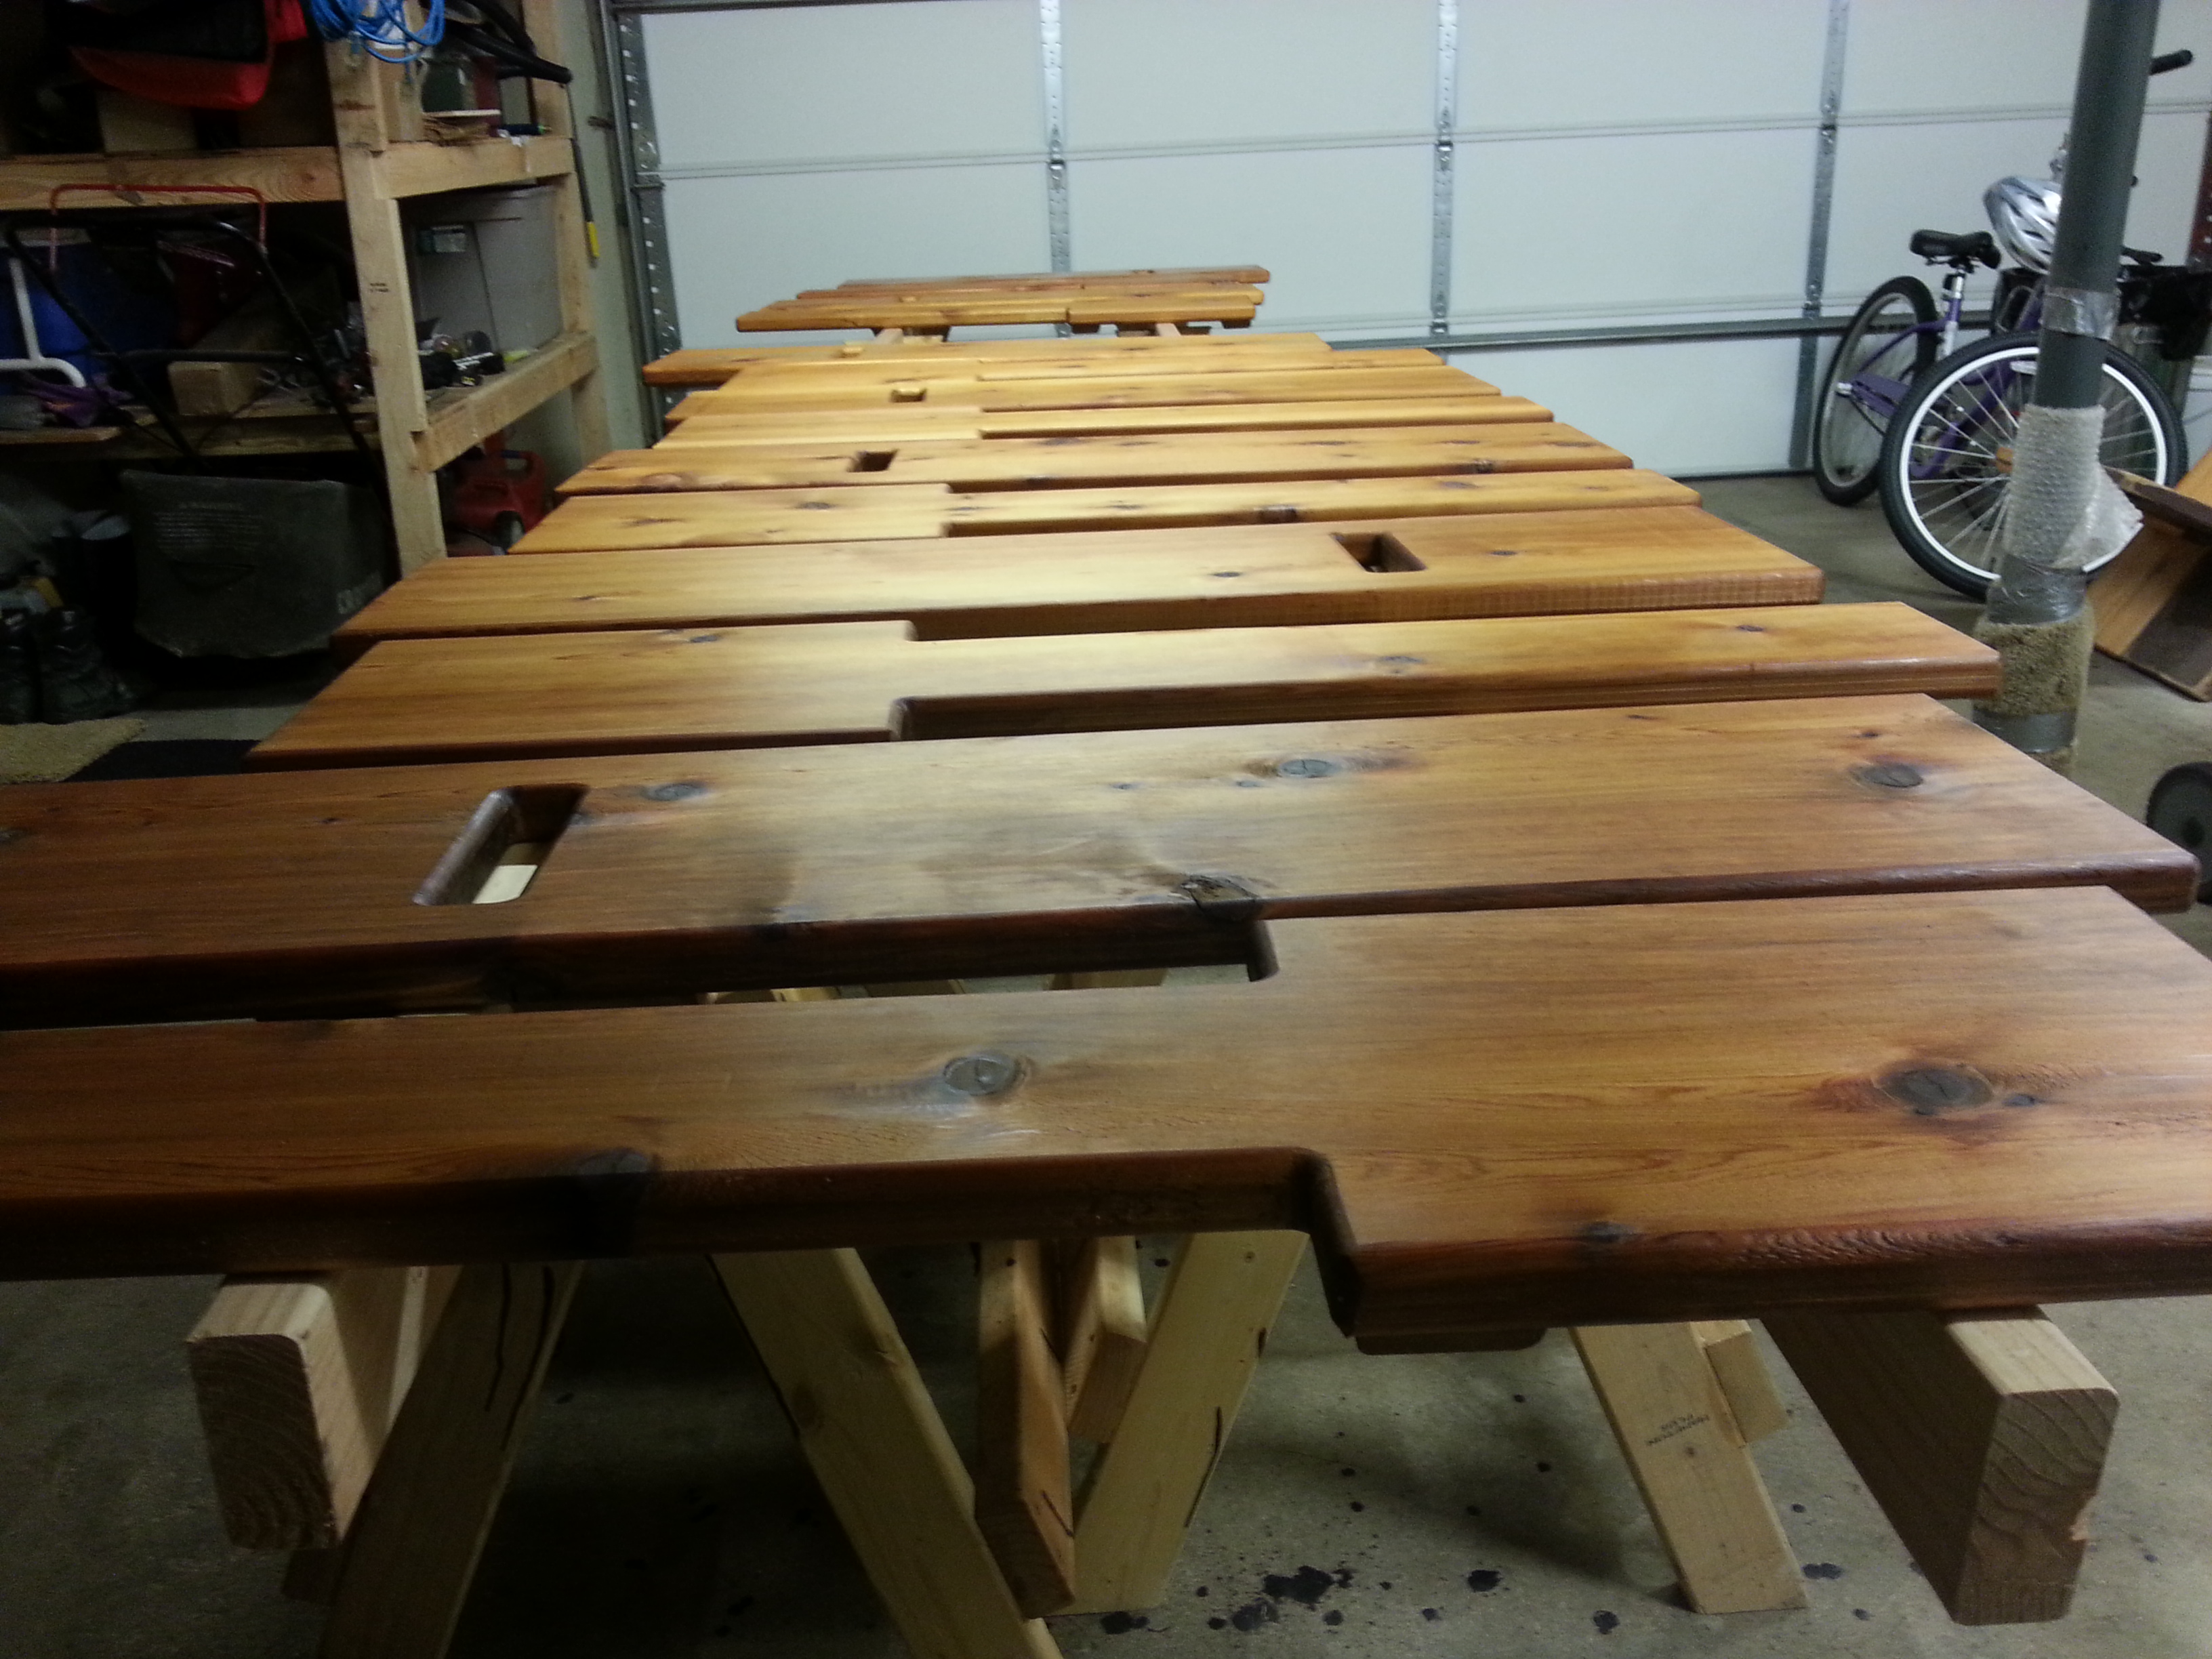
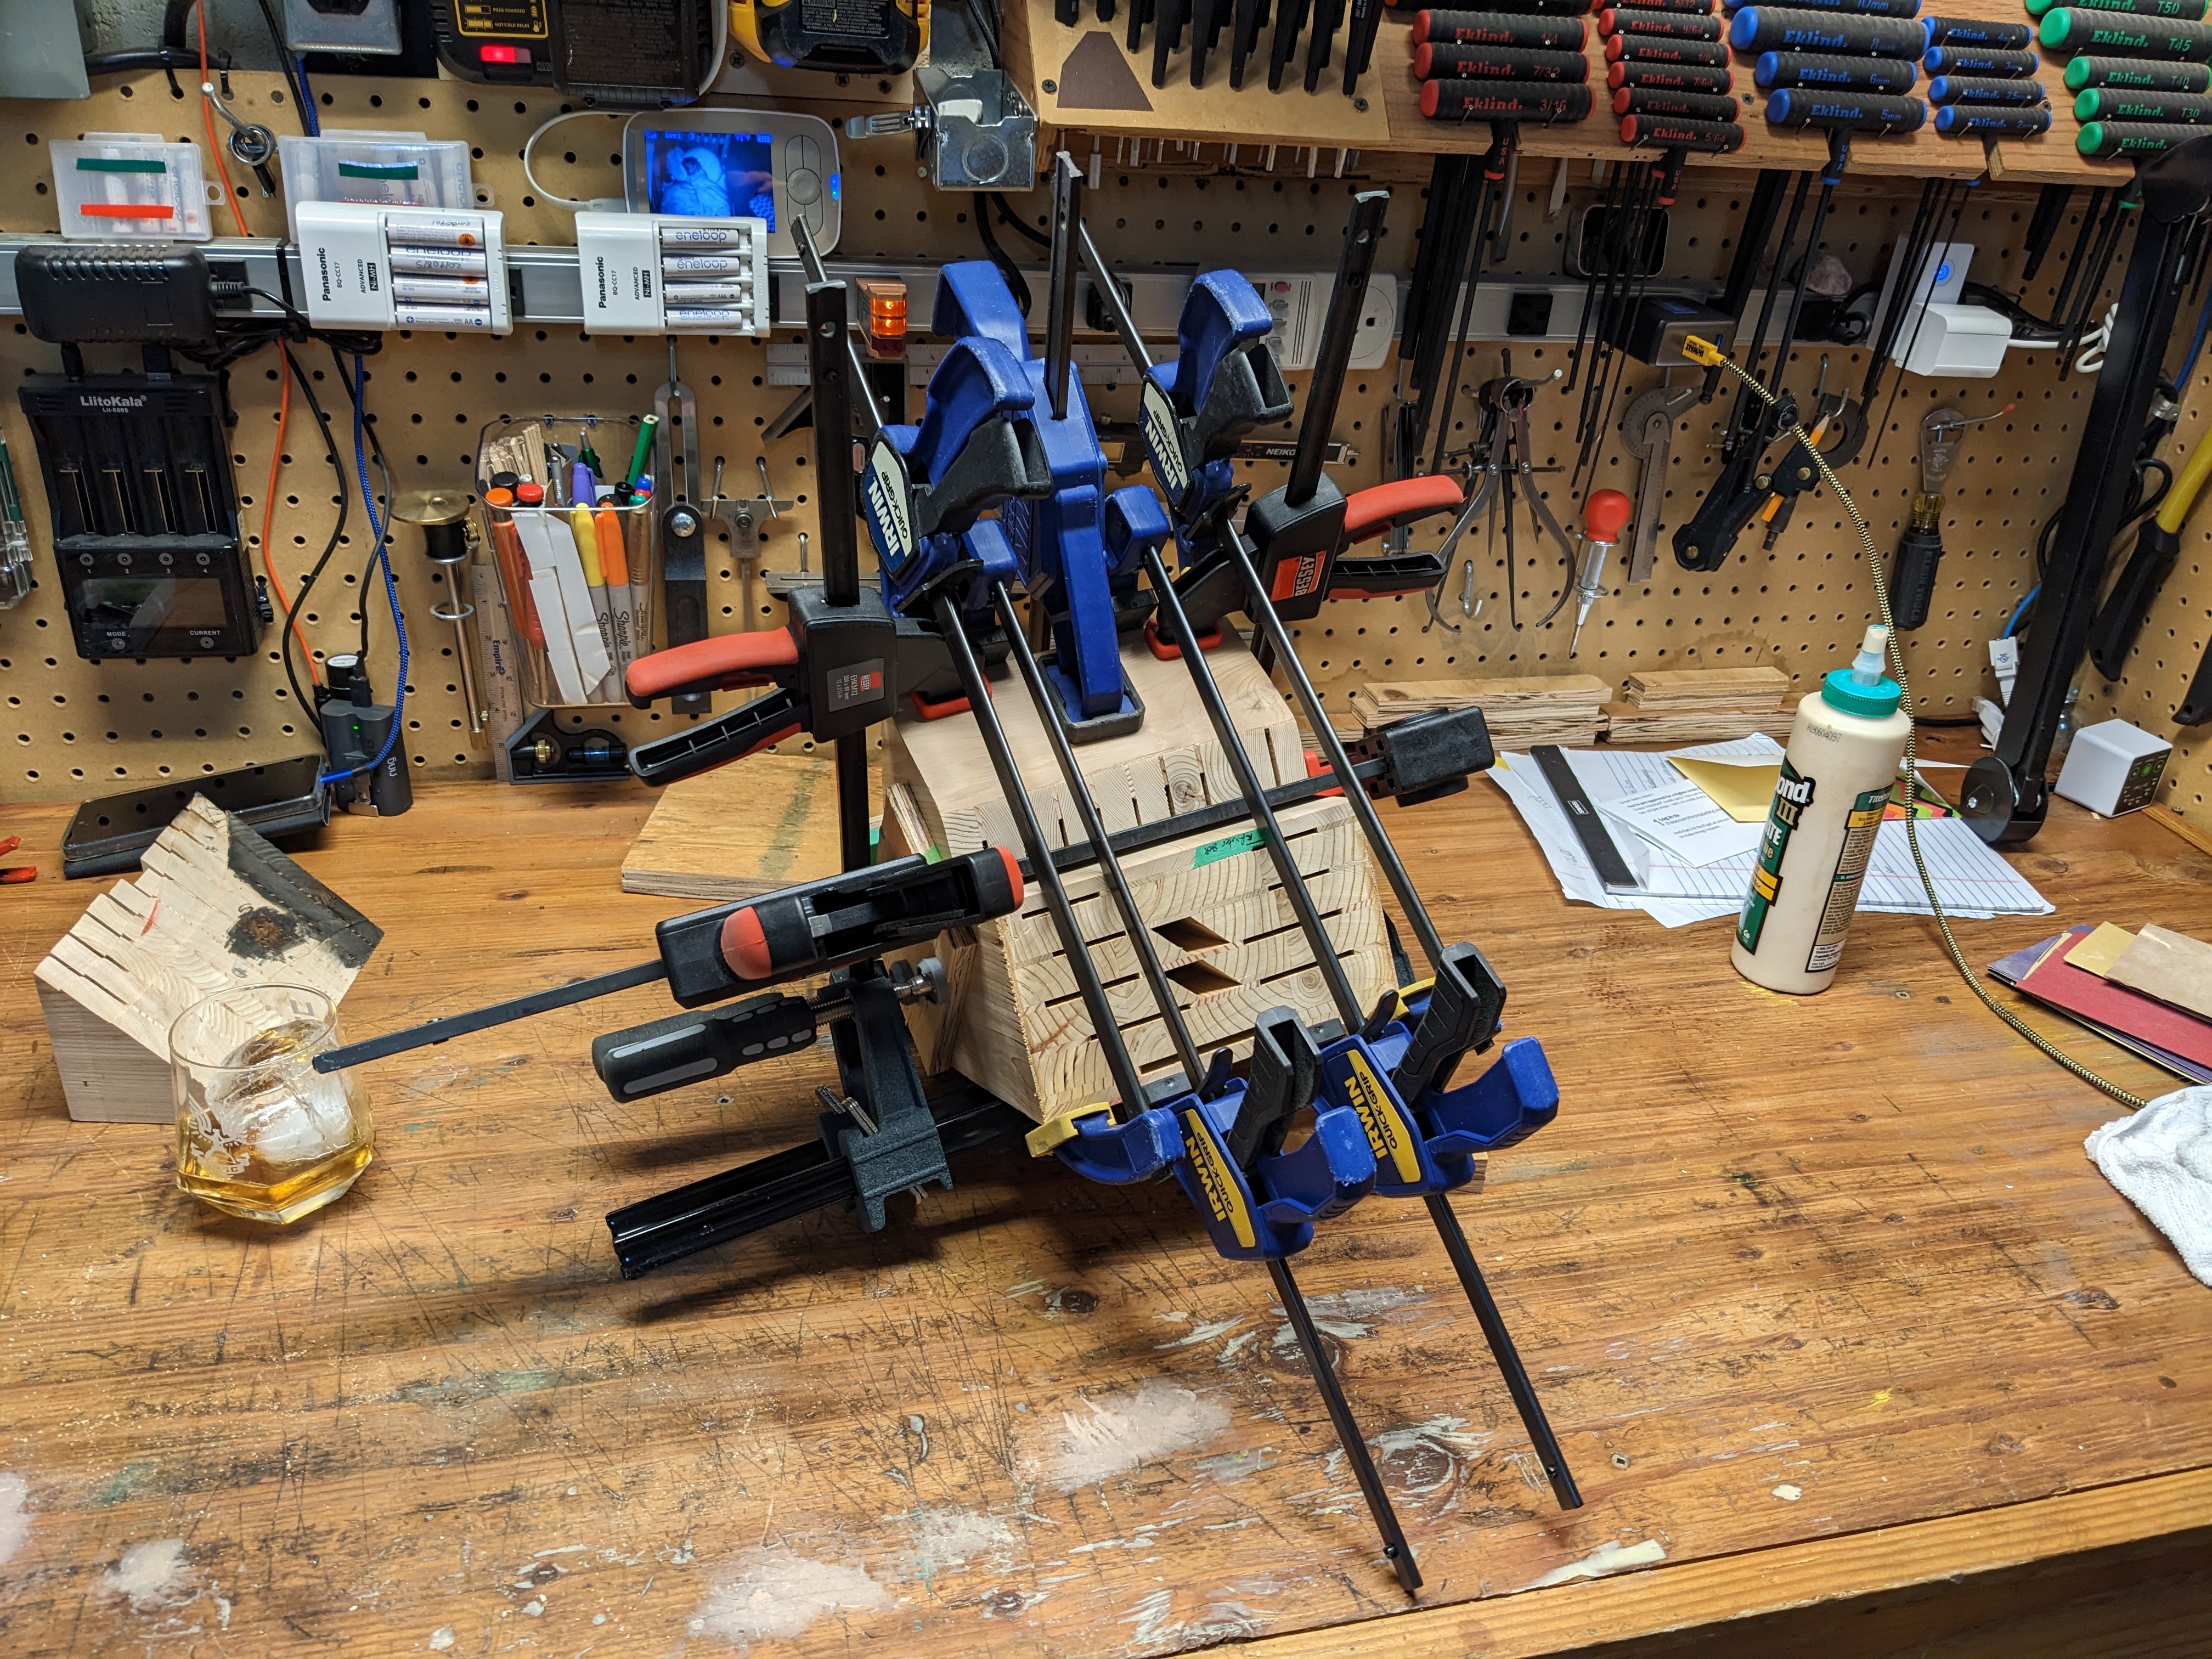
I got most of the framing done last fall. The basic frame sits on 14"x48" rebar reinforced footings. The posts are 6x6x10, and all joists are 2x8. The joist hangers are attached to tripled 2x10s. This thing is built like a fortress.

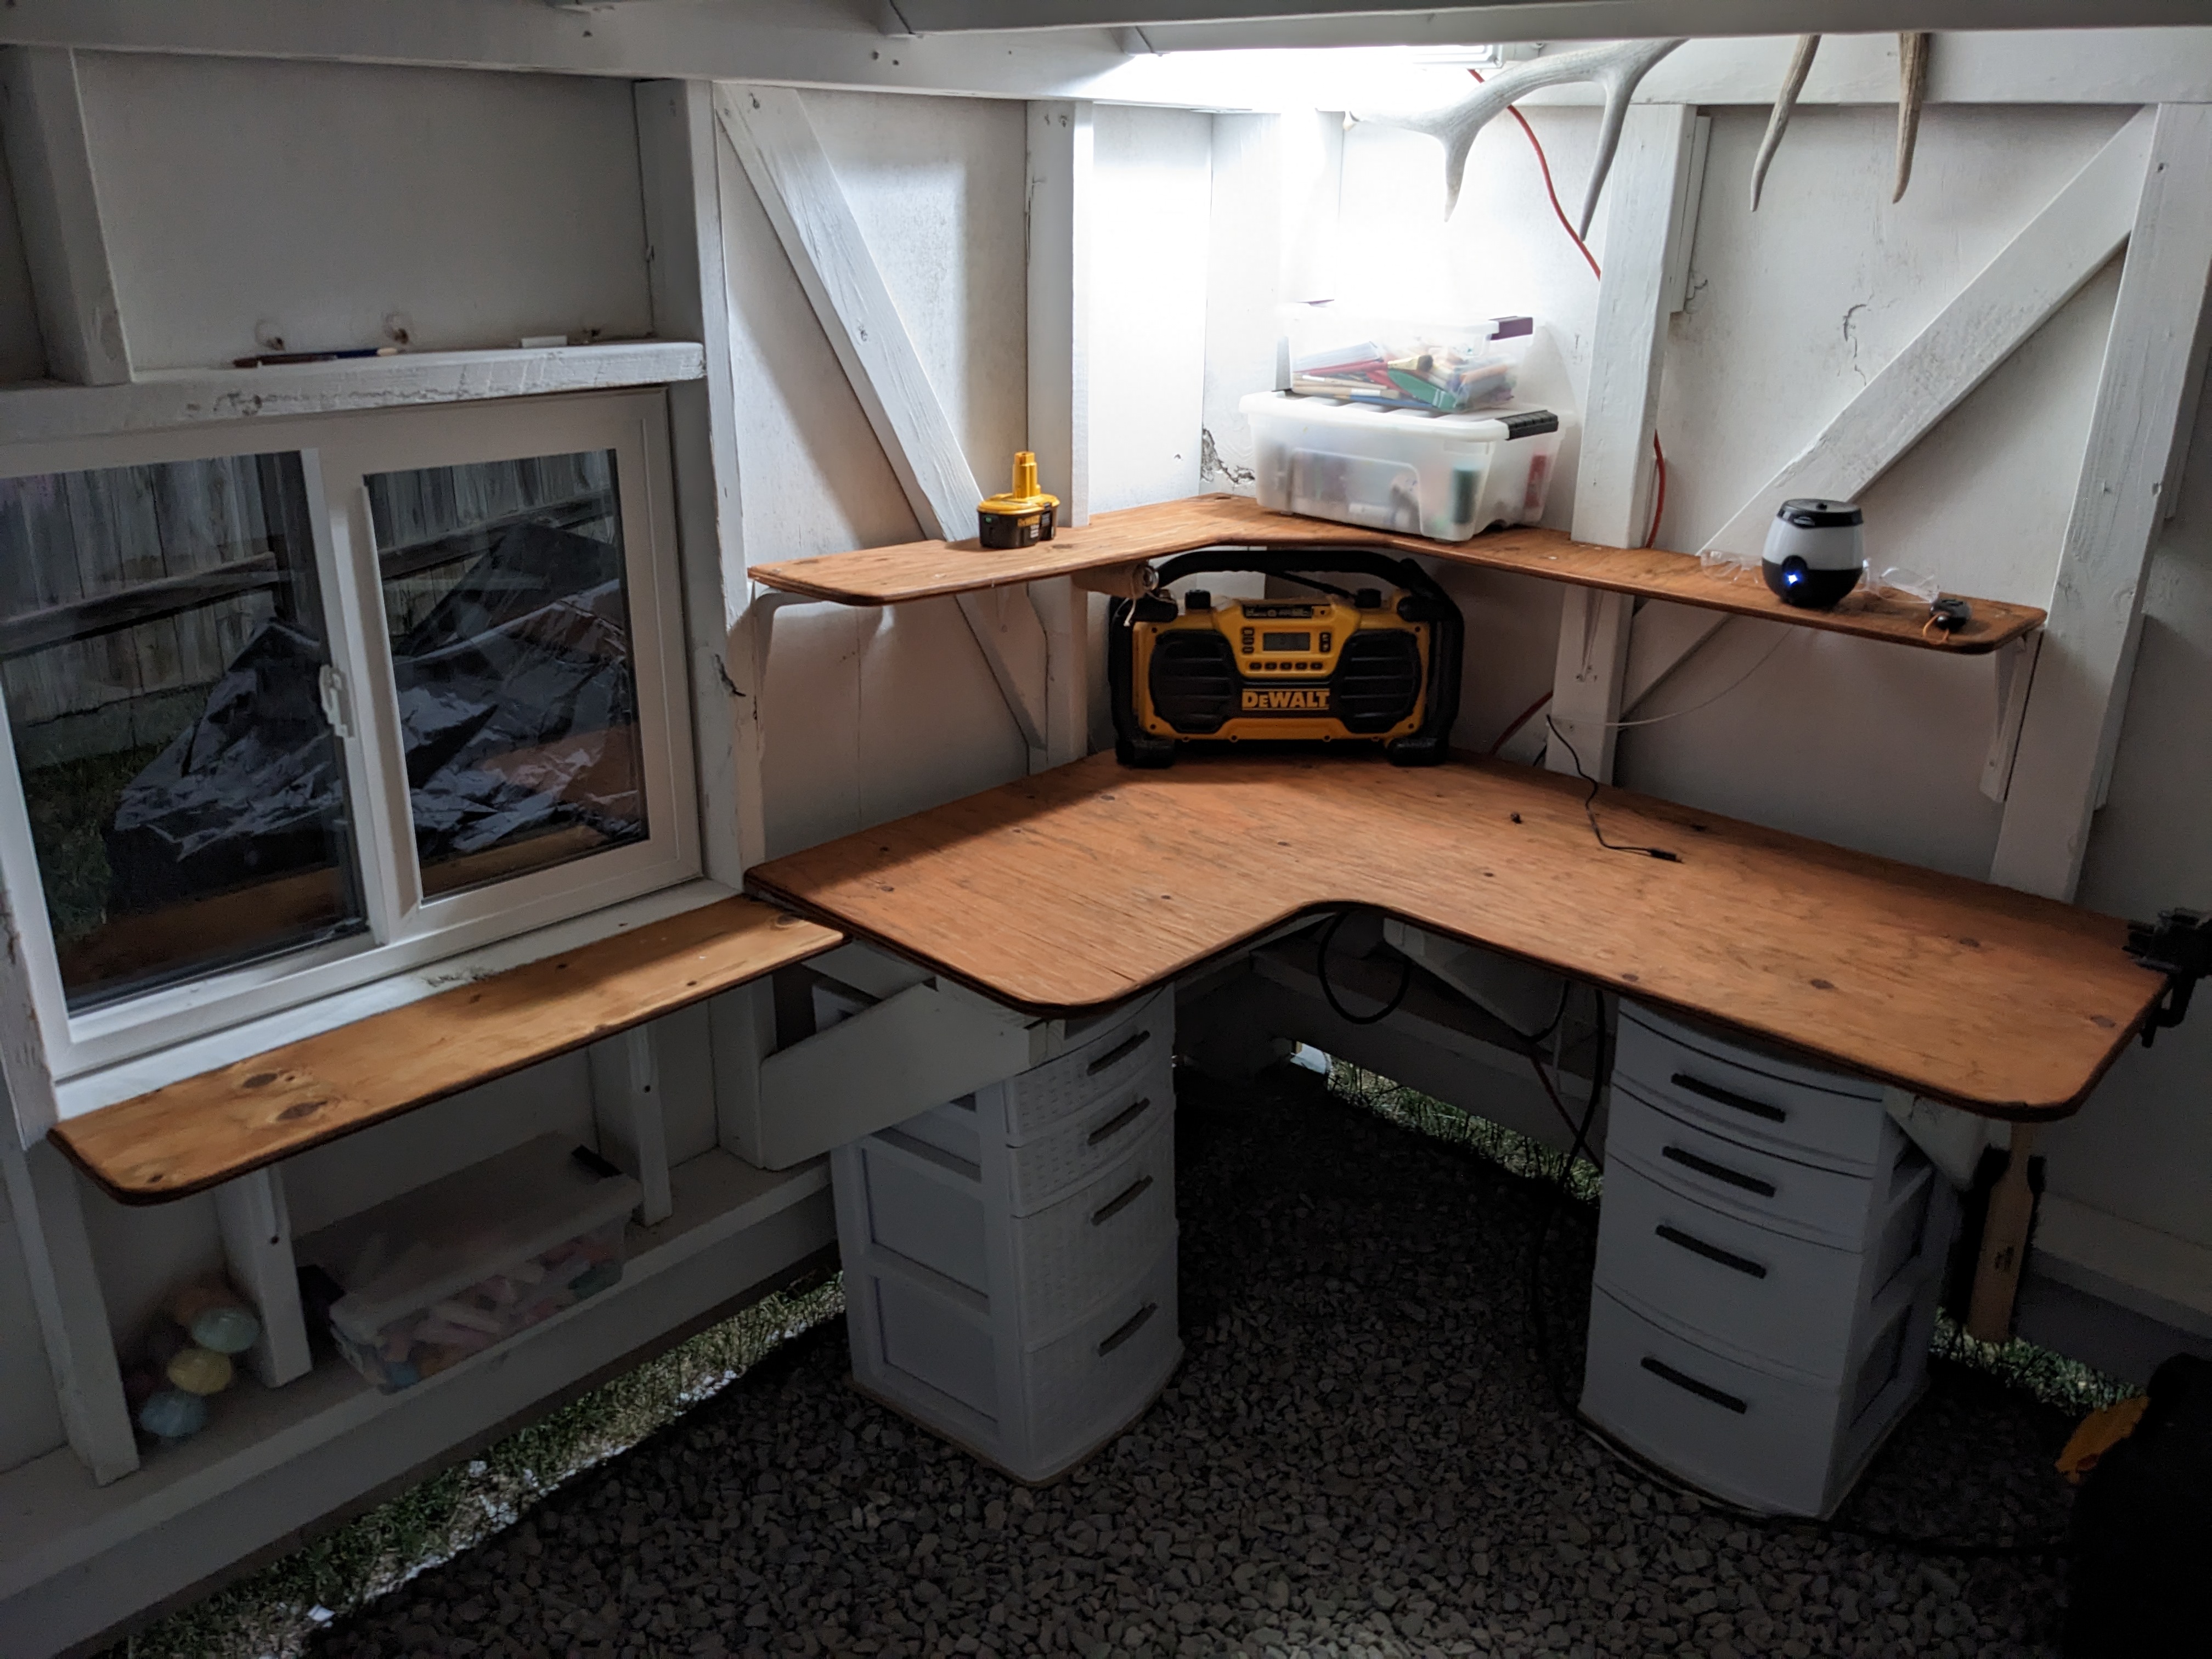
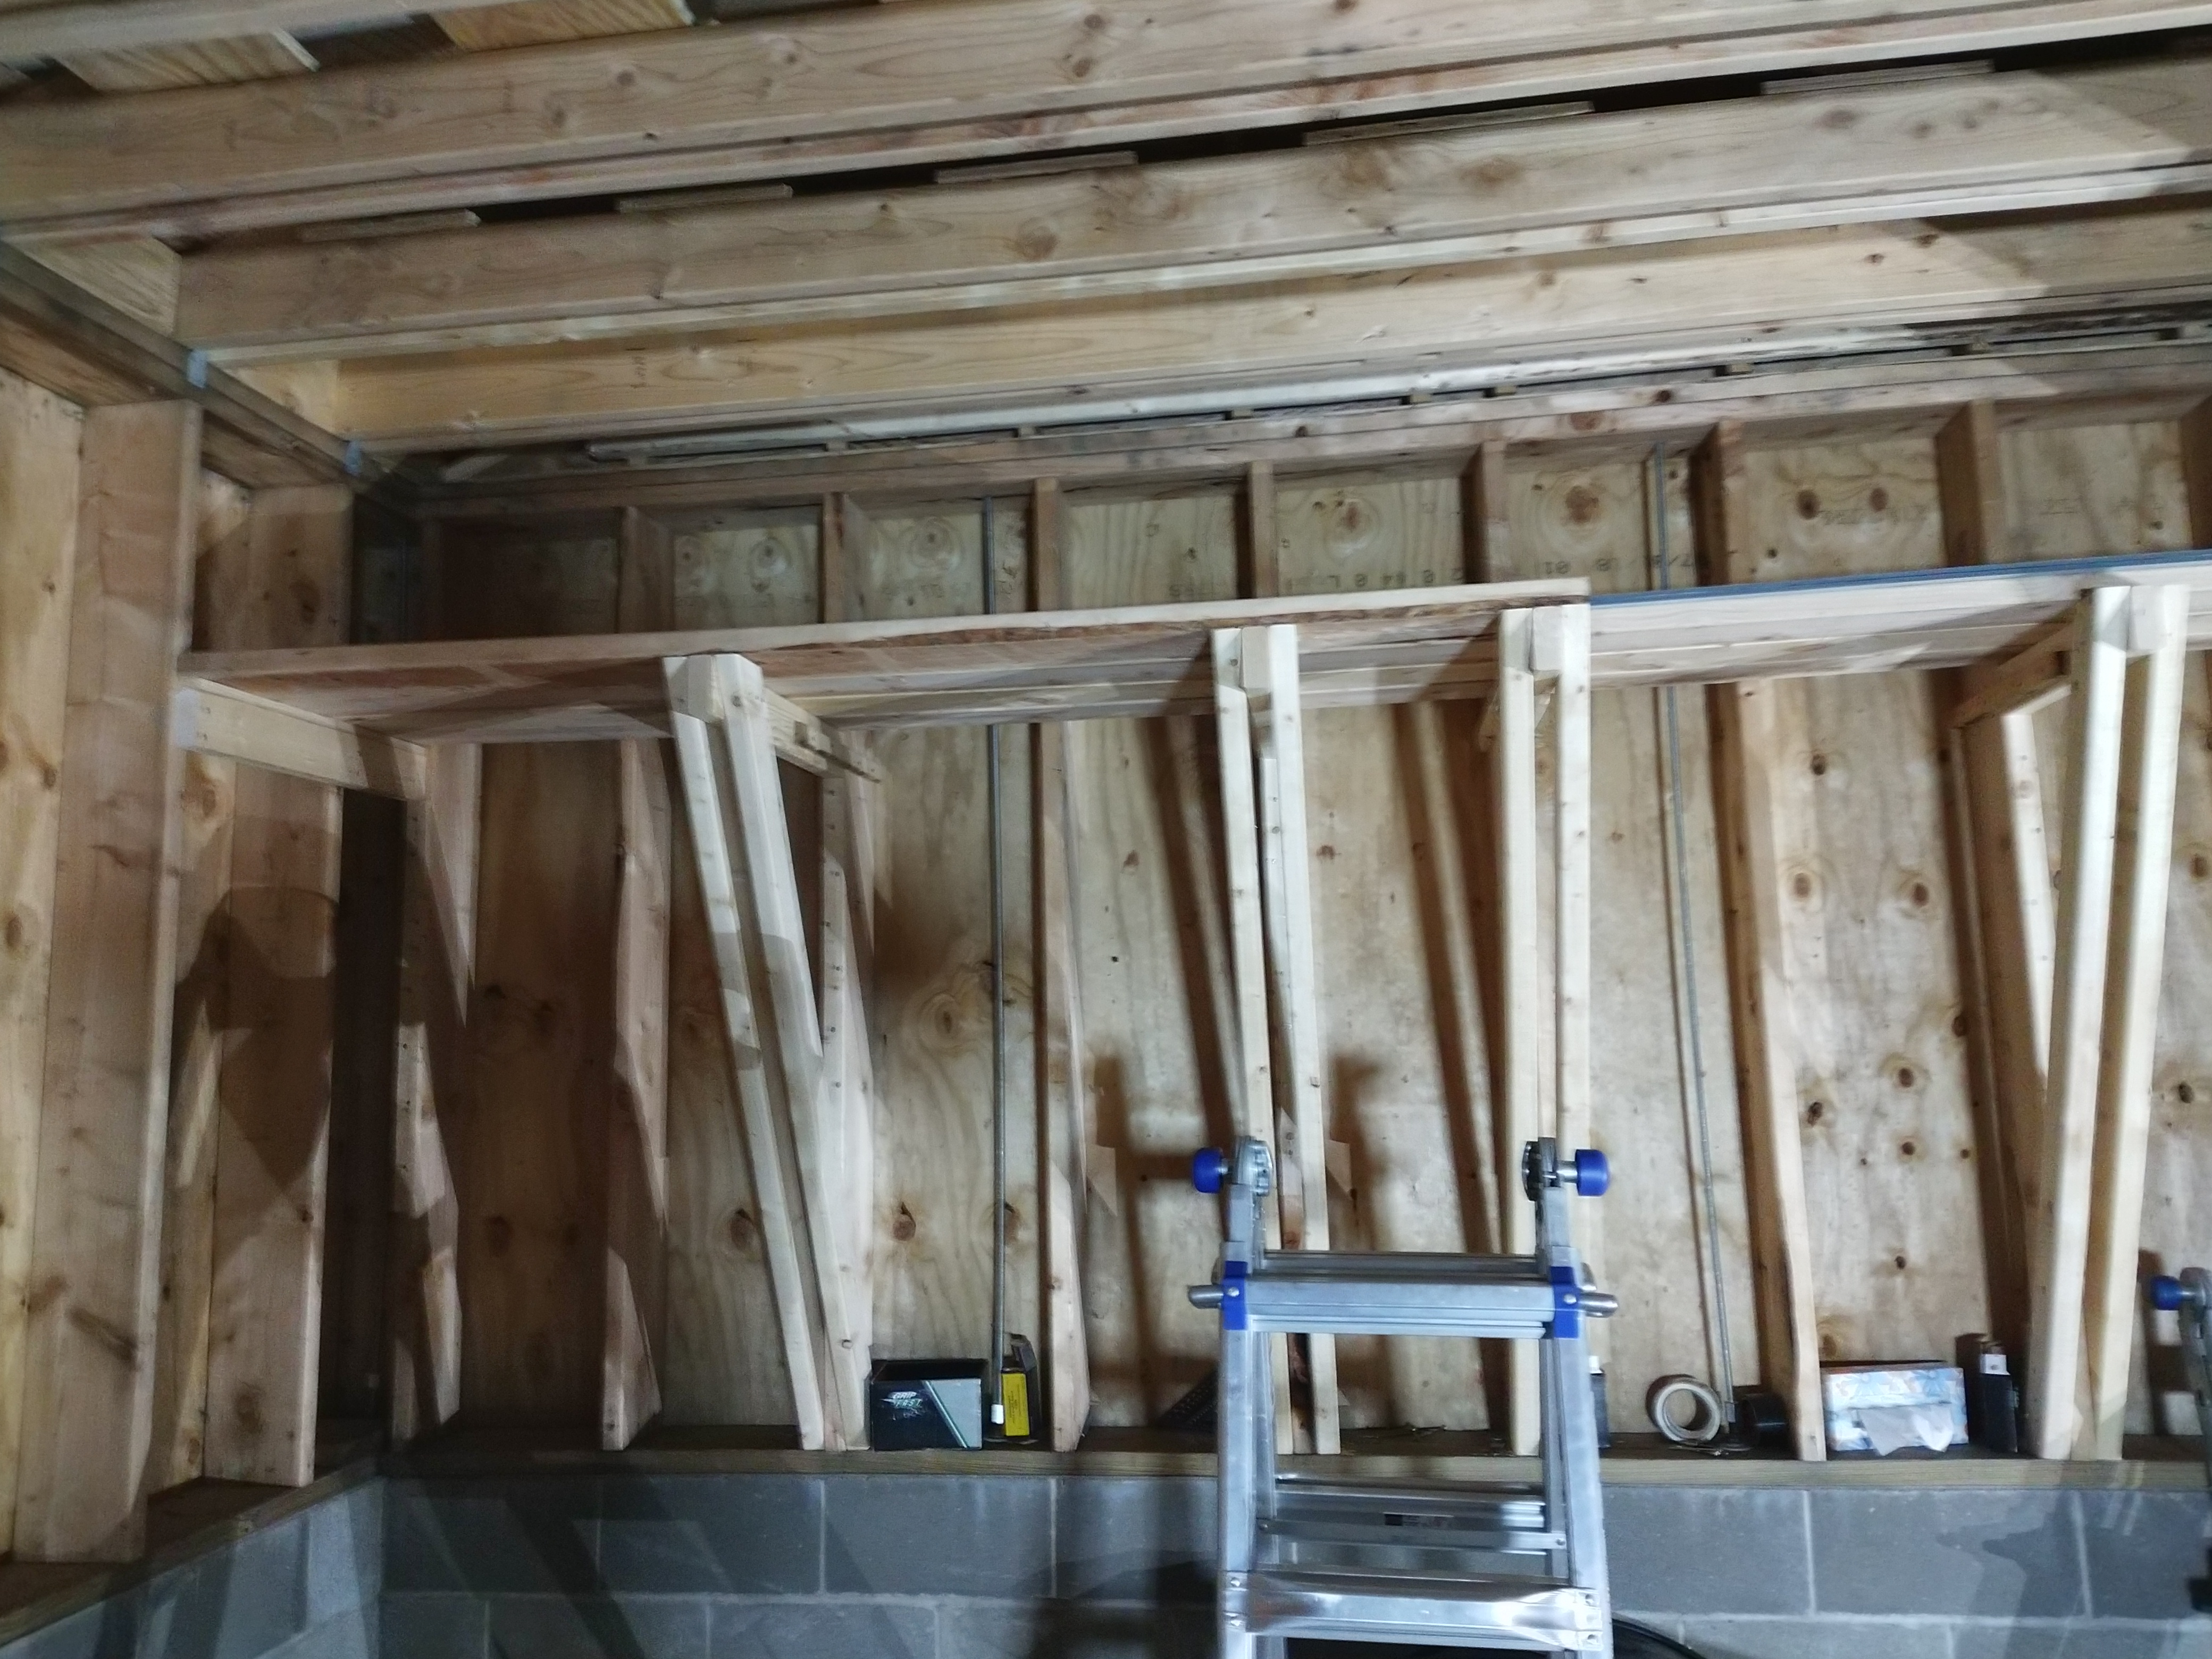
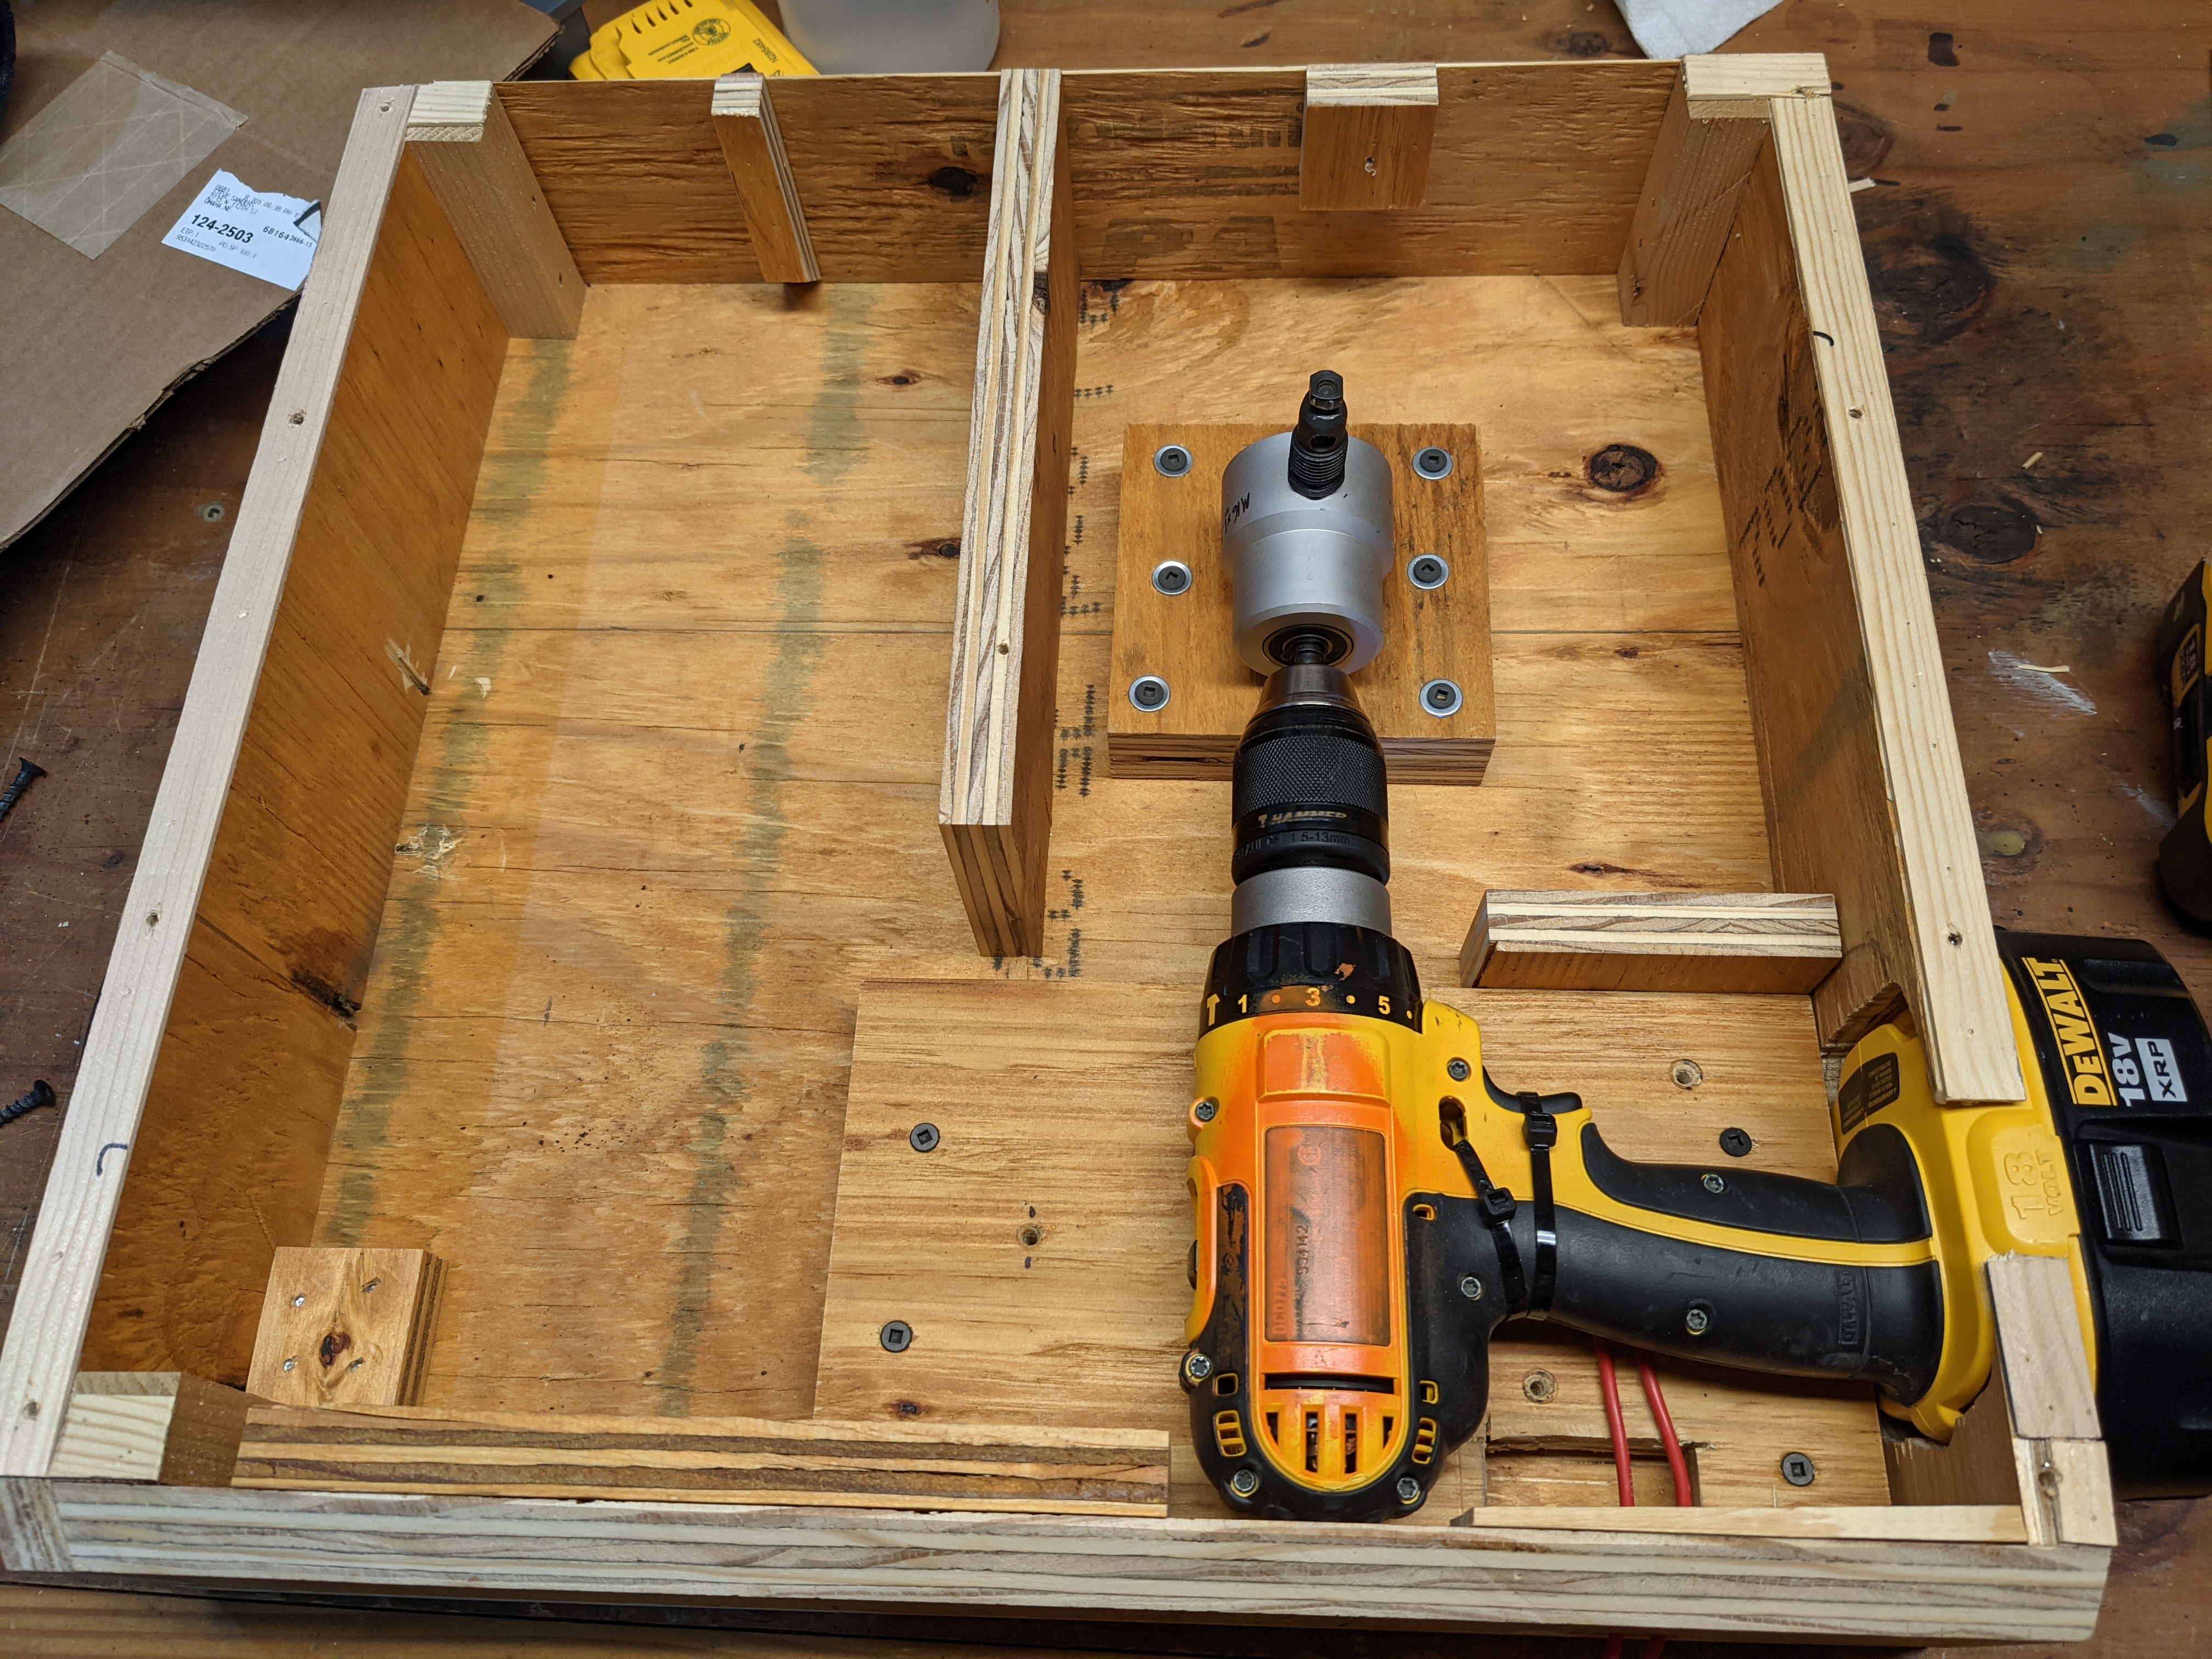
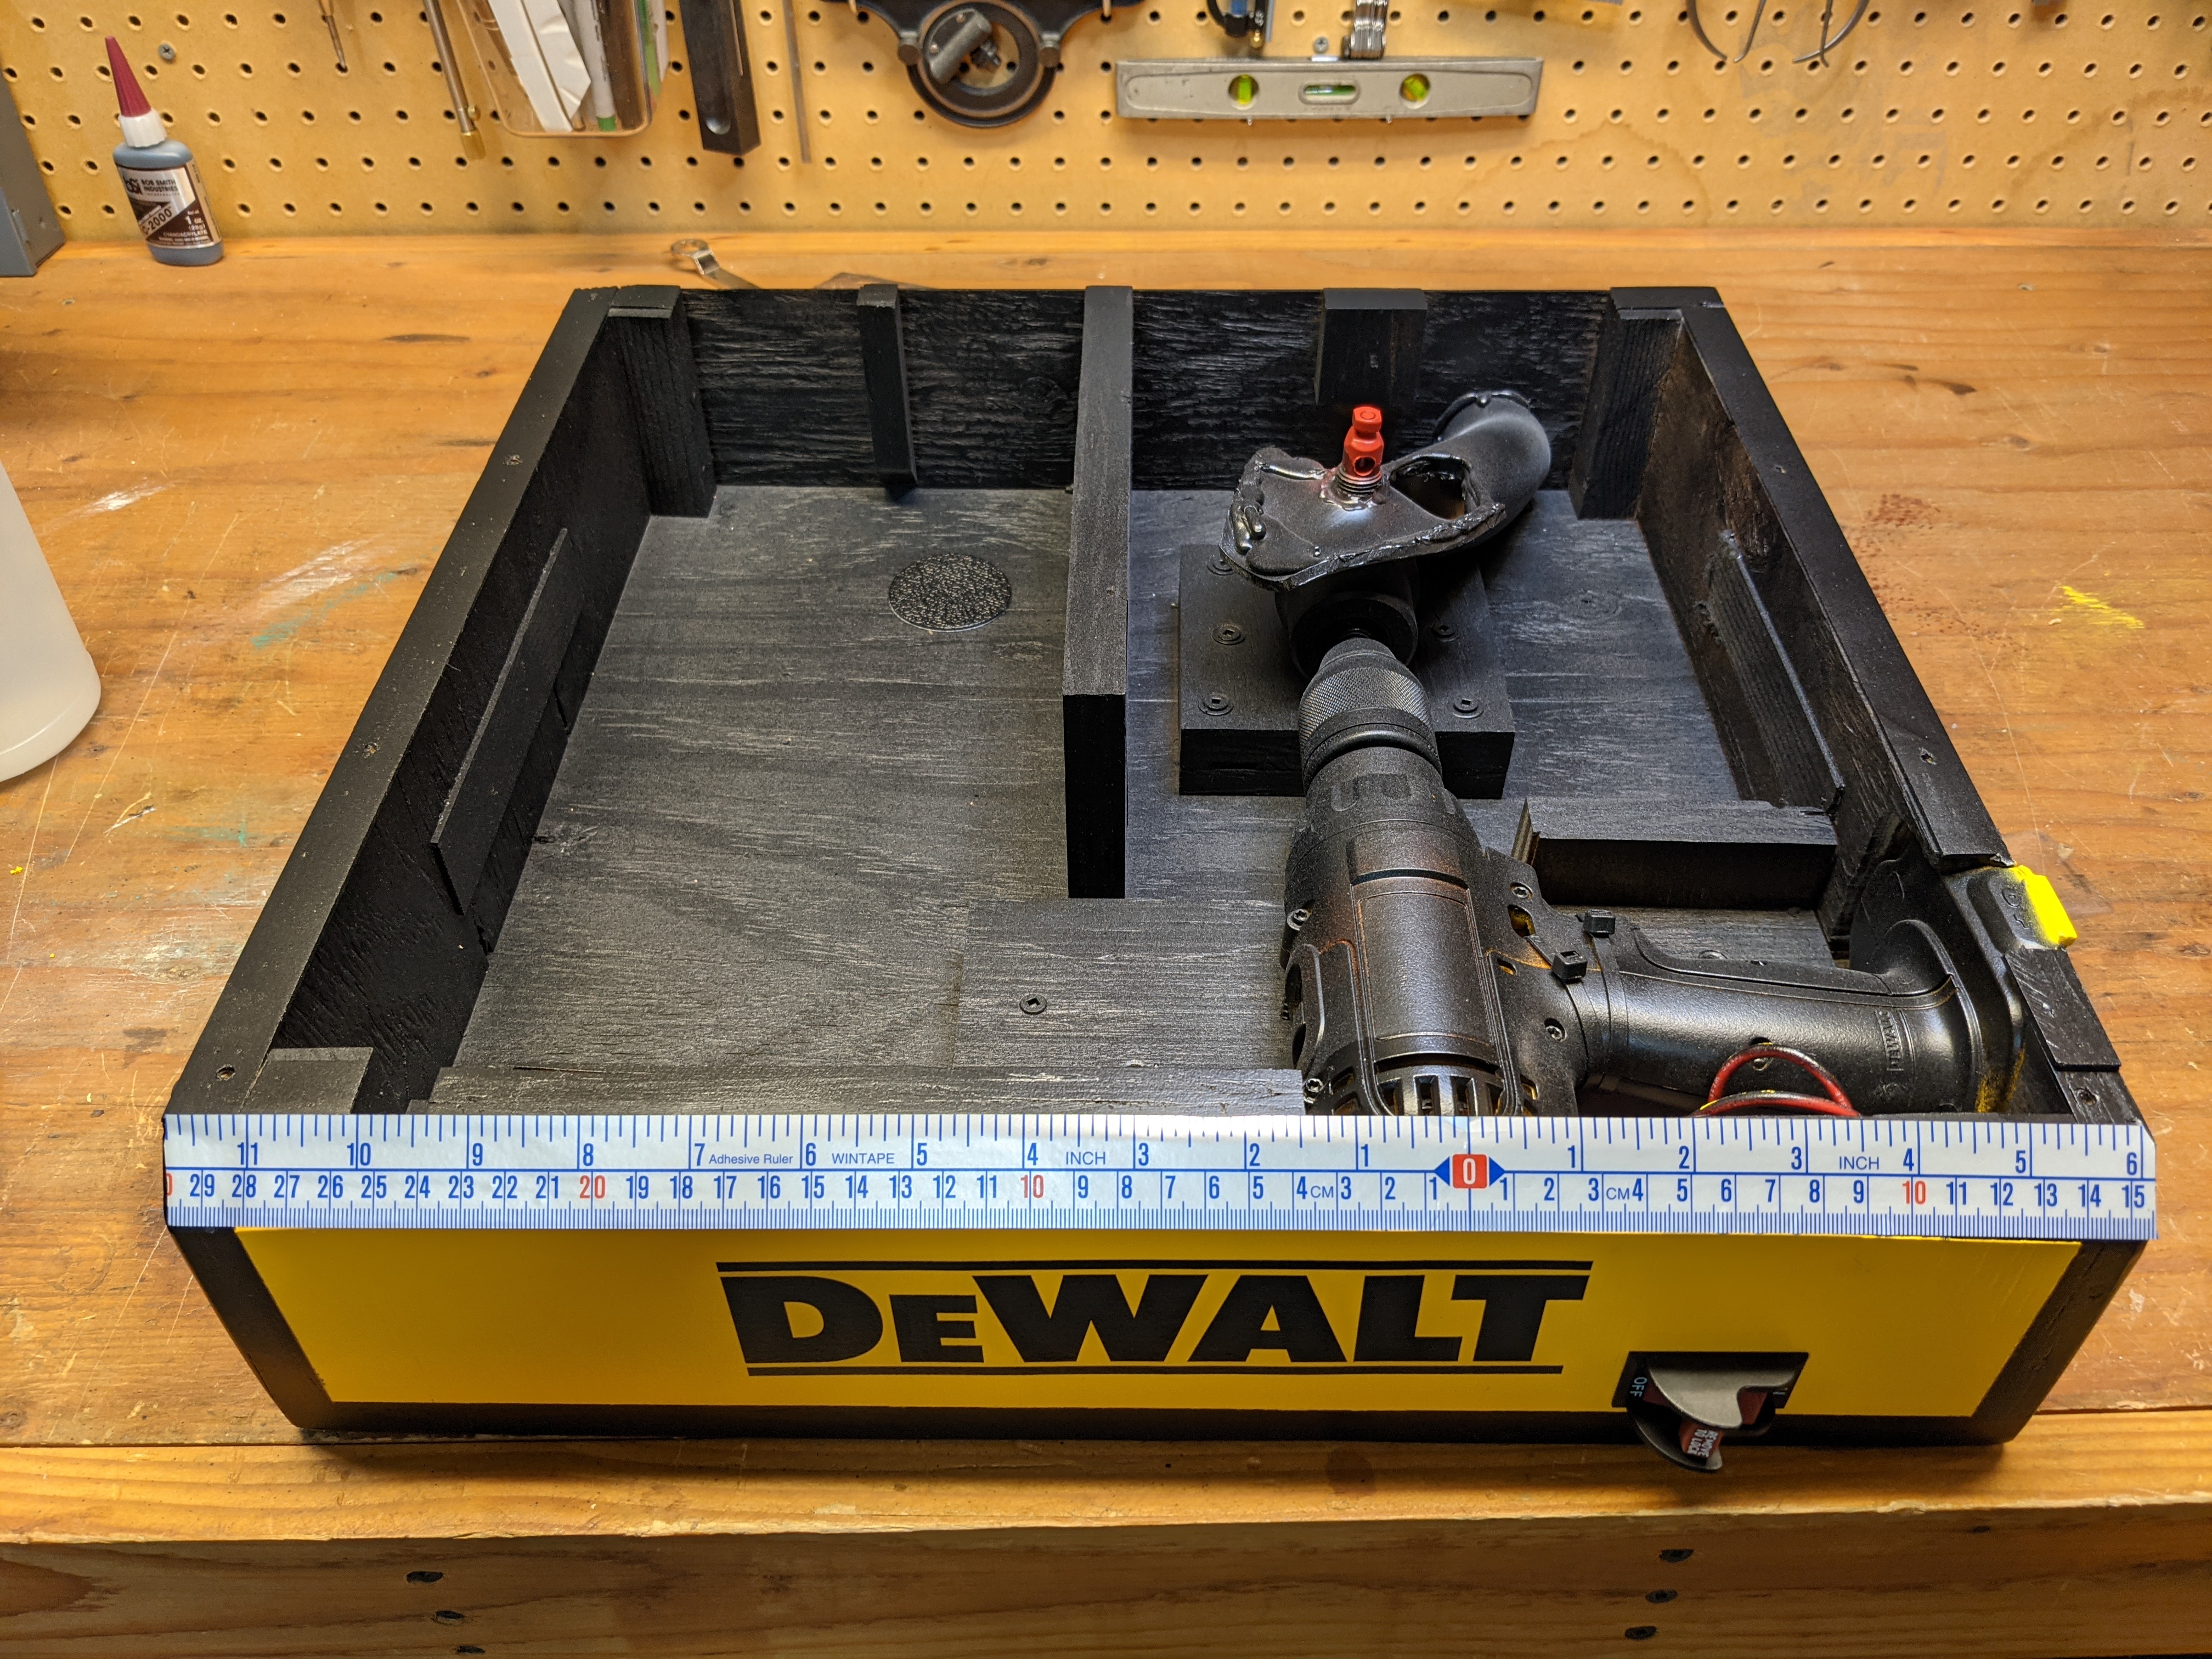
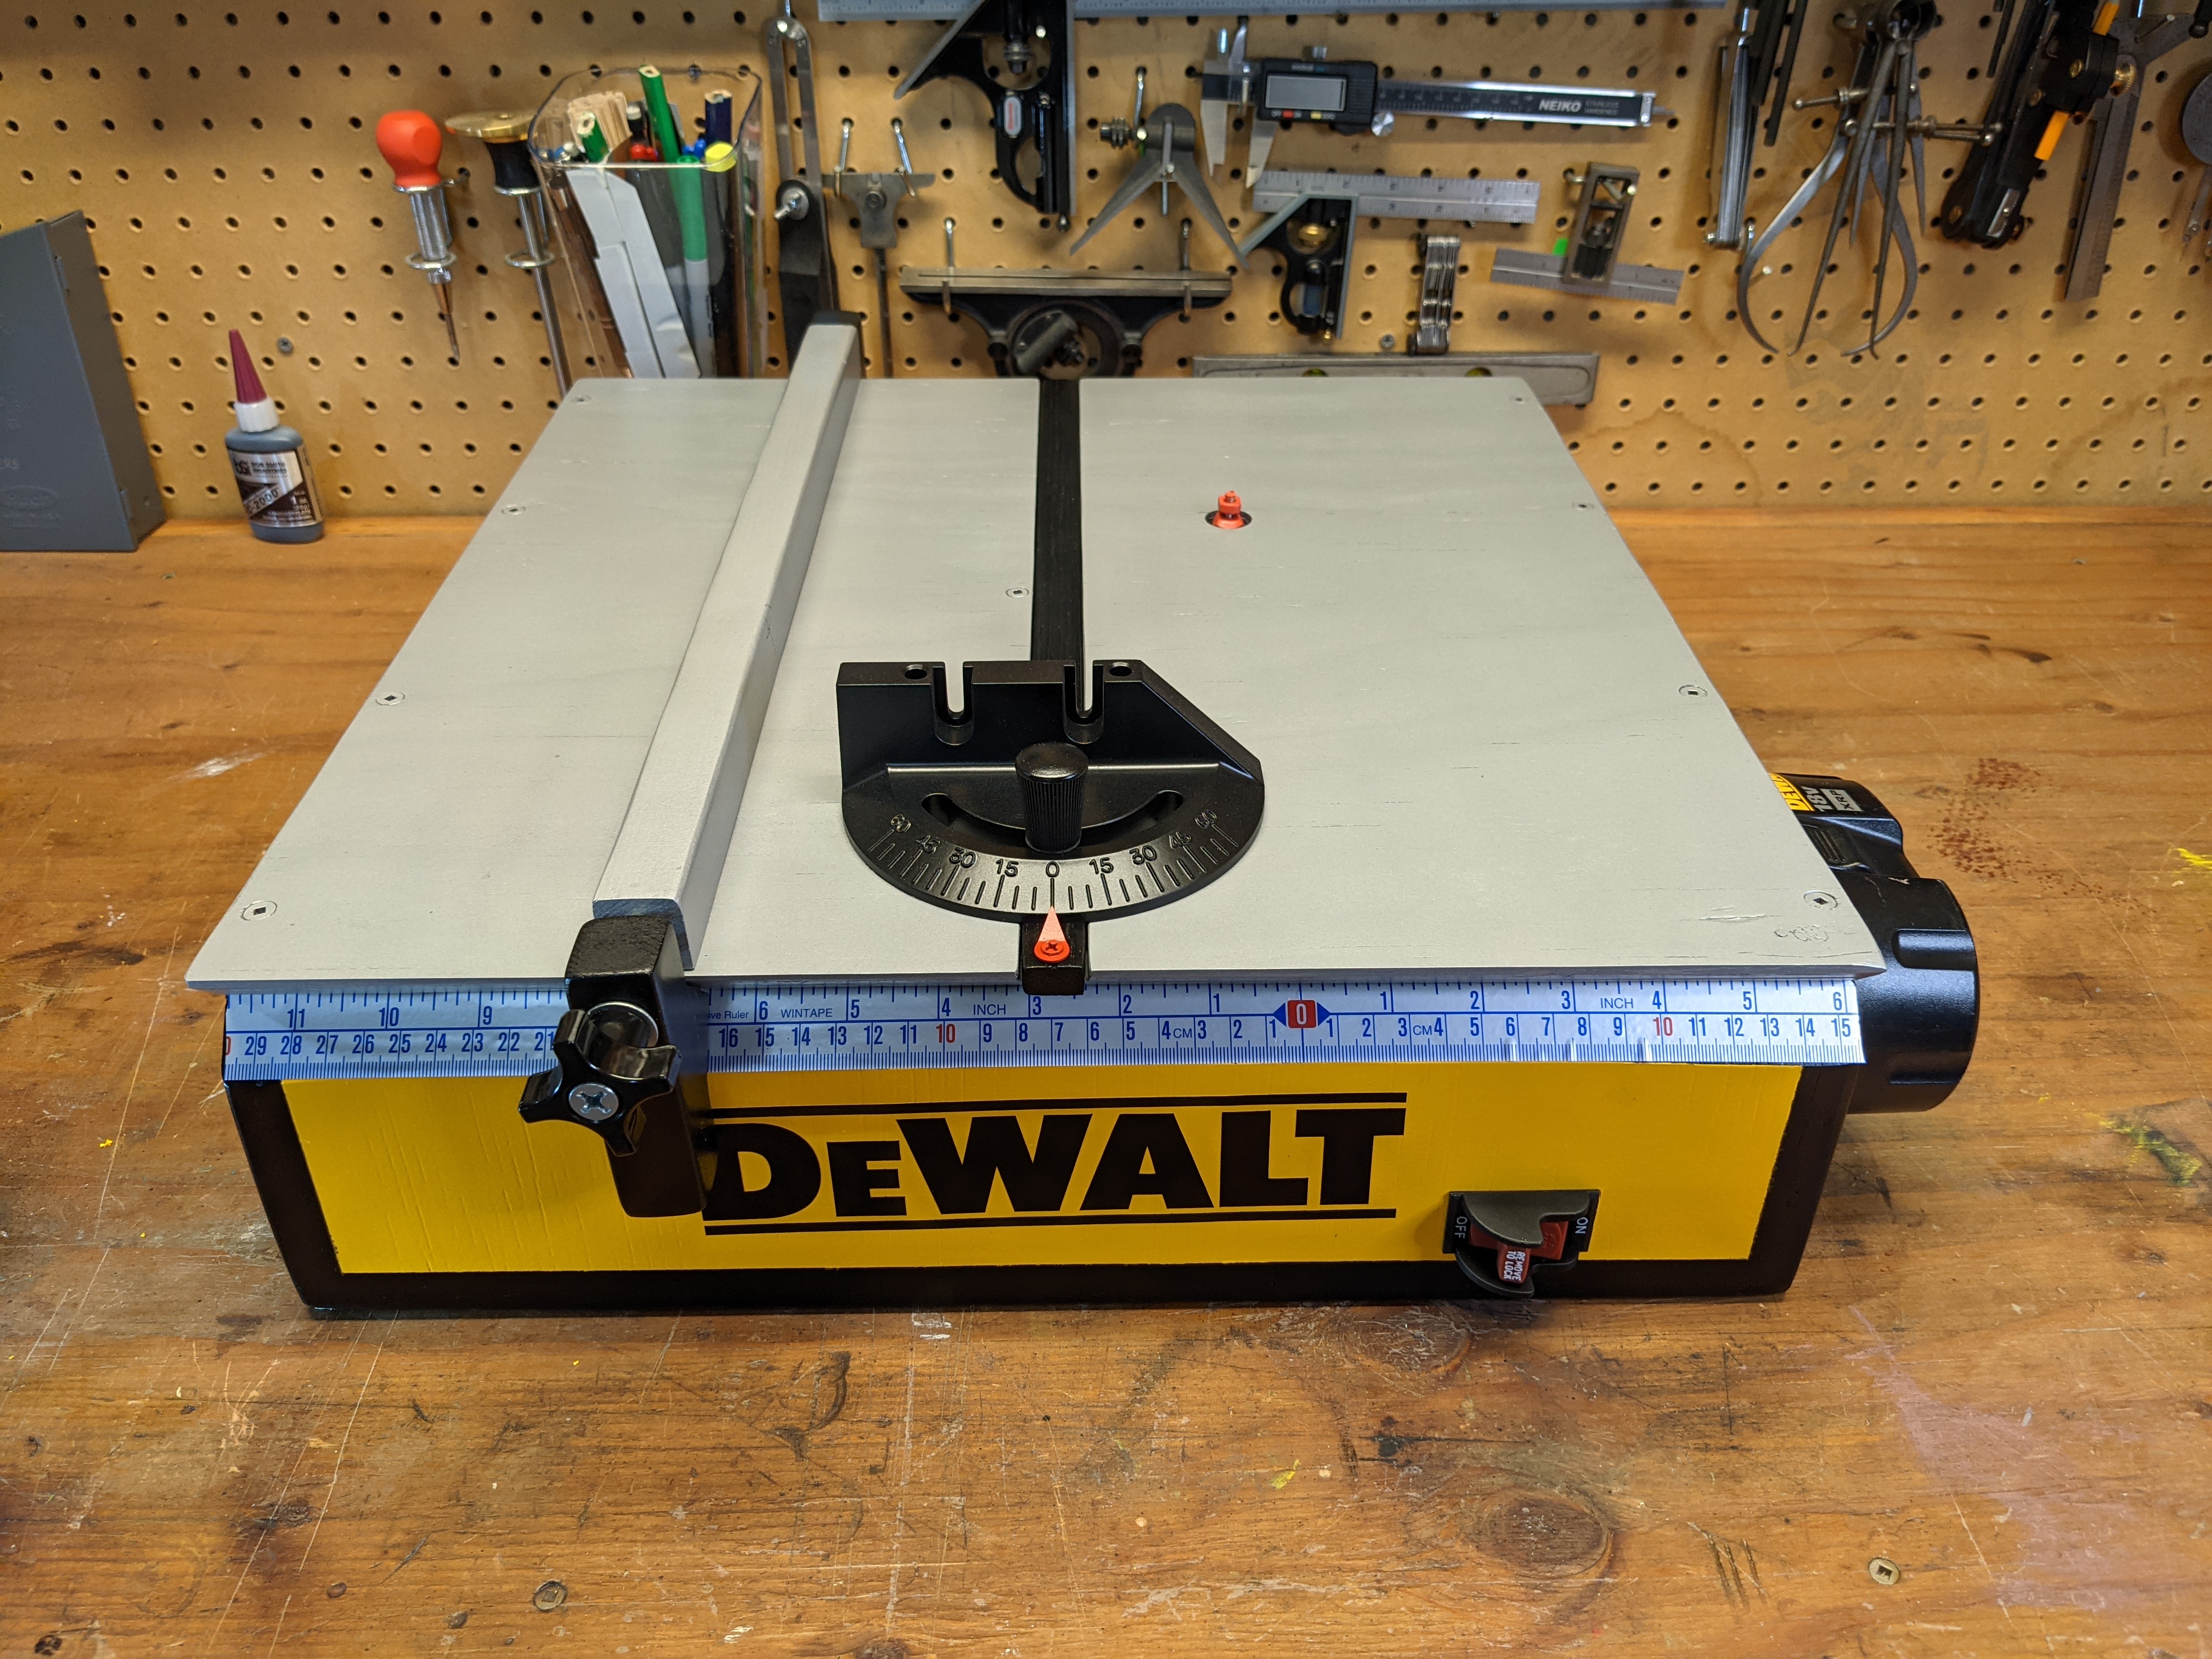
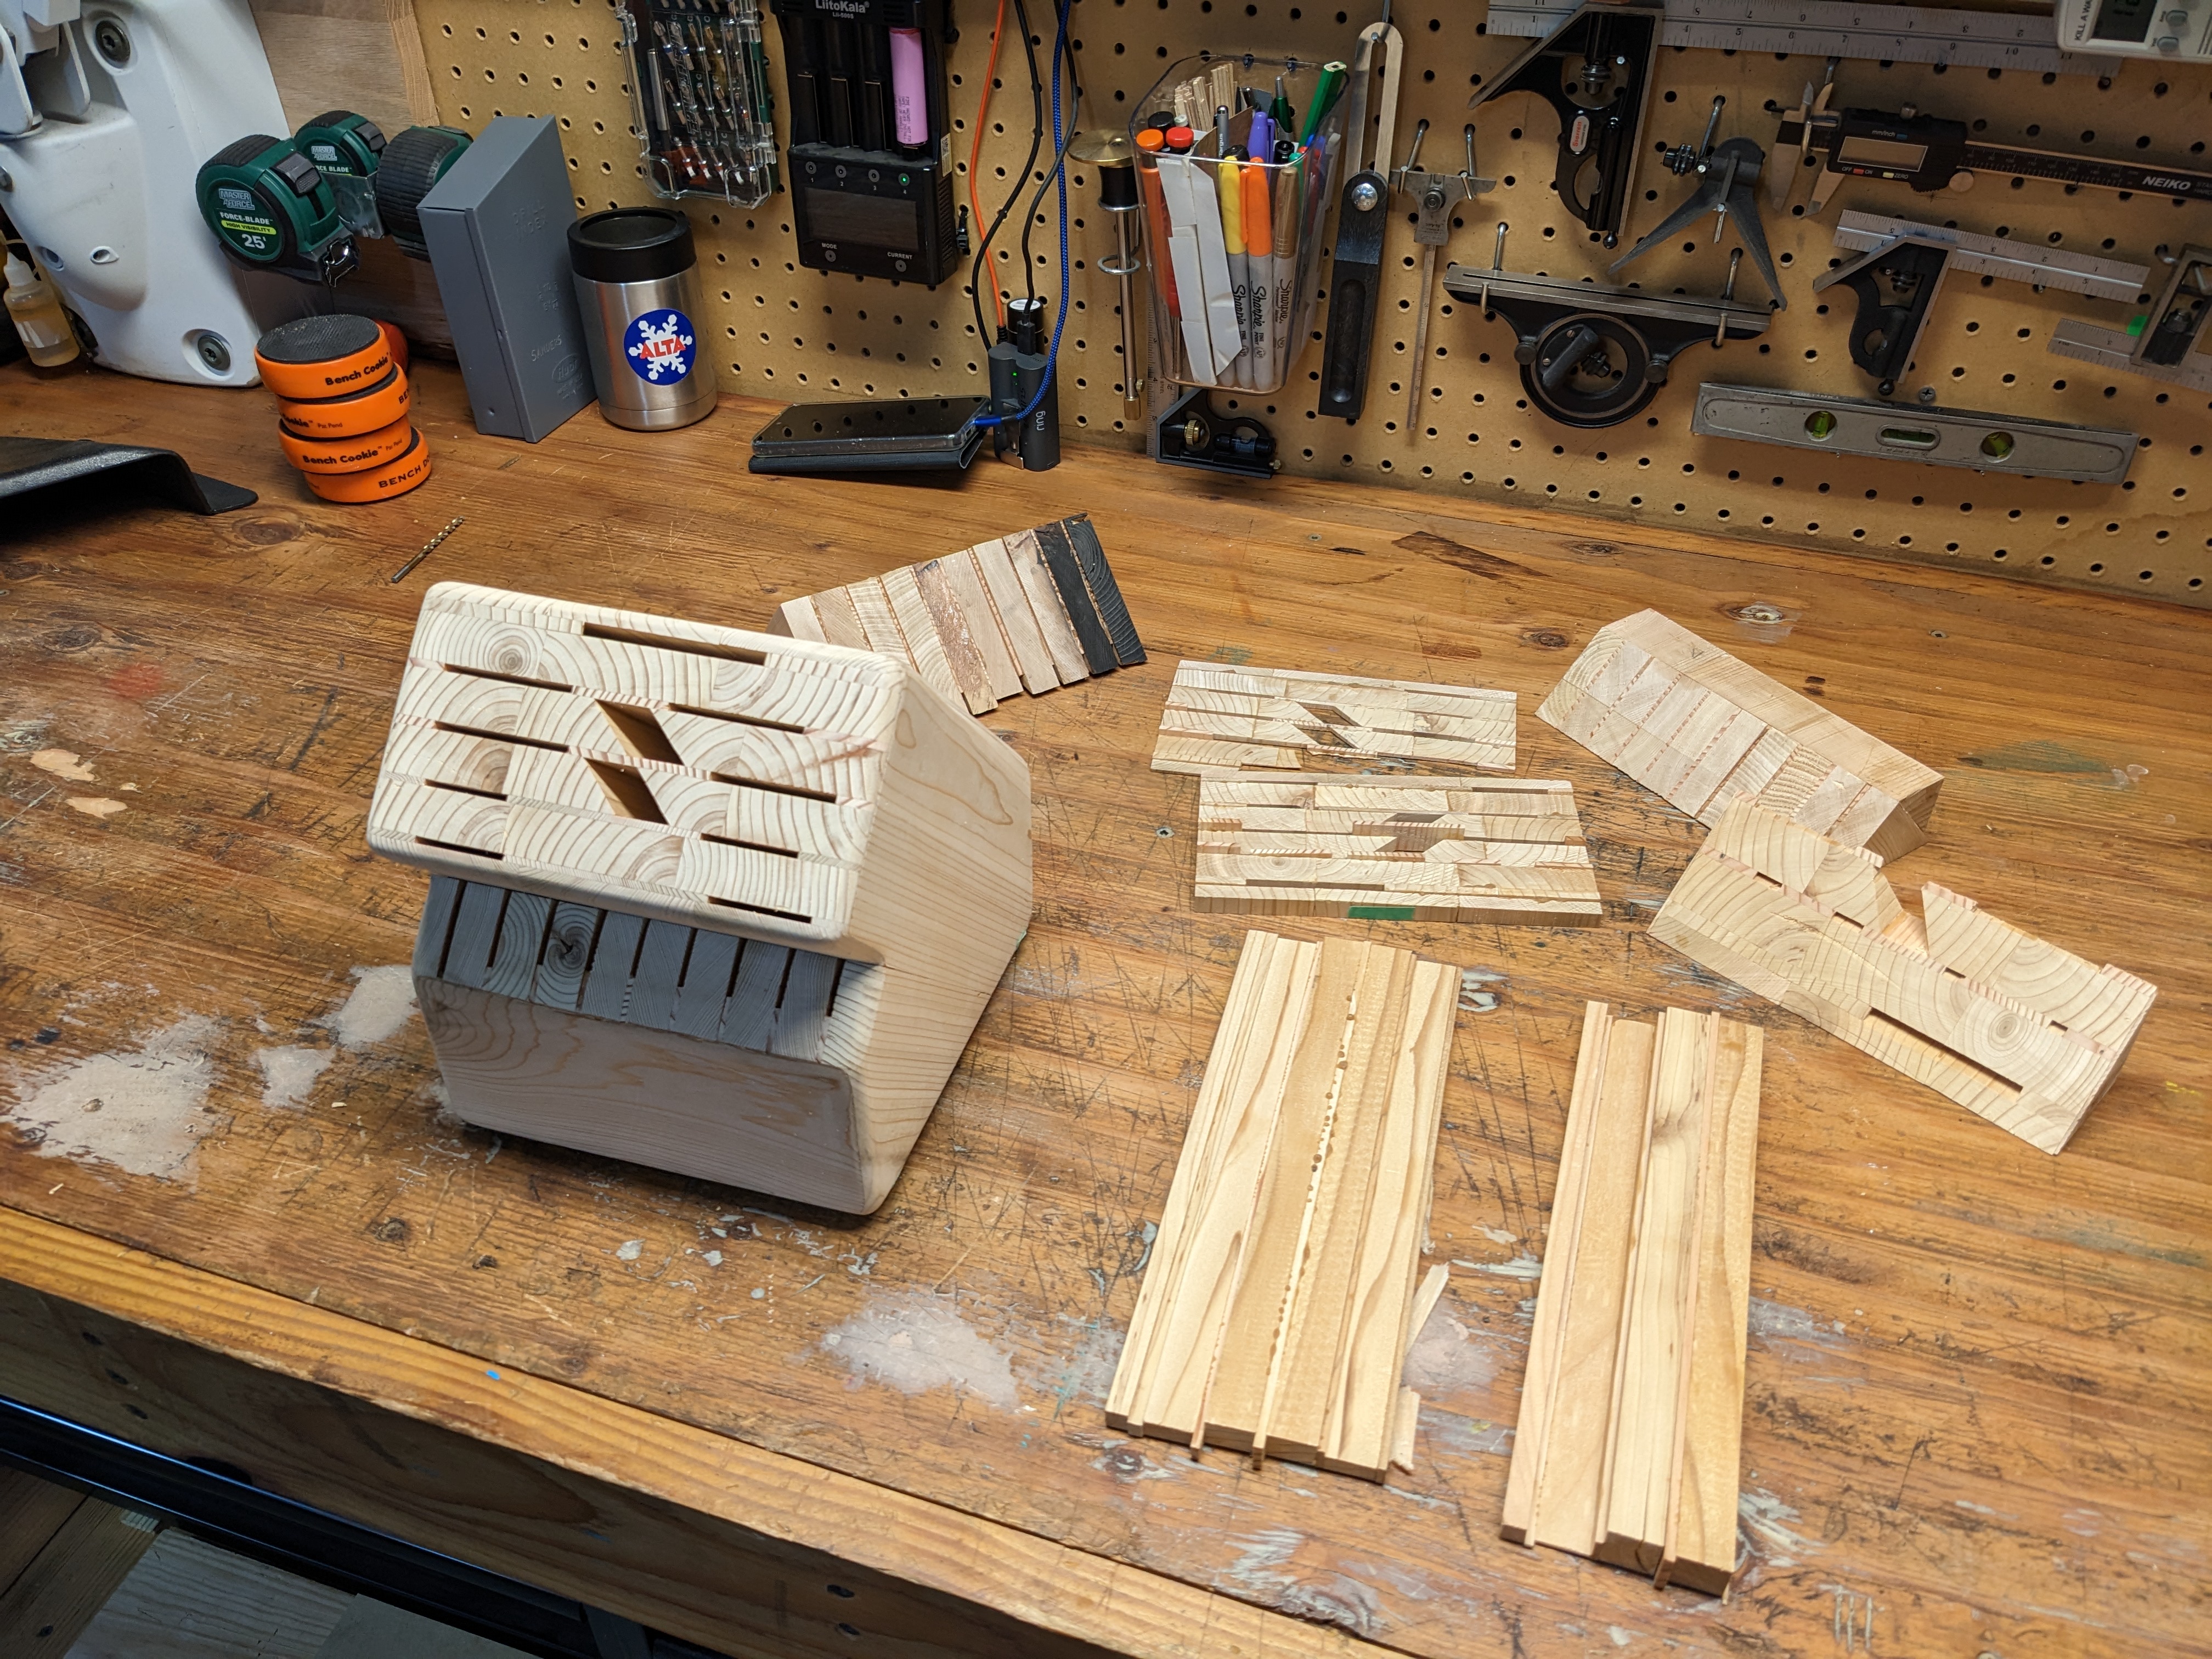
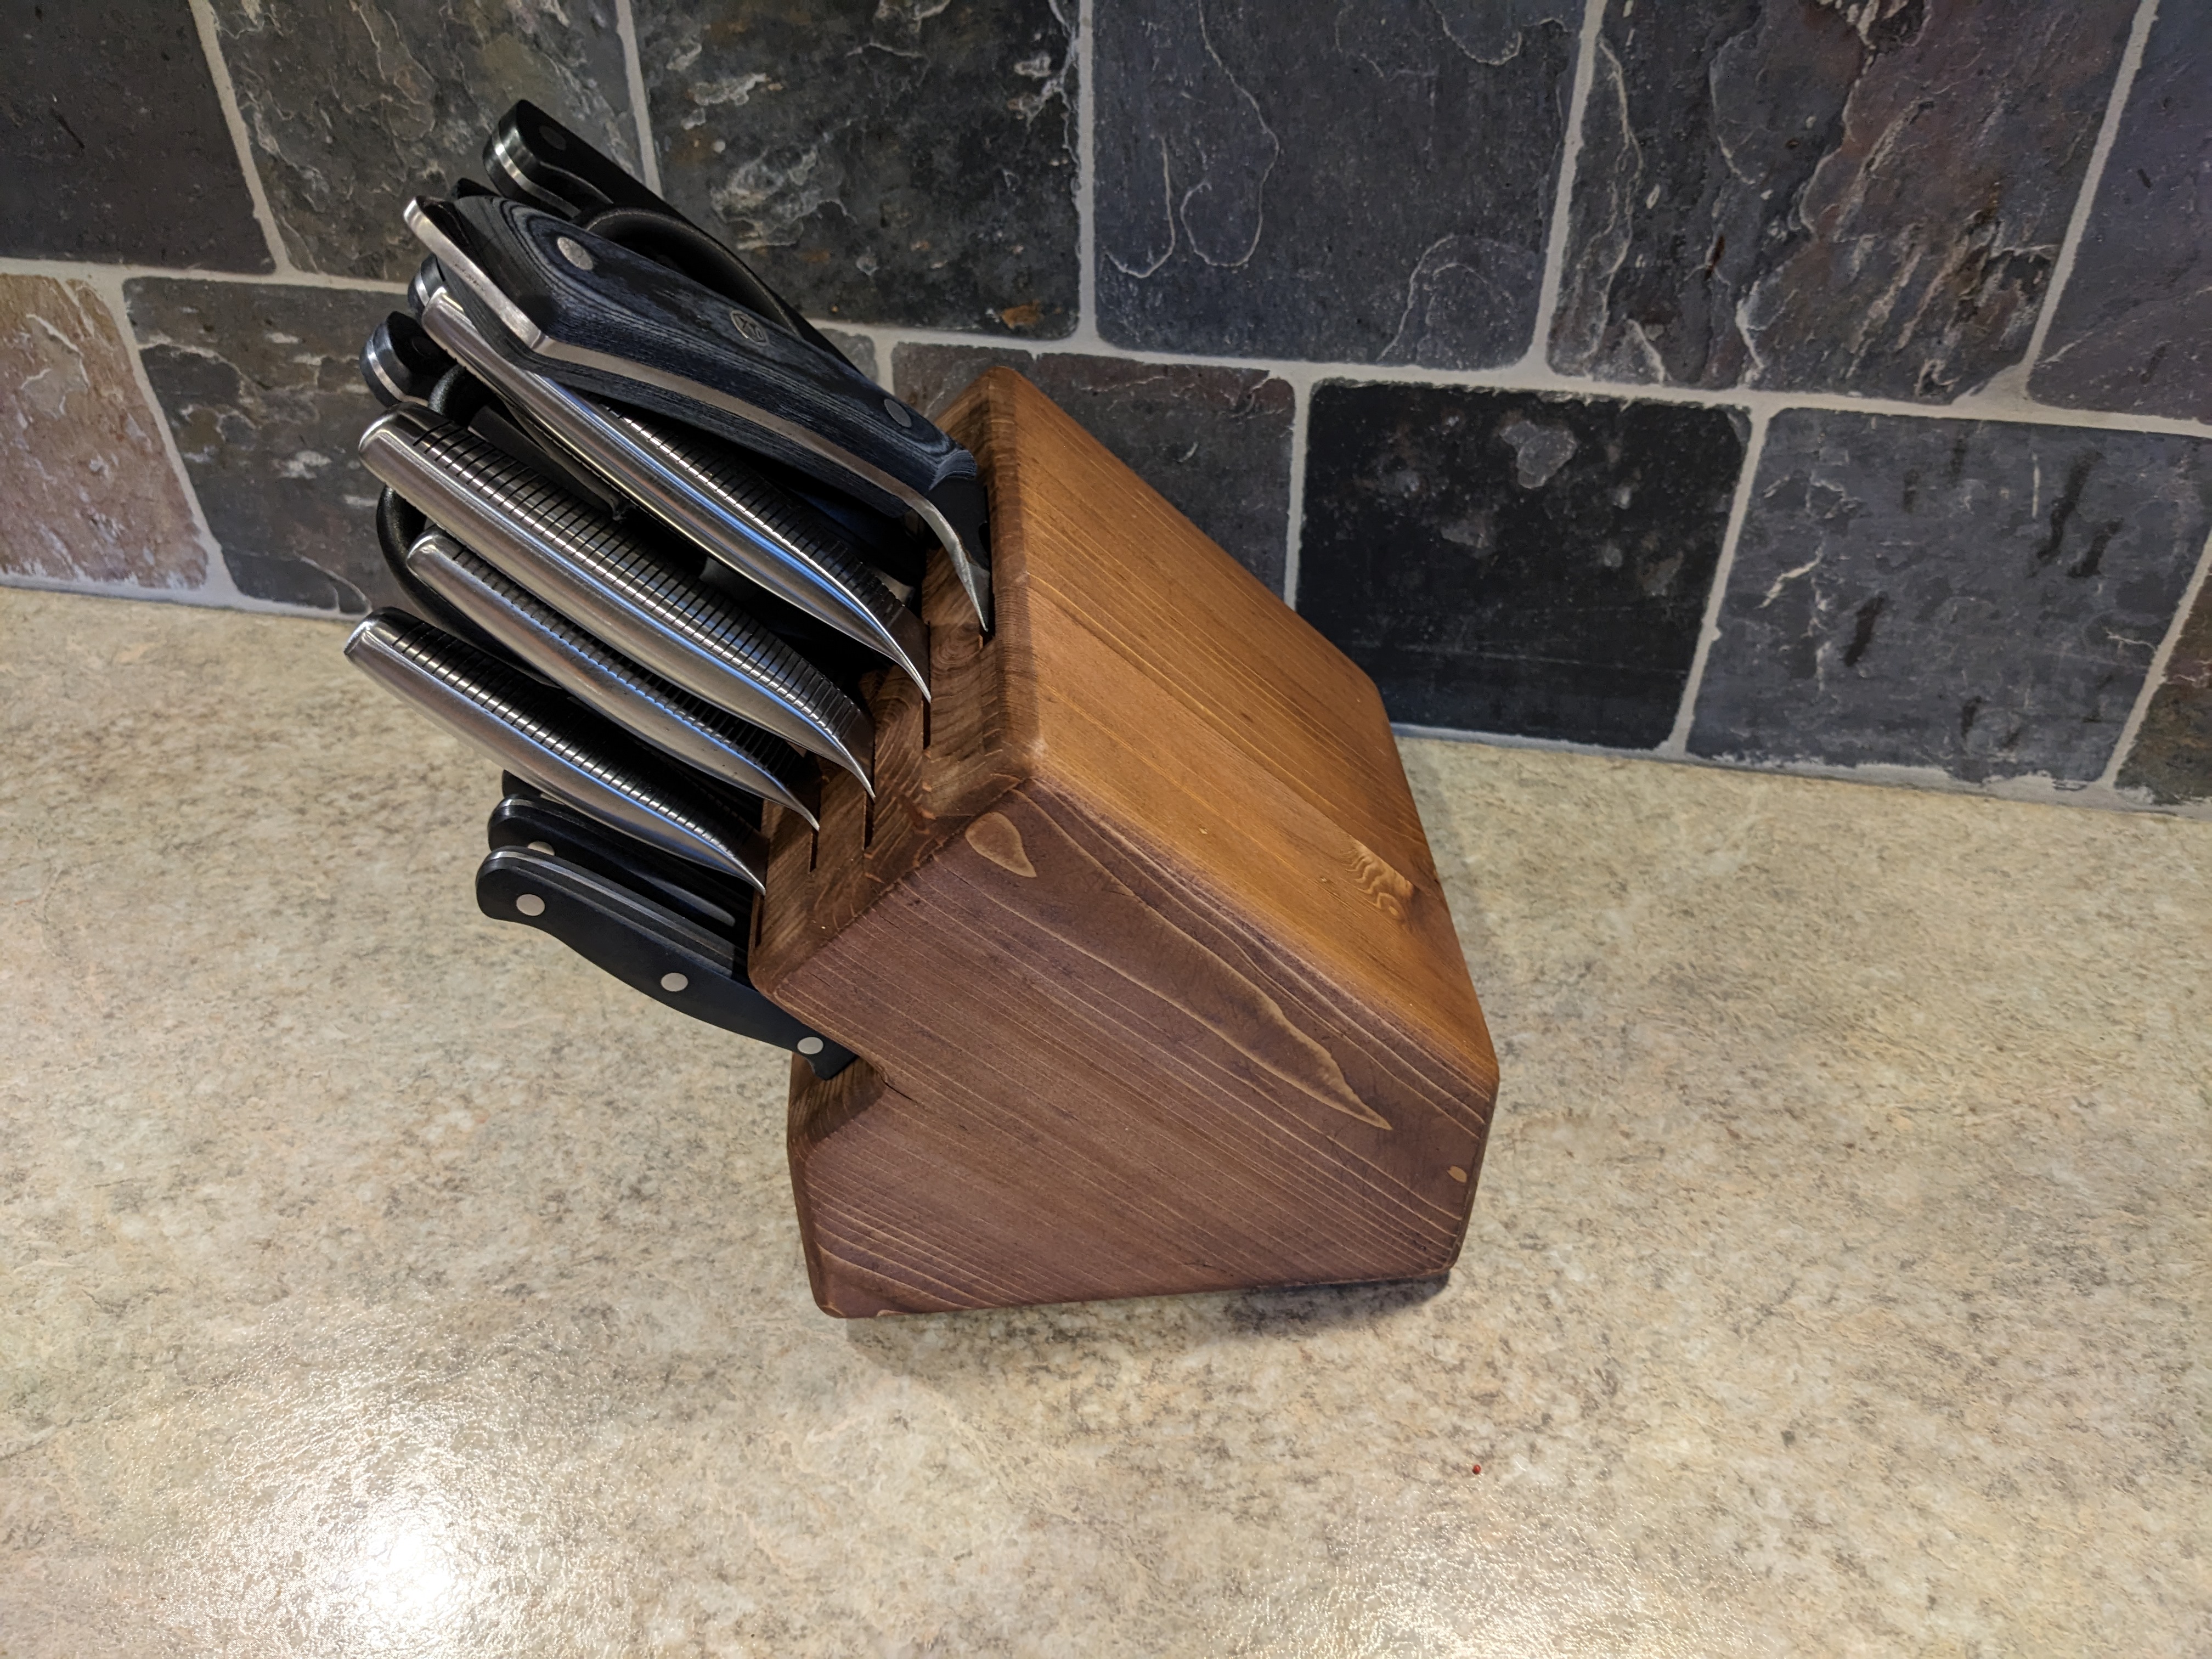
It sat idle over the winter but as soon as the weather was nice I got back at it, there's a ton of finish work to do. My daughter said she wanted a garage and a workbench just like mine so I got right on that! It's the first picture up above.

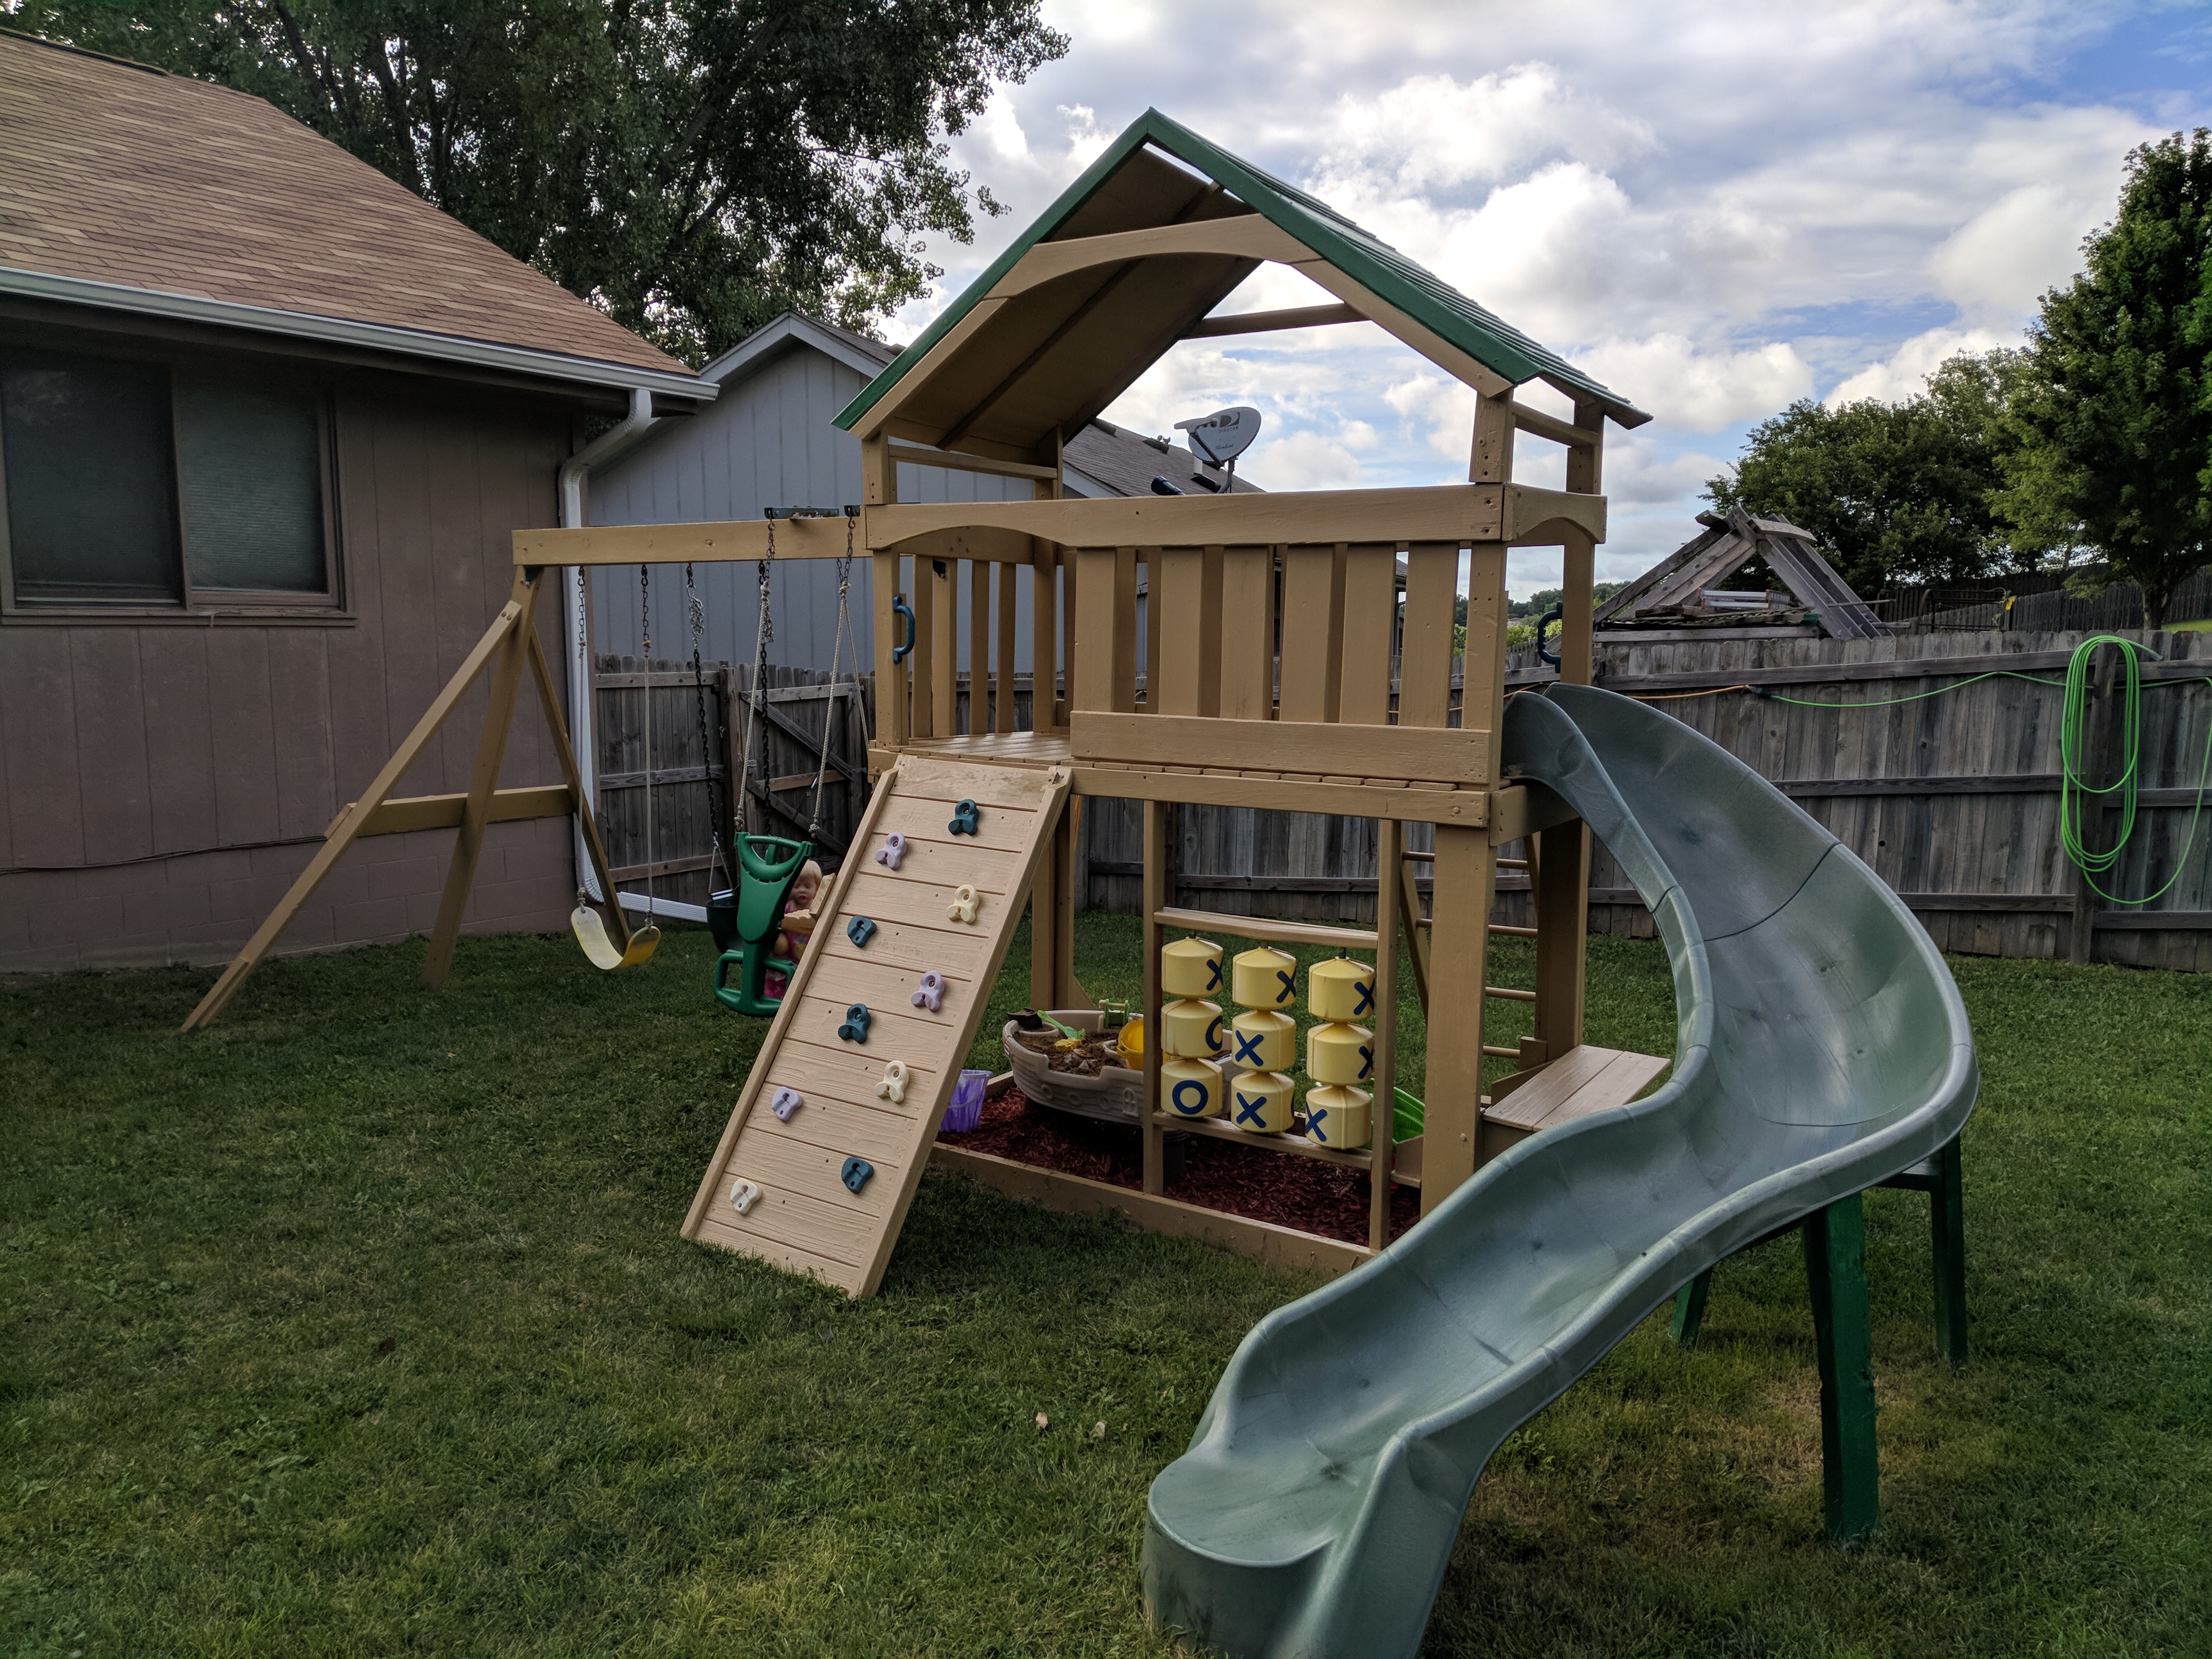
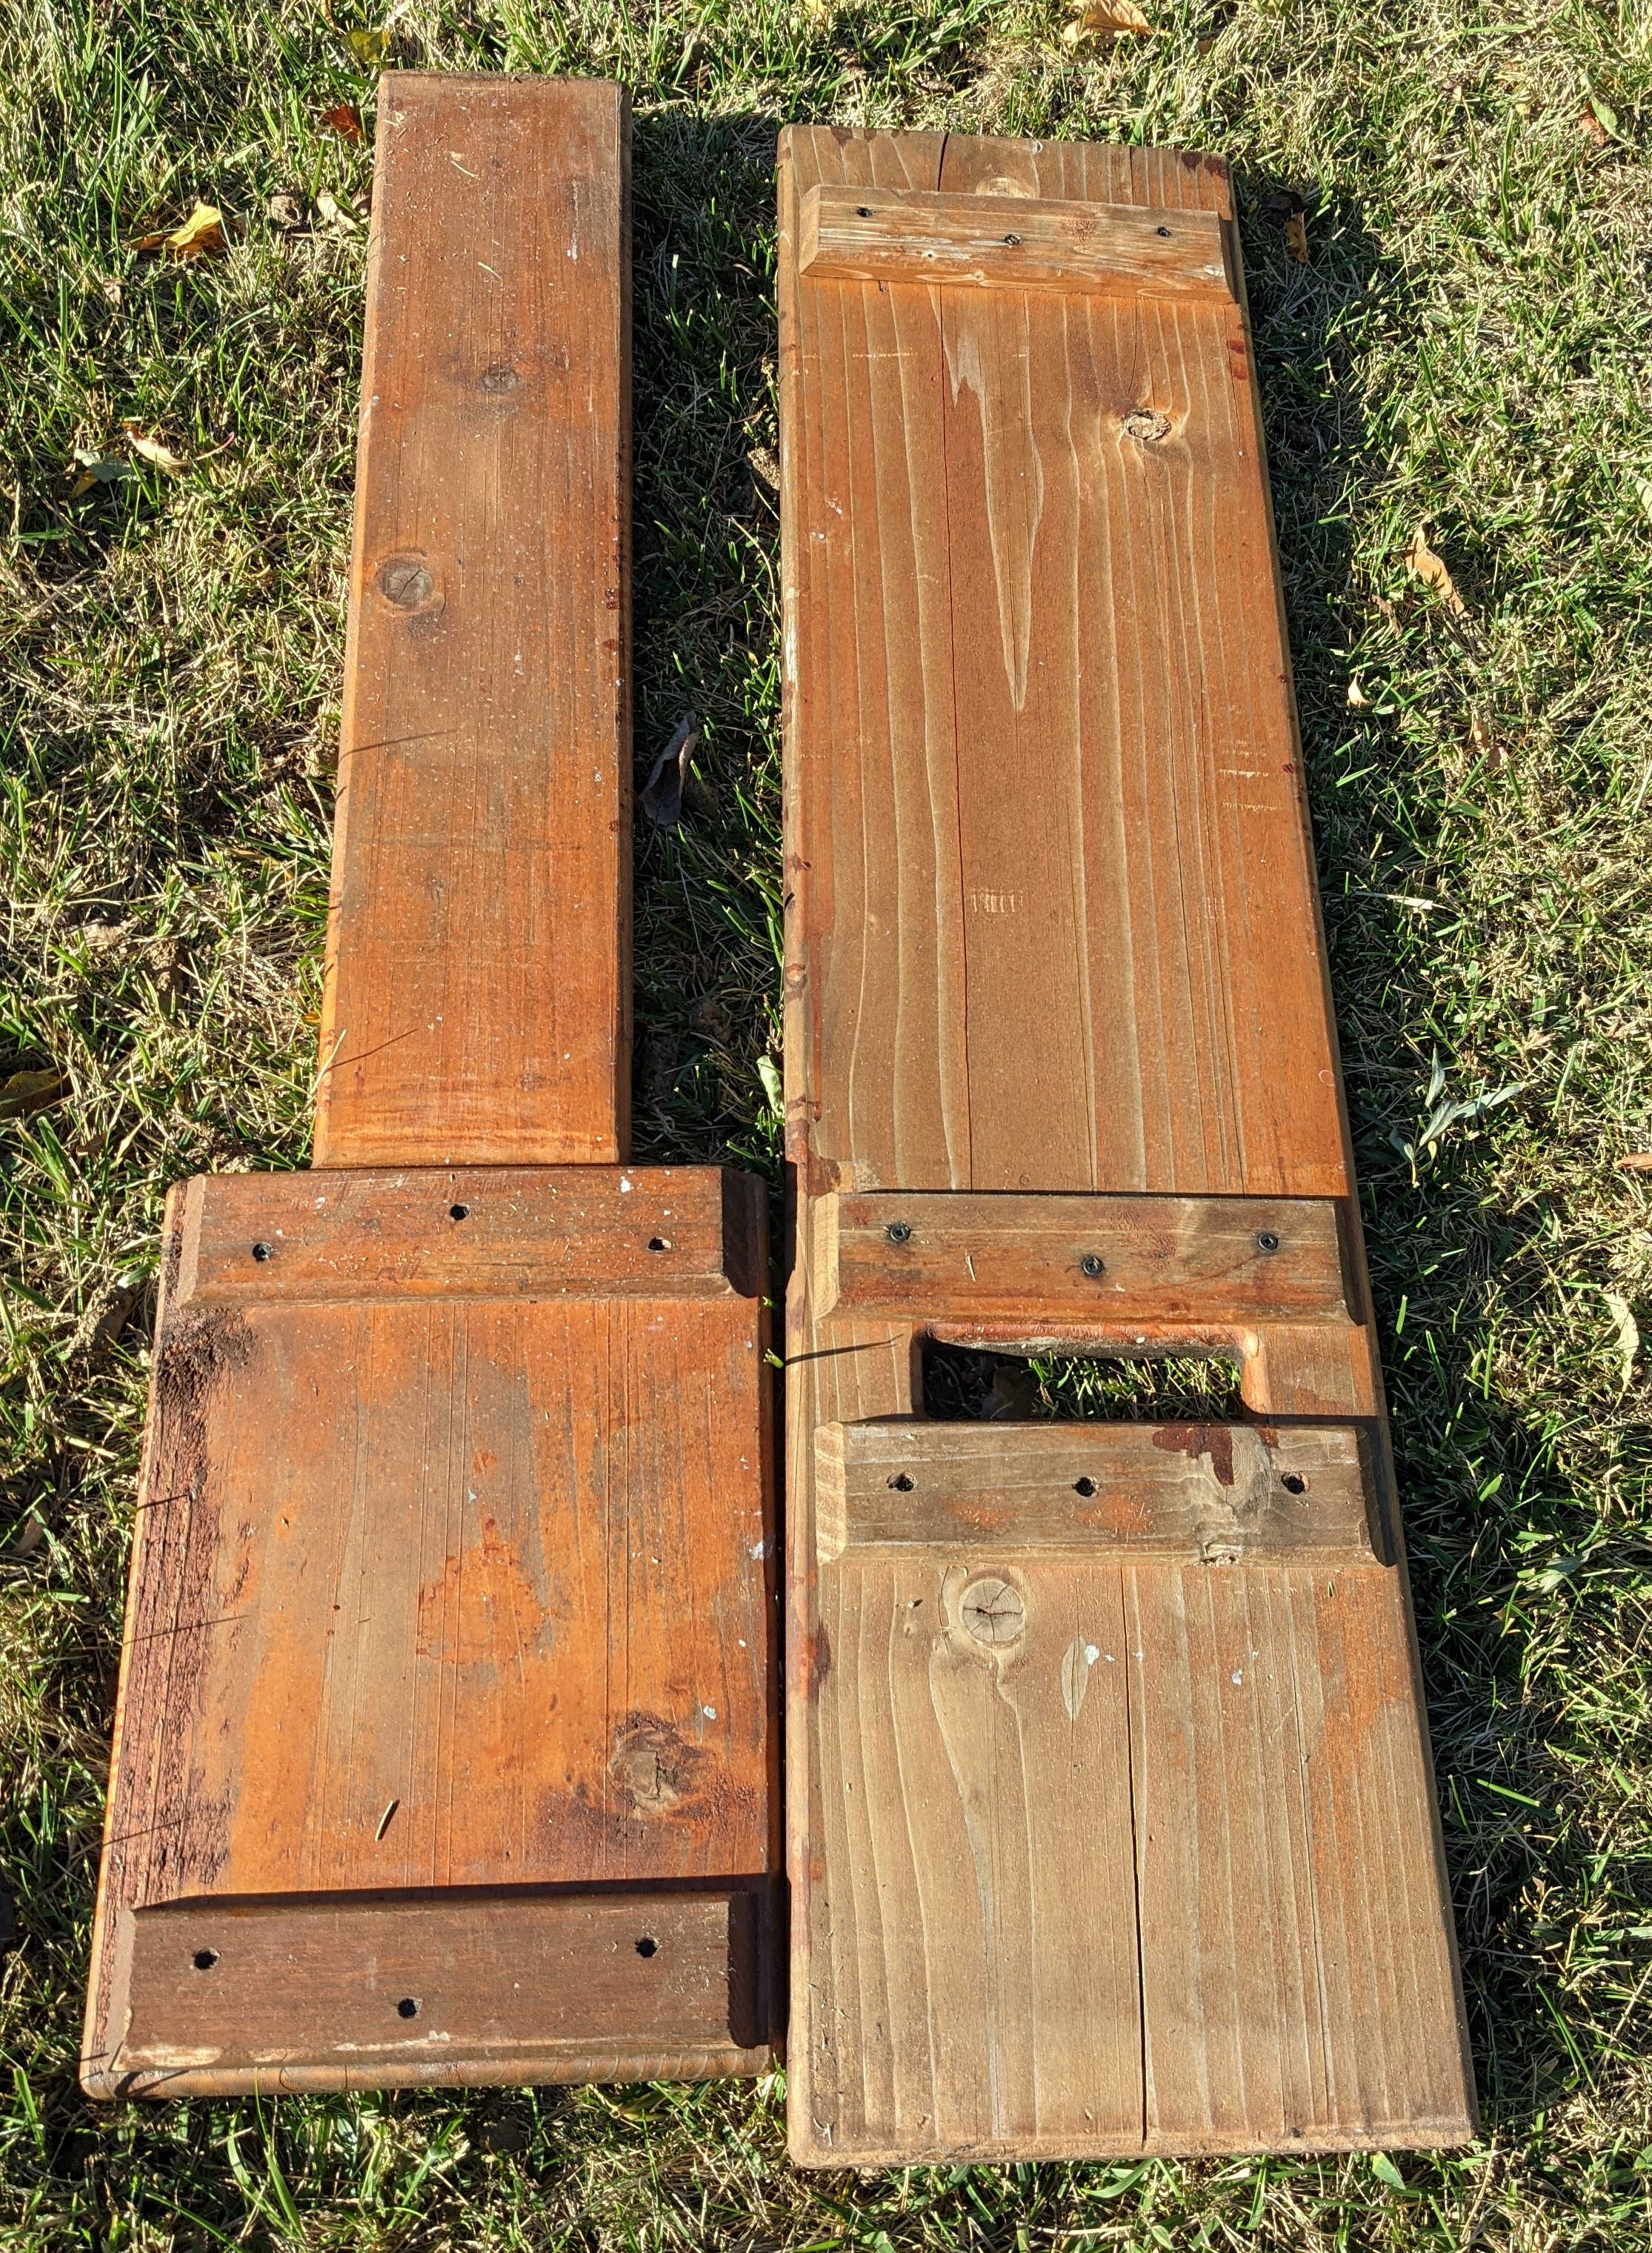
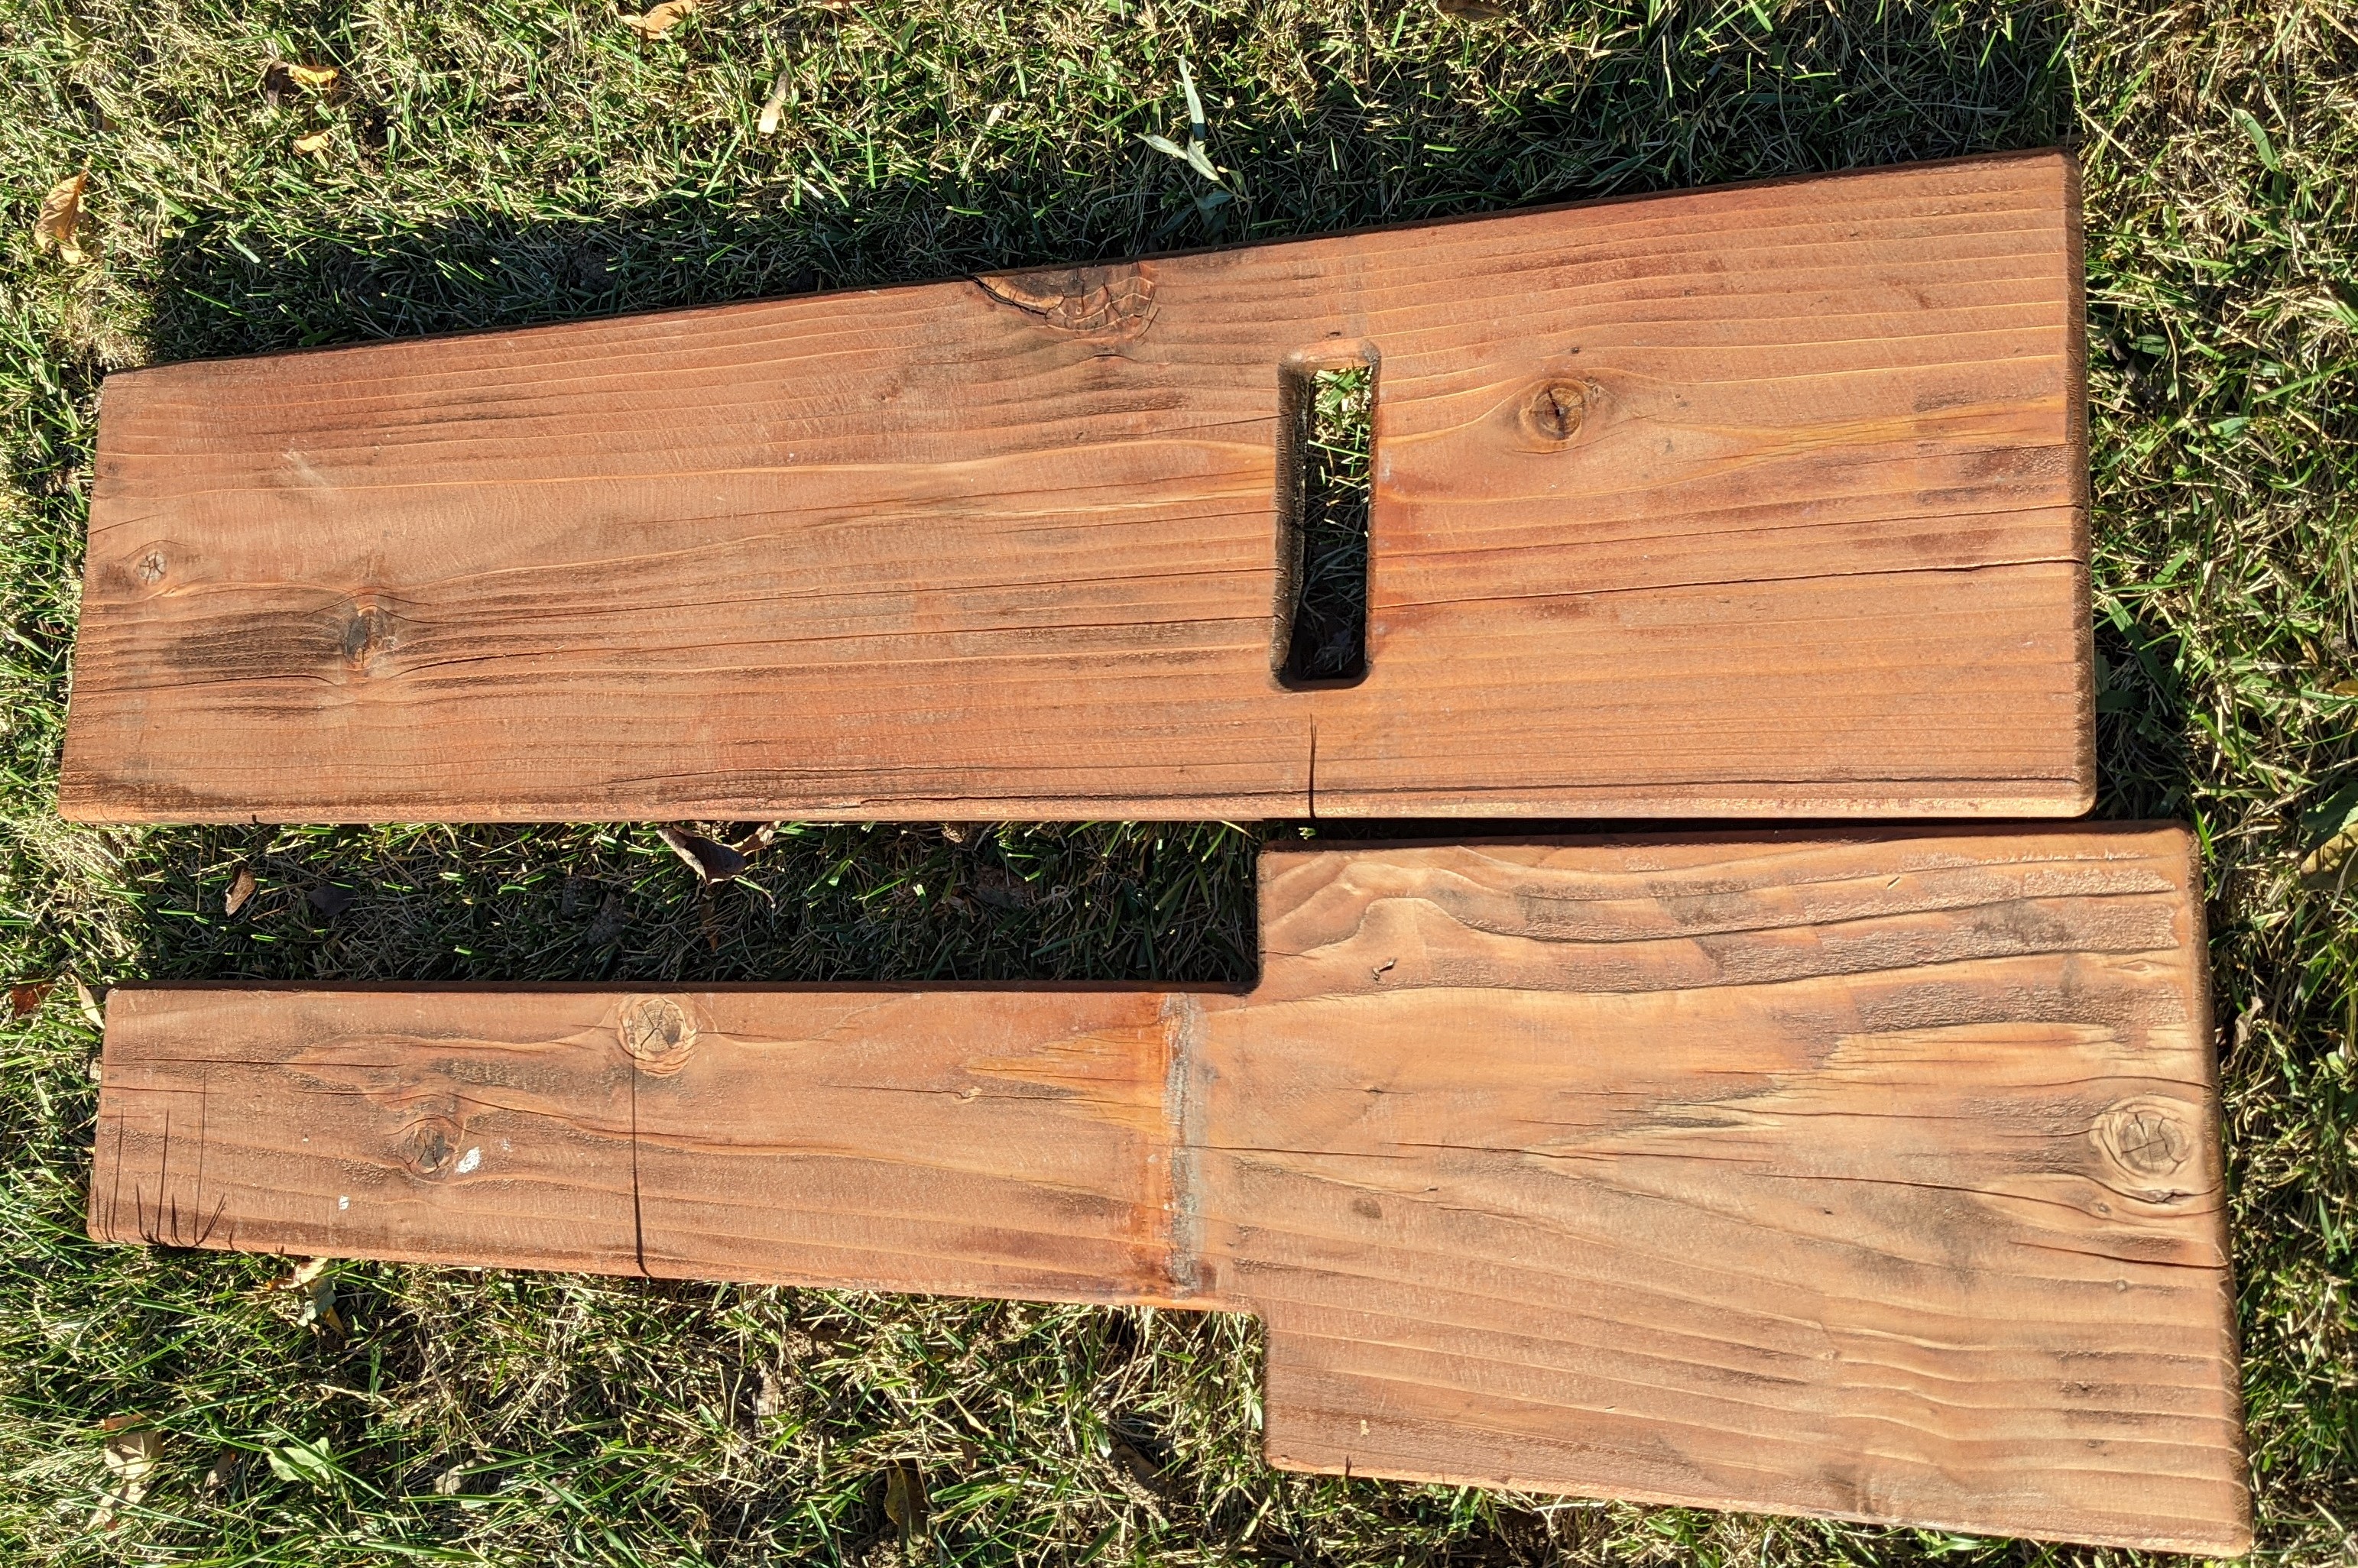
Here's the original one. Back in 2018 we decided it was time to get a playset for the little one. I looked around and thought "There's no way these things are worth $1000-$2000! I better get a used one and save some money." So we found one on a buy/sell/trade site for $100, took it down, and brought it home. Upon trying to set it back up I realized half the boards were rotten. I had a bunch of used deck boards from when I replaced my rotten deck, and I kept the very best looking ones for a future project such as this. Unfortunately I missed a small rotten core somewhere and one of the main structural members rotted out after less than 3 years. So for Round 2 I figured it was time to go big or go home. Just for materials it's going to end up being 4x more than if I'd just bought one brand new the first time around, but I think they're going to get way more enjoyment out of this one.

[–] sandman2211 2 points 1 year ago (1 children)

I was wondering about this also when I tried to sign up to lemmy.world on Monday and it seemed like it just timed out while I was trying to register and login. It looked like they were getting some traffic but it shouldn't have been enough to bring everything to a crawl like that.

13
Backyard Shed (sh.itjust.works)
submitted 1 year ago by sandman2211 to c/diy
 

It may look like a garage but per my building permit this is definitely just a plain old boring 14x18 storage shed. It took forever to complete because I could only work on it a few hours every few evenings, and maybe an afternoon here and there on some weekends. There was also a lot of normal life and work stuff to deal with and other projects that were competing with this one. It was nearly 28 months from the time I broke ground until the last paint was dry.

It started out in June 2017 by paying the professionals to dig out and build a foundation. Over half the budget went into this but it was totally worth it.

After 5 months I'd finished putting in drainage, backfilling the holes, building retaining walls, leveling out the hilltop adjacent to the shed, and loaded over a dozen truckloads of dirt for various Craigslist respondents to my "please take some free dirt" posts.

It sat mostly idle until the end of the following July when I was able to start framing.

After about 3 months I had it framed, sheathed, roofed, and wrapped.

I built the first set of shelves late that fall so I'd have a safe place to store all the fiber cement siding until I could get around to installing it. A lot of it ended up in the attic as well. I also put in a rolling steel door around this time so it could be sealed up.

Some other things came up and I didn't get any more work done until June 2019, when I built some more storage space in there. It doesn't look like it from the outside but it has 9'6" of clearance to the bottom of the joists along with a pretty decent amount of attic space.

I worked on the finishing touches (fascia, soffit, siding, trim, caulk, paint, etc) through Sept and Oct.

Got it all finished up and passed inspection 3 days before my building permit expired! Here's what it looks like after I filled it up with shelves and storage and all our other junk.


I don't really understand how the different servers and communities and federated this-and-that works yet but I checked out a few different servers and this one seems pretty cool. I have no idea if this will become an alternative to reddit or not, but if nobody uses it then it surely won't. So I took a shot at recreating one of the parts of that site that I really appreciated.

I threw out some of the random stuff I've made to hopefully get the ball rolling. I know there's folks browsing right now that have made something that's cooler, more functional, more beautiful, or more ridiculous than anything I have in my garage right now. Let's see some of them!

22
alarm clock bedside shelf (sh.itjust.works)
submitted 1 year ago* (last edited 1 year ago) by sandman2211 to c/diy
 

Made this little guy in about 5 minutes back in the college days when I wasn't allowed to put holes in walls or fill the garage I didn't have with tools I couldn't afford.

The DVD case came from the 2002 Fellowship of the Rings Xbox game. The packaging for the game was by far the best part of that whole experience.

https://www.eurogamer.net/r-vulotr-x

17
kids tablesaw (sh.itjust.works)
submitted 1 year ago* (last edited 1 year ago) by sandman2211 to c/diy
 

Kids need tablesaws too, right? This one uses a sheet metal nibbler so it's completely safe, even a toddler-sized pinkie finger won't fit into the moving cutterhead.

Full credit to this cool instructable - I was going to use an oscillating multitool until I stumbled across this idea which is even safer:

https://www.instructables.com/Table-Saw-for-Kids/

To explain the theme - I have a lot of Dewalt stuff so I wanted my kids to feel like they had a real powertool, not some plastic kiddy toy. It cuts paper, thin wood, thinner cardboard (think Amazon boxes, not Target or diaper boxes) and sheet metal. I haven't tried that last one because I don't want to scratch up my nice paint job.

Functional dust collection port in back

I had an old 18v drill with a wobbly arbor so it was perfect for this project. The cutterhead is just a cheap sheet metal nibbler.

Internals with a coat of paint

Close up of the fence locking hardware

21
bog chairs (sh.itjust.works)
submitted 1 year ago* (last edited 1 year ago) by sandman2211 to c/diy
 

This project is from several years ago. My dad picked up a set of viking / bog chairs decades ago and over the years all but 1 of them were lost, broken, or loaned and not returned. I made some copies out of cedar for him to replace all the lost ones. Original is on the right.

Freshly stained. I think I used Pittsburgh Cedar Naturaltone deck stain from Menards.

I kept 2 chairs for myself - the best and the worst. This is how the latter looked after 4 years out in the elements. I think it had just been powerwashed before I took this picture in preparation of being restained.

This is the guide I made to cut the tails out with a router.

16
knife block (sh.itjust.works)
submitted 1 year ago* (last edited 1 year ago) by sandman2211 to c/diy
 

I received some knives as gifts and didn't have a good place to store them so I made a larger knife block.

I made almost all of these cuts on my bandsaw. I had some cedar scraps and offcuts so I made a lot of veneer strips of varying thickness and kind of glued and layered it all into place. Then I trimmed it up, used a router and roundover bit, and sanded it for awhile.

I stained it with basic minwax stain and finished with a few coats of tung oil followed by paste wax.

I don't think I'd use this approach again but I think it turned out OK anyway.

view more: next ›