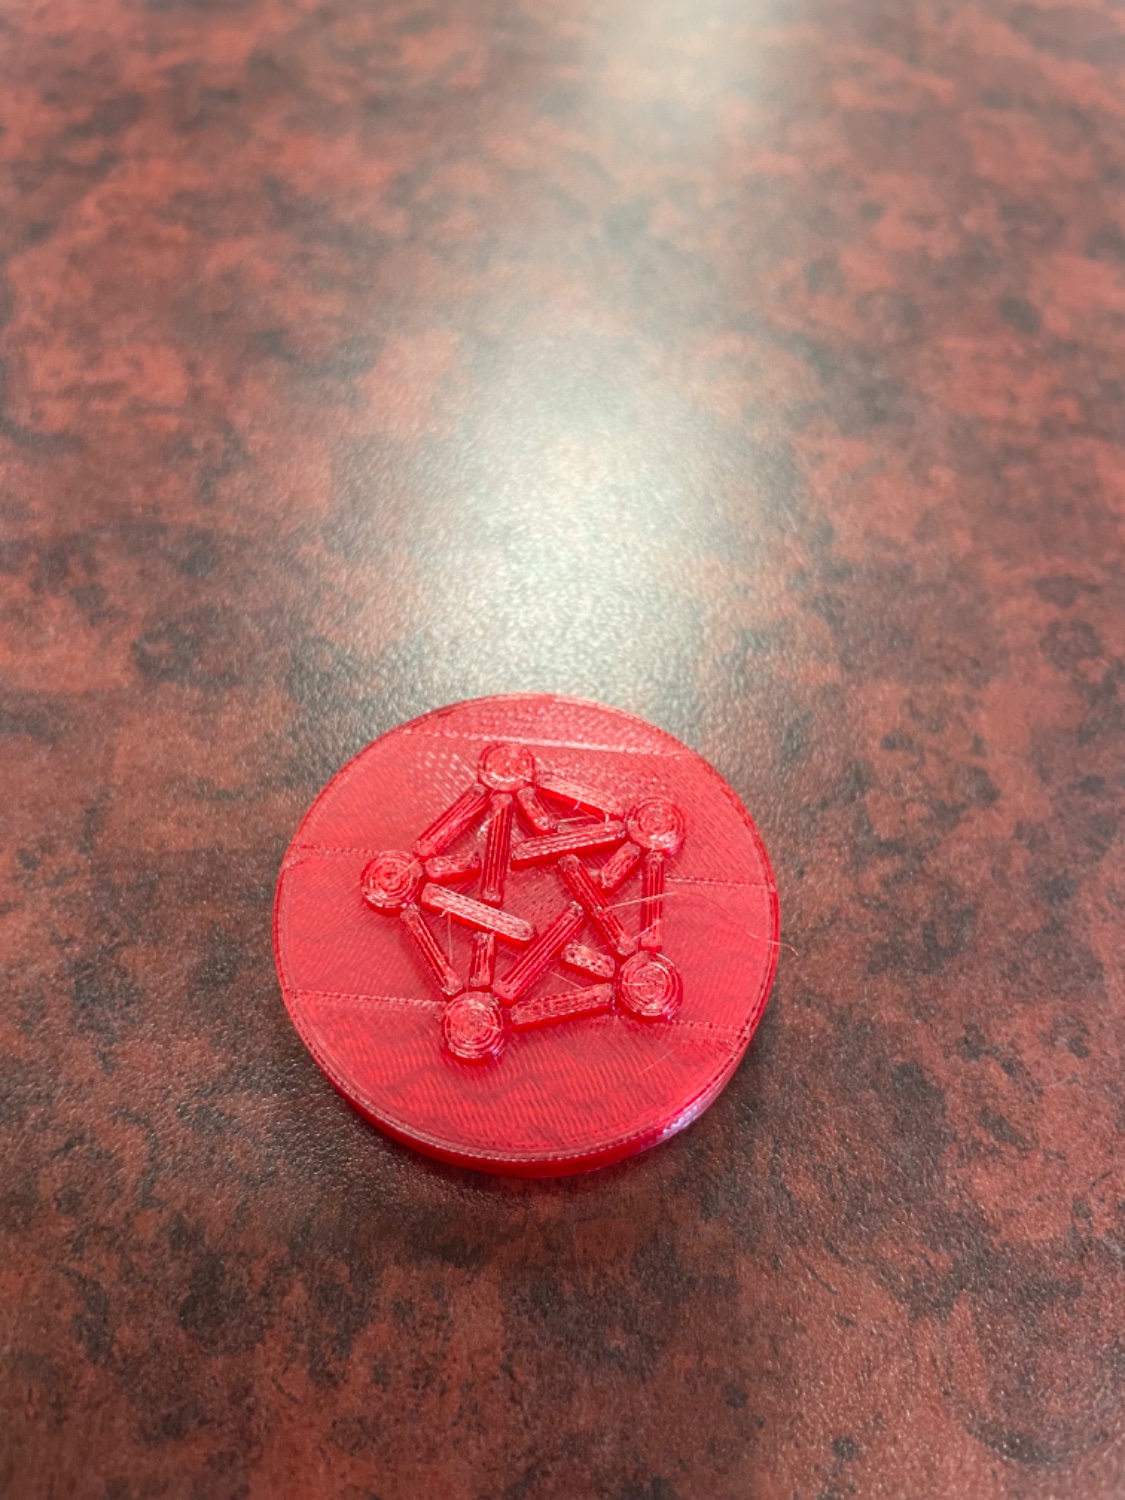
This one didn’t print right but I’m gonna try it again later I might change up the color too
3DPrinting is a place where makers of all skill levels and walks of life can learn about and discuss 3D printing and development of 3D printed parts and devices.
The r/functionalprint community is now located at: or [email protected]
There are CAD communities available at: [email protected] or [email protected]
No bigotry - including racism, sexism, ableism, homophobia, transphobia, or xenophobia. Code of Conduct.
Be respectful, especially when disagreeing. Everyone should feel welcome here.
No porn (NSFW prints are acceptable but must be marked NSFW)
No Ads / Spamming / Guerrilla Marketing
Do not create links to reddit
If you see an issue please flag it
No guns
No injury gore posts
If you need an easy way to host pictures, https://catbox.moe may be an option. Be ethical about what you post and donate if you are able or use this a lot. It is just an individual hosting content, not a company. The image embedding syntax for Lemmy is 
Moderation policy: Light, mostly invisible
This one didn’t print right but I’m gonna try it again later I might change up the color too
How are you making it magnetic?
My guess would be magnets
How do they work?
When a positive and a negative love each other very much....
Like a stick on magnet?
You leave a magnet sized cavity inside the print and have it set to pause right before covering that cavity up and slip your magnet inside the print.
Cool! I’ve never done any 3D printing and didn’t realize this trick was possible.
Not in an accusatory way, purely out of interest, why are you on the 3d printing community if you haven't done any 3d printing?
I know there could be several valid reasons, I'm just interested which one it is.
I was just scrolling along, and this post showed up. The pic grabbed my attention, so I read the thread.
The built-in magnet thing has me wondering what else you could do. Maybe make a pet toy with a little bell inside? Make a ball that rolls unpredictably, because although it’s smooth outside, hidden inside is a marble rolling along an irregular surface?
See this is funny because you have an imaginative mind yet don't 3D print while I don't have a very imaginative mind and do 3D print (mostly relying on other people's designs). You might look at getting into the hobby if it's something that interests you. Entry level machines start at $100-$200 and filament is around $20-$30 for 1KG.
That does sound cool. You'd have to make sure the bell would be safe with molten filament on it, but yeah.
I'm saddened that I could not find that "It's a pentagram" -scene from the "Angels and demons" -movie. I hadn't really taken note of the fediverse -logo before this.
If you are up for suggestions. I would swap filaments at the layer after the base is finished and switch colors so that the logo will pop against the base color.
Also add a few more top layers to hide the infill better.
That's what I currently try (I am not OP) and it does not works. The slicers use one magic Gcode command (M600) that does all the filament change movements and interactions.
My shitty printer (Weedo Tina2) does not recognize this command (I have found the documentation).
A printer at my fablab (artillery X2) just ignores it.
What do you use to make midprint filament change?
You can also just pause it and change filament manually.
Just remember to push through some of the filament until the color comming out is right.
You mean going trough the menu ? I have never used this feature. When you "pause" the print, does the printer head goed to the origin (to be able to push the filament" ? I can imagine that it depends of the printer...
I mean inserting the pause gcode command in the slicer. The idea is that this command is very basic, so every printer supports it, as opposed to a filament change command.
I used Cura and IIRC you could add "move away from the print and move back when unpaused" commands.
I haven't 3d printed for far too long, so my memory is very blurry. You might be better off looking for a Youtube video or googling for a tutorial, but it wasn't rocket science once someone on the internet explained it to me.
Edit: maybe try searching for something like "3d printer filament change pause"
Thanks ! I have tried this in Cura ("pause at height" script instead of "change filament"). You can select the pause gcode instruction. Most of them does not works... but one of it works!! My first two-color print!!
I still have to manage how to purge without making a mess on the bed.
No problem! I'm glad you got it working!
I would just pull the first filament away from the bed and the rest usually follows along and you get a little birds nest.
On my Prusa's there is a pause command. The Artillery should be using Marlin (unless you flashed something else). Your slicer (Cura especially) will let you add a pause and even tell the machine where to park the head, that doesn't use M600. I guess it depends on your firmware and the slicer you are using. It would easy to experiment with it. Put down a small test cube and add some pause commands and see what happens. I would use Cura or Prusa Slicer if you can as they both have pretty good support for the typical commands you would use on this.
You can insert any custom GCode at any layer, at least with PrusaSlicer. So check what your printer supports for changing filament and try that.
OK... looks like I could play with M226.
M226 waits until a pin's value changes - you have to know the numer of the pin.
M43 allows you to display the pin's value. I may find a pin matching with the user's button.
These two exotic instructions are implemented in my shitty printer (from the documentation). I have to try it.
Ah yea forget a important part there was a hole on the back where I was gonna put the magnet into so that’s what would make it a magnet
When I make magnets on the printer. I create voids the shape of the magnet in the model near the bottom surface, then have the printer pause right before it the layer it is set to close the hole. Drop the magnets in and resume print. It will completely encase the magnet.
I was going to say, other than that it looks pretty 'aight to me.
You could just glue a disk magnet to the back, couldn't you? I have oodles of various souvenir magnets that are made by just hot gluing a cheap ferrite disk to whatever piece of bric-a-brac. I think that would be acceptable.
It's not an un-magnet. It's a multipurpose medallion. Bring your own magnet, lapel pin clip, or Velcro.
Would be cool as a wax seal