this post was submitted on 10 Jan 2025
115 points (100.0% liked)
Photography
4683 readers
157 users here now
A community to post about photography:
We allow a wide range of topics here including; your own images, technical questions, gear talk, photography blogs etc. Please be respectful and don't spam.
founded 2 years ago
MODERATORS
you are viewing a single comment's thread
view the rest of the comments
view the rest of the comments

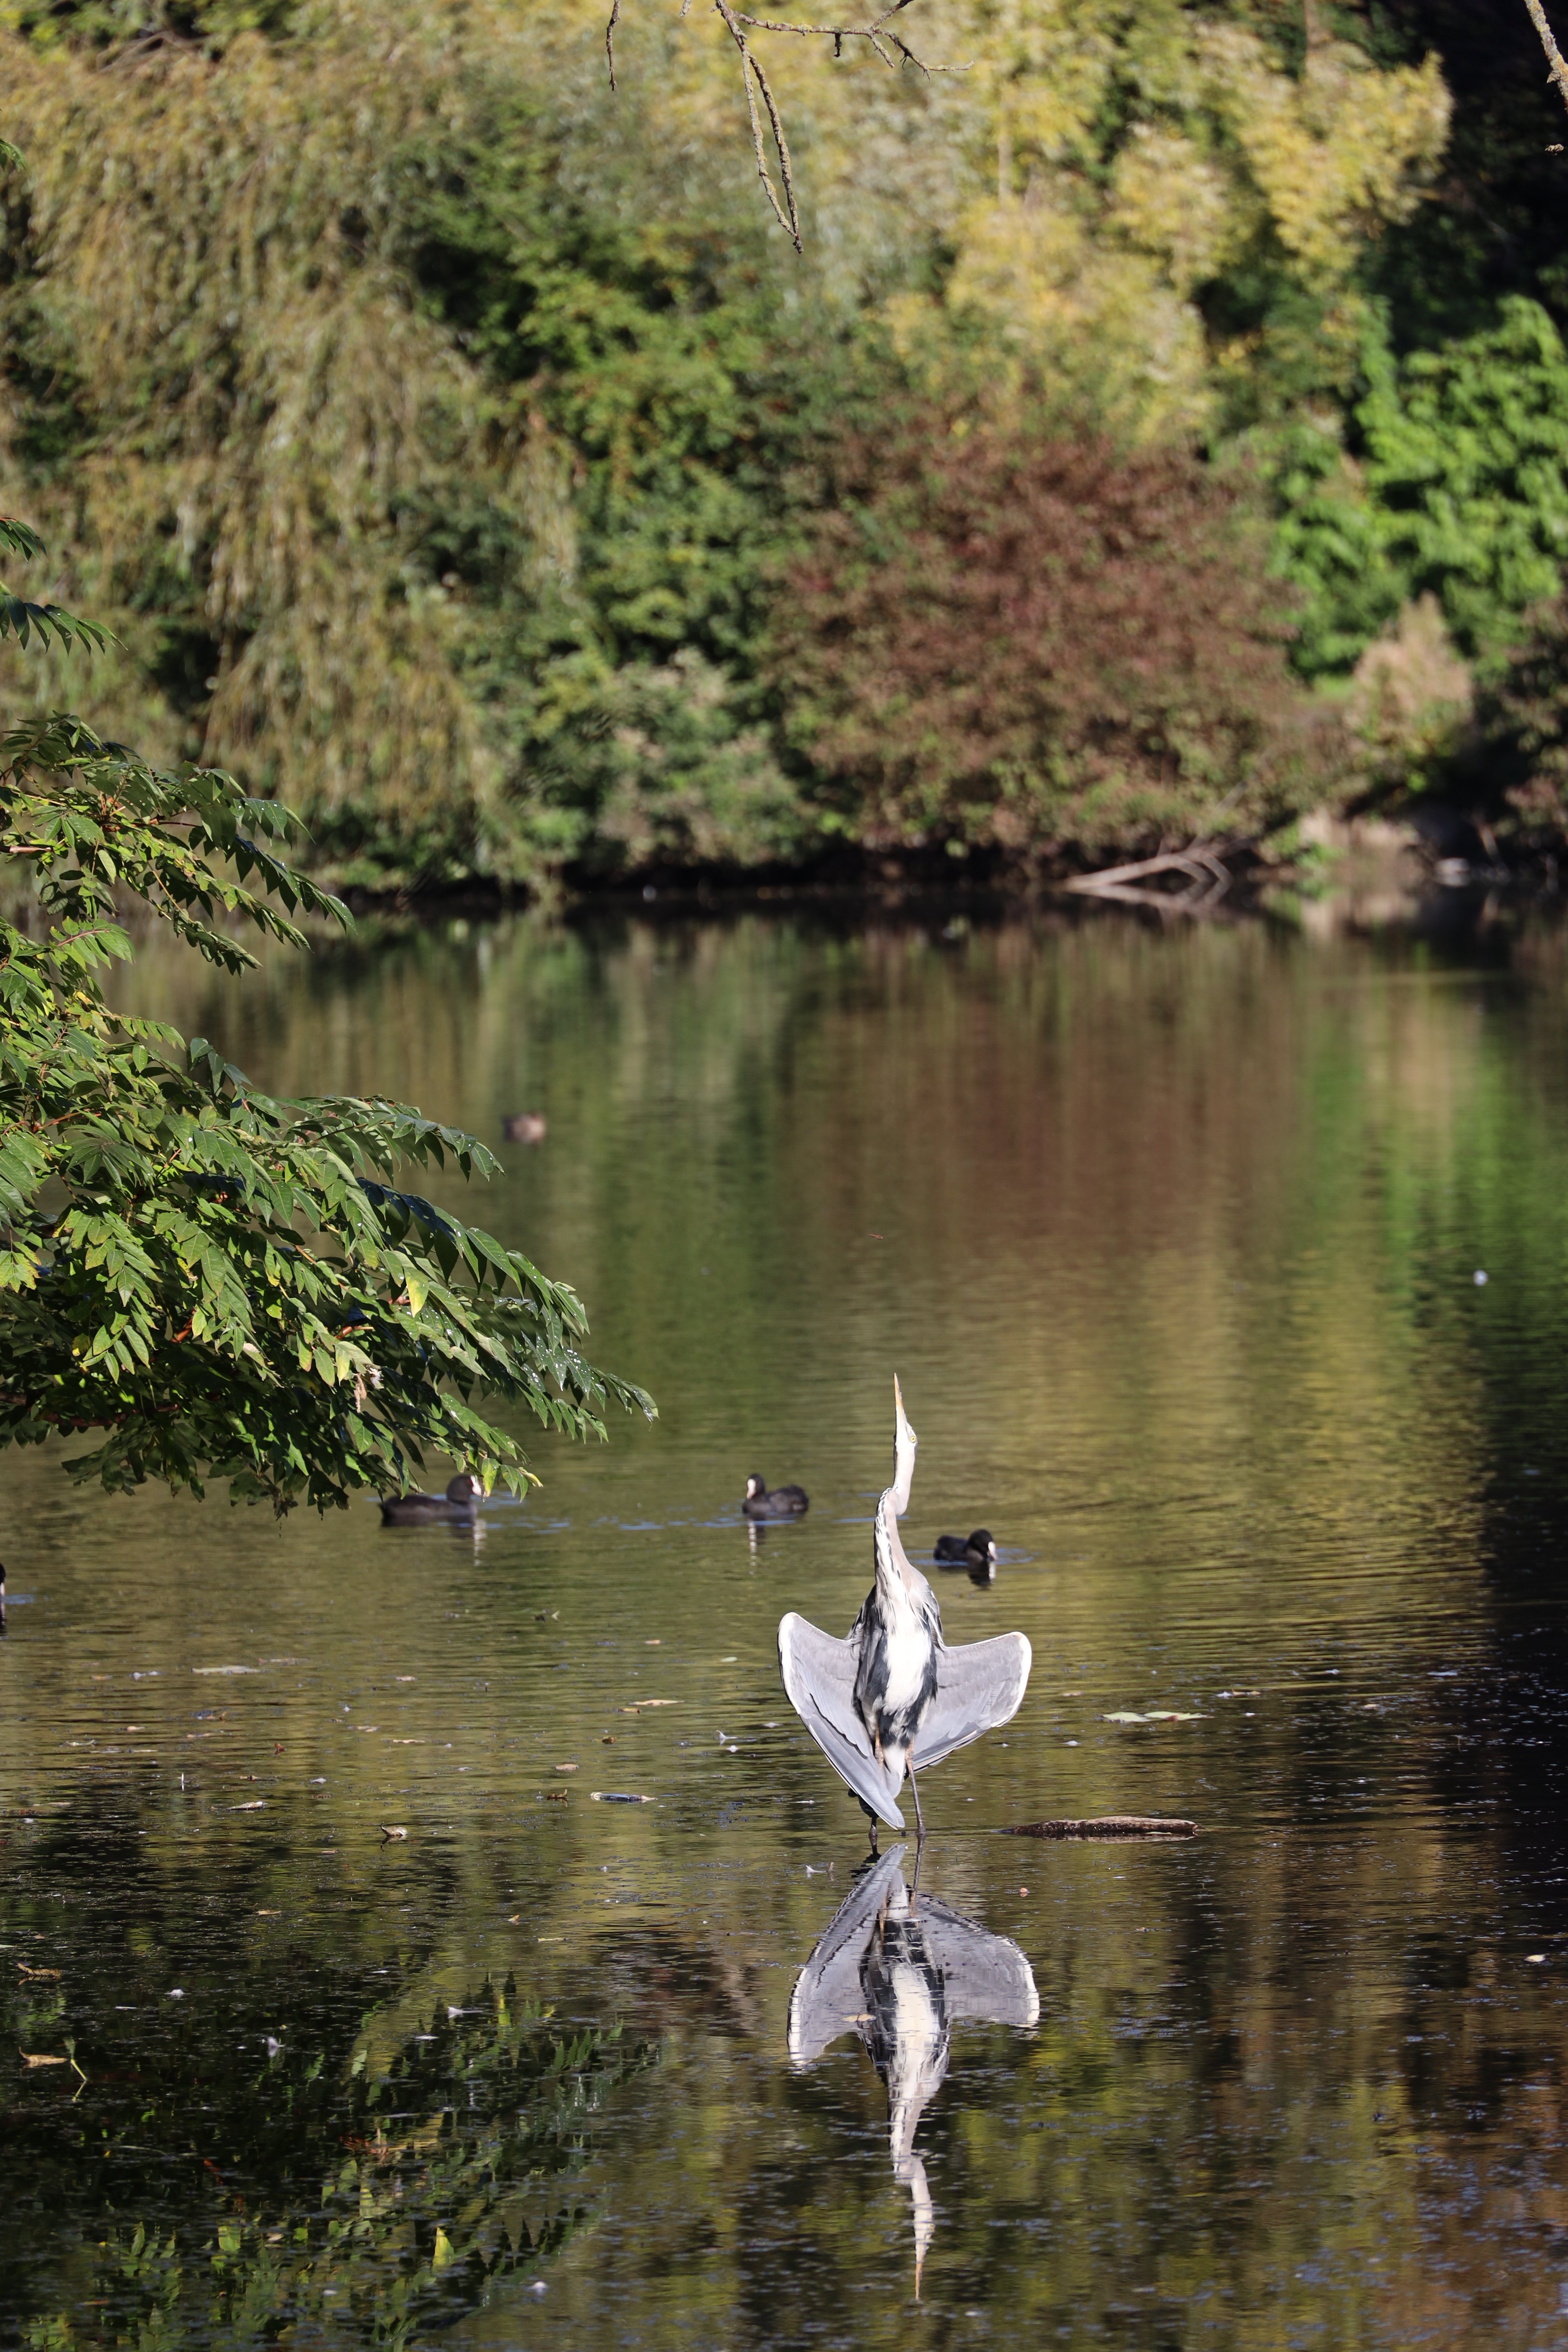
So, here I would say the background is about the right exposure, so a global change in brightness probably won't be right.
Have you tried what Canon DPP calls Gamma Adjustment, or what I think of as “the Histogram Tool”? This is still a global change, but with finer control. It may also present as a "leaning/squashed S curve" What I would first try is:
Use your settings to highlight over (and under!) exposed areas as you work.
The rightmost slider probably controls the brighter end of the histogram - try moving it further right so that it is past the histogram and in the flat area. I don't think it would hold with this photo, but if you had a lot of white/bright sky, move the slider so that your subject is not over exposed, and accept over exposed sky. You should then see that your subject is no longer over-exposed, yet the rest of the photo is not much changed. If, as in this case, there's only a small over exposed area, you may need to send the slider even further to the right as the subject doesn't really show up in the histogram.
Sometimes if you do this, you get an unwelcome colour cast to the previously over-exposed areas. This is a hint this is not going to be a success!
If however the above has had a positive effect, you may have thrown off the rest of the photo. Try moving the central slider left and right - to the right deals with "washed out", to the left deals with "too much in shadow". Choose the position that most appeals to you - perhaps zoomed in on the subject.
For completeness, move the leftmost slider to where the histogram goes flat (or possibly further to the right if there's background shadows you don't care about).
As you play with the tool (assuming some parallel is present at all) you will realise:
Your histogram tool may even allow more refined tweaks of the histogram (especially if its the curve type). Probably not facilities you need.
People who are good at post processing (not me!) will play with masks to keep these sort of effects to just the subject.
It may be worth getting to understand what the underlying logic of all this is. very loosely - RAW counts photons per pixel. To convert this to an image, the pixel count is assigned to a bucket of a particular display brightness (0-255 or whatever) that is associated with a range of pixel counts. The leftmost bucket is "0 to m" photons and black, the rightmost bucket is "n and above" photons and white, and the buckets in between are the greys. The histogram tool is altering the range of pixel counts for each bucket and recalculating the bucket for each pixel. Obviously, extrapolate this nonsense to RGB! A JPG already has chosen the buckets for each pixel, and lost the photon count, meaning there's a lot less info to work with.
(One day I'll save a copy of "Kevin's Histogram Approach" and tweak it for posts like this!)
Tried something with Darktable. As usual, I got quite frustrated with my ability to change things in a way I feel to be in control of. Well at least monsieur le bird seems to be shown in a less exposed way:
Well, I think I like that more than the original one, so if it was me, I'd count the post-processing as a win. There might be settings that are marginally better, but you could spend a lot of time for little gain (judging which picture is overall better when you've only moved "one notch" is really hard).
I like it way more than the original. Yes, the background's darker, but the heron is the correct exposure. And only the heron, so you have a point where the eye is drawn to. I think with one of the presets in the article it would be even better.
Thank you for the reply.
Moving the sliders of the histogram is the one thing I've been able to do myself without 'messing up' the image. Will try it for this pic as well.
Working with masks is something that really makes sense for such instances but it kind of feels like cheating to edit this way. Maybe I'm just to hung up on the idea to keep photos close to the real thing, whatever that might be.
Using the .jpg my camera creates already contains lots of adjustments....
Yes, for bird photography, where I want "truth" as well as "beauty", I'd share your suspicion of masks - playing with the histogram is doing little more than saying "I know better than the camera does how to globally assign brightness" which strikes me as entirely proper.