Eyyy, someone else playing with PHA!
I have a bunch of PHA commentary (and experimentation) over on the kbin 3d-printing group:
https://kbin.social/m/3DPrinting/t/40862/PHA-filament-heat-resistance-testing
Eyyy, someone else playing with PHA!
I have a bunch of PHA commentary (and experimentation) over on the kbin 3d-printing group:
https://kbin.social/m/3DPrinting/t/40862/PHA-filament-heat-resistance-testing
Yeah, under the build plate there are four bolts pointing down. Those bolts.
Or stash bricks of it in dead salt mines.
Seriously. All the carbon in it comes from plants which means it came from CO2 in the atmosphere. Stored this way, it's a medium-term (as in hundreds of years) carbon store.
My next printer will be multifilament ^_^
I'm already doing like four-colour prints with my 3v2 but obviously there are severe limits in placement.
It has pegs but I was able to see that there are rather typical screw heads in the heating plate to hold it down onto the bed's support frame, and if you look you can see the bolt ends coming down out of the underside of the supporting arms.
So I think what's here is pretty simple: regular bolts with fixed length spacer tubes around them.
And that means that OP should be able to sort this out with, say, the right collection of 0.5mm-thick washers. One on the front left screw, three on the right rear screw, uh, six on the back left screw should get close enough for the mesh to handle the remaining difference.
HVAC assist system. It cut our peak electricity bill by 40% year over year under similar conditions, too, with substantially better performance.
But really it's very simple. All I'm doing is improving the effectiveness of very traditional methods of temperature control by being more accurate and much more aggressive about exchanging air in and out when appropriate. Obviously in the middle of a 90-110F heat wave that's not going to matter, so it's more of a northern thing - but it really does a great deal in a lot of climates. (And in spring and autumn in more southern climates, I suppose.)
One of the key elements is that outdoor temperature varies a lot from point to point on the property, so we have air exchange measured at five points around the house, keyed to local indoor vs. local outdoor air temperature. (And air quality and a few other things, of course.) The actual air exchange is a combination of the original air-exchange system plus just opening and closing windows. We overcool at night with air exchange so we're always below ambient outdoor temperature during the day.
It's remarkably effective. We went from... well, it varied a lot, but +7 to +10 F above ambient to -7 to -5 below. (I was doing all this in C internally but F because I was talking about it to Americans.)
Again, I'm in an environment where this is particularly effective, but it costs so little and saves so much money and energy use I have to think it has some general utility many places.
Here are some of my posts about it:
People sell them on craigslist fairly often, if you have that. Just be honest about the problems. It'll also help if you kept the original parts and sell them with it.
(I don't suppose you're in Seattle, are you?)
Yeah, I guess that makes sense. More sense than the Magic Mouse, at least. xD
Thanks! And honestly it's one of the best parts of 3D printing, being able to come up with things like this.
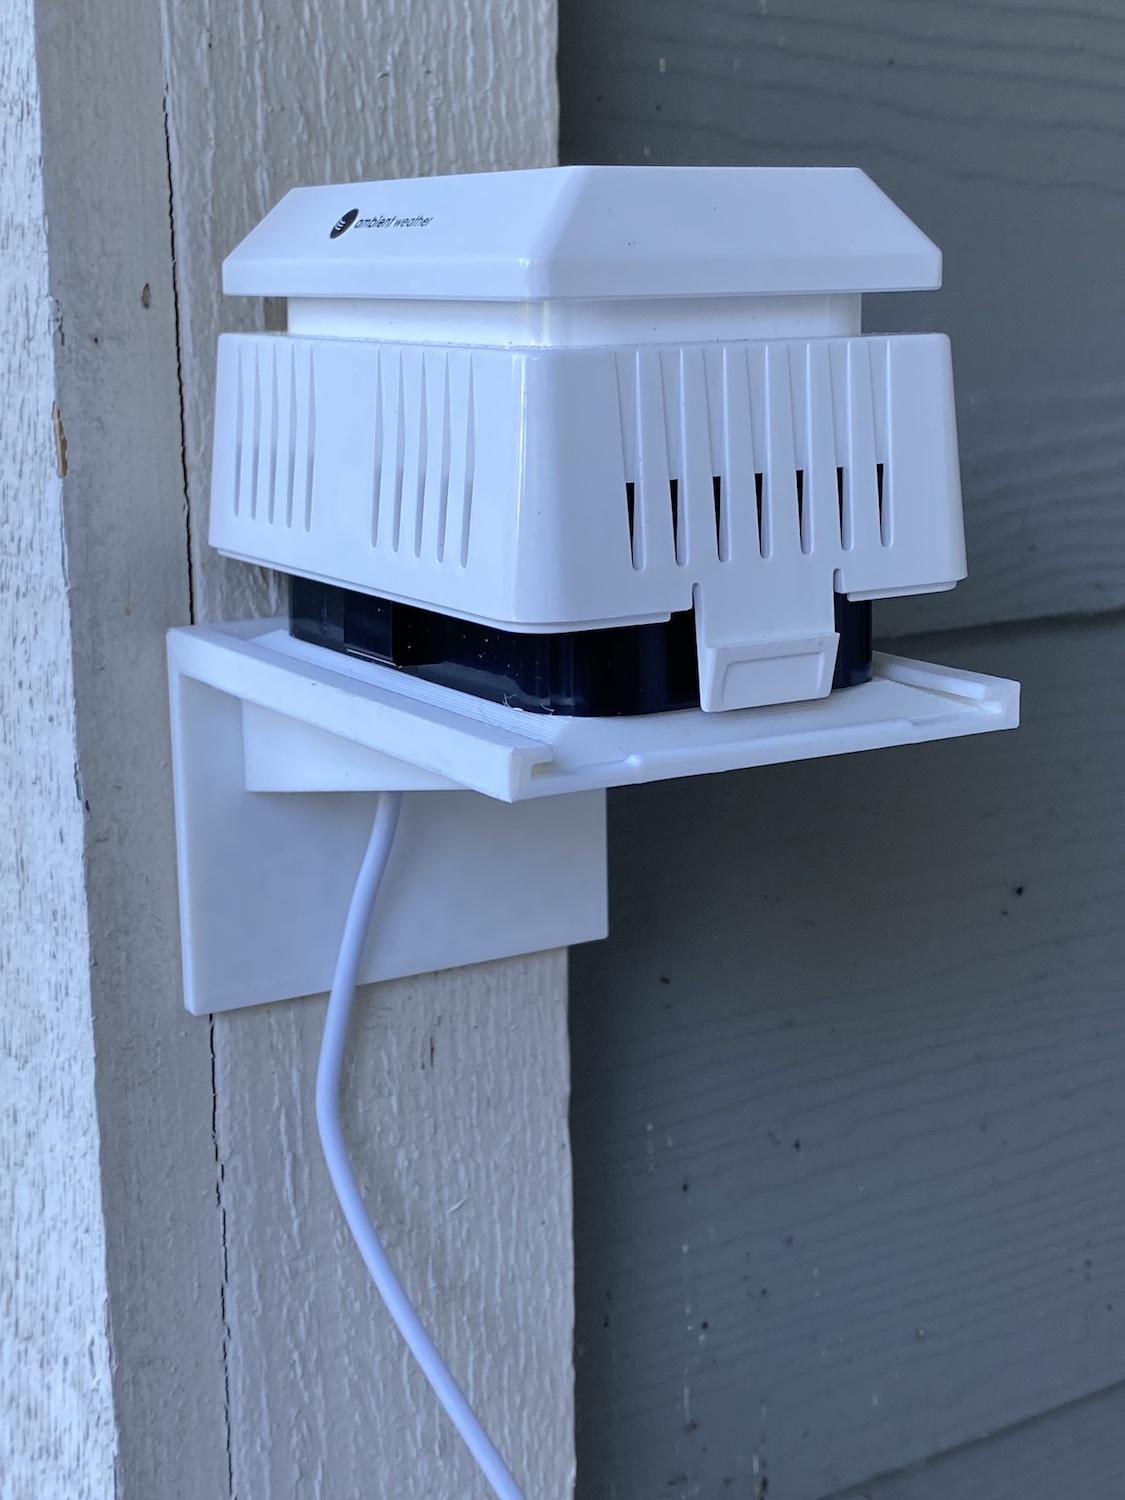
The really annoying part is that the indoor matching sensor, the companion to this one? That USB port sticks out the side, like it was designed by a sane person. xD
I do, but with a temperature tower. You get top and sides, curves and spanning, overhangs, and, well... temperature. ^_^
Y'know just in general I really strongly recommend going all-metal or better bimetallic on your hot end? It cleared up so many problems for me. The Ender 3-series hotends really aren't bad if you just back that PTFE up a bit.
I like this one (no affiliation other than I bought one) quite a lot, and I got it on sale so it was cheaper than the current price. But even at the current price I'd definitely say it's still worth it.
I've printed a couple of spools at different sizes, it's really kind of nice to have them. Particularly smaller spools for smaller sample lengths, super worth it.
But another thing you can do is just print a little single-wall cylinder that friction fits inside one of your existing spools, then cut the existing (non-printed) spool in half down the middle and use the cylinder as a friction-fit sleeve to hold the two halves together. That also gives you the same functionality. It's not as cool but it saves on filament? ^_^