hansamann

joined 1 year ago
 

Cold enough? Join us for gadget-free tech talk at the Monte Mare Tegernsee on Dec 7. We meet 1730 at the entrance. Train from Donnersberger Brücke runs 1608 to final Stop Tegernsee. From there it's a short walk.

Check techsauna.dev for details and say hi on Discord. For this meetup it's advised to get an online reservation - check the Monte Mare Tegernsee Website.
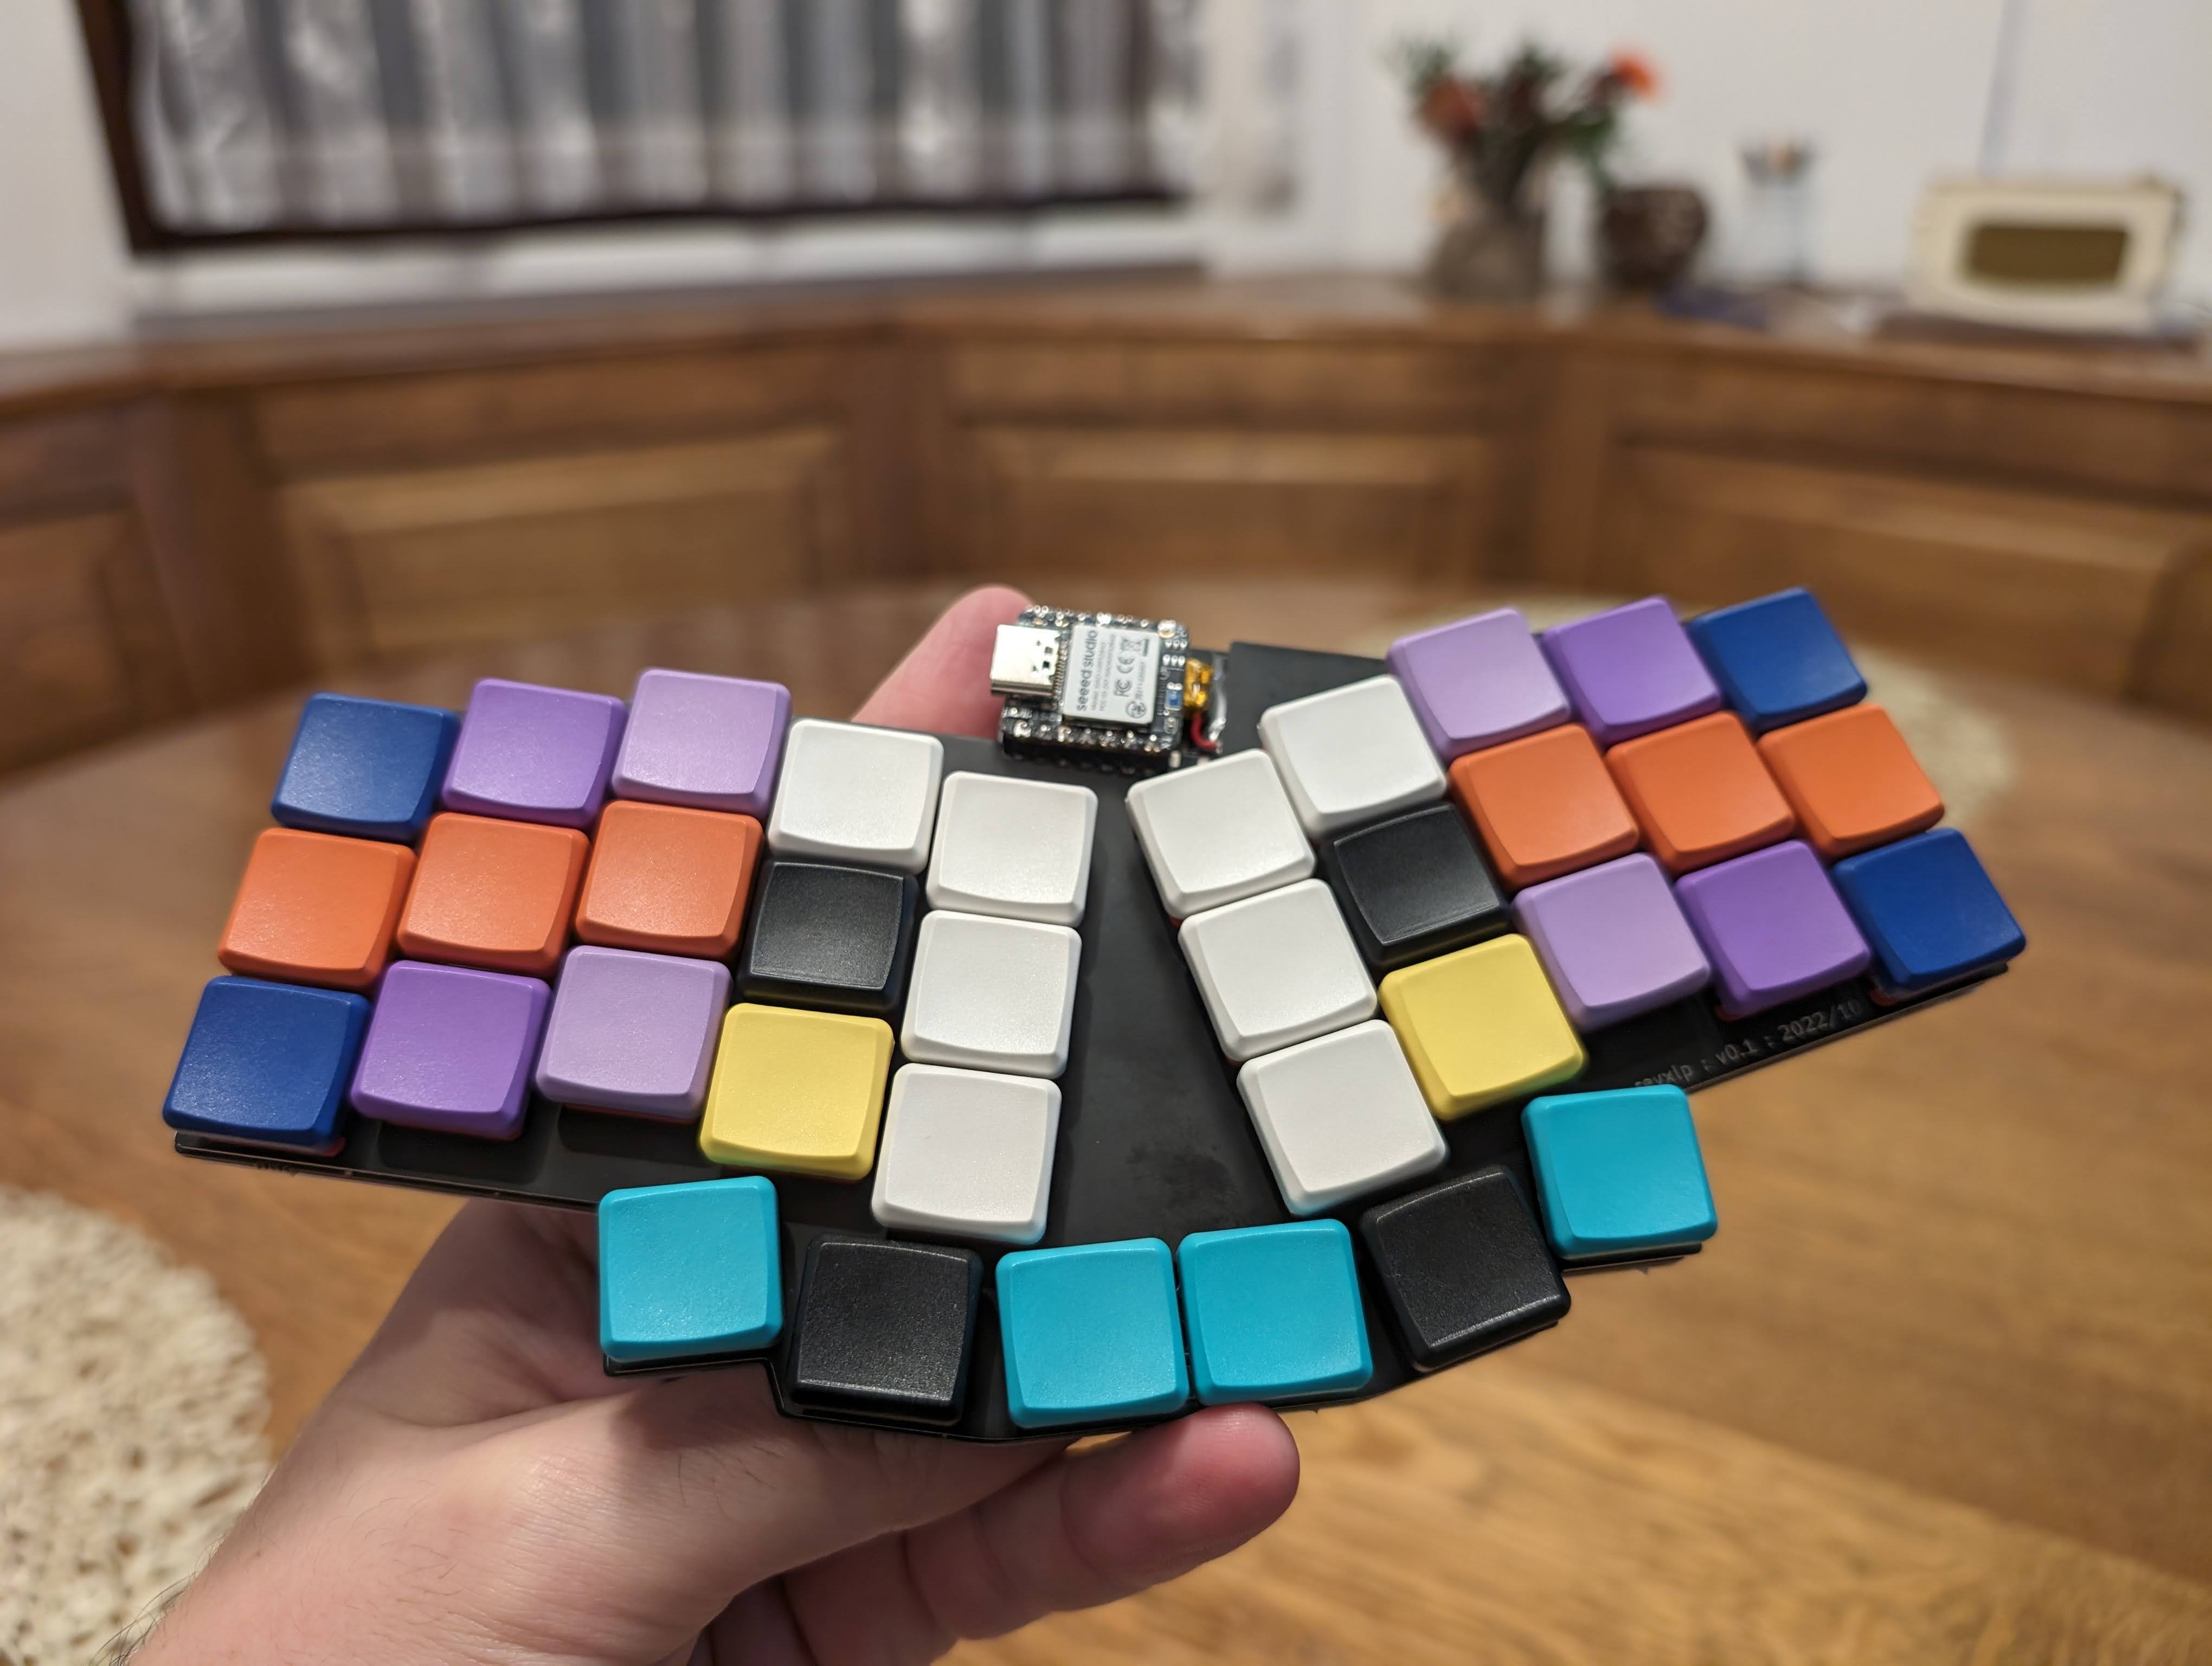
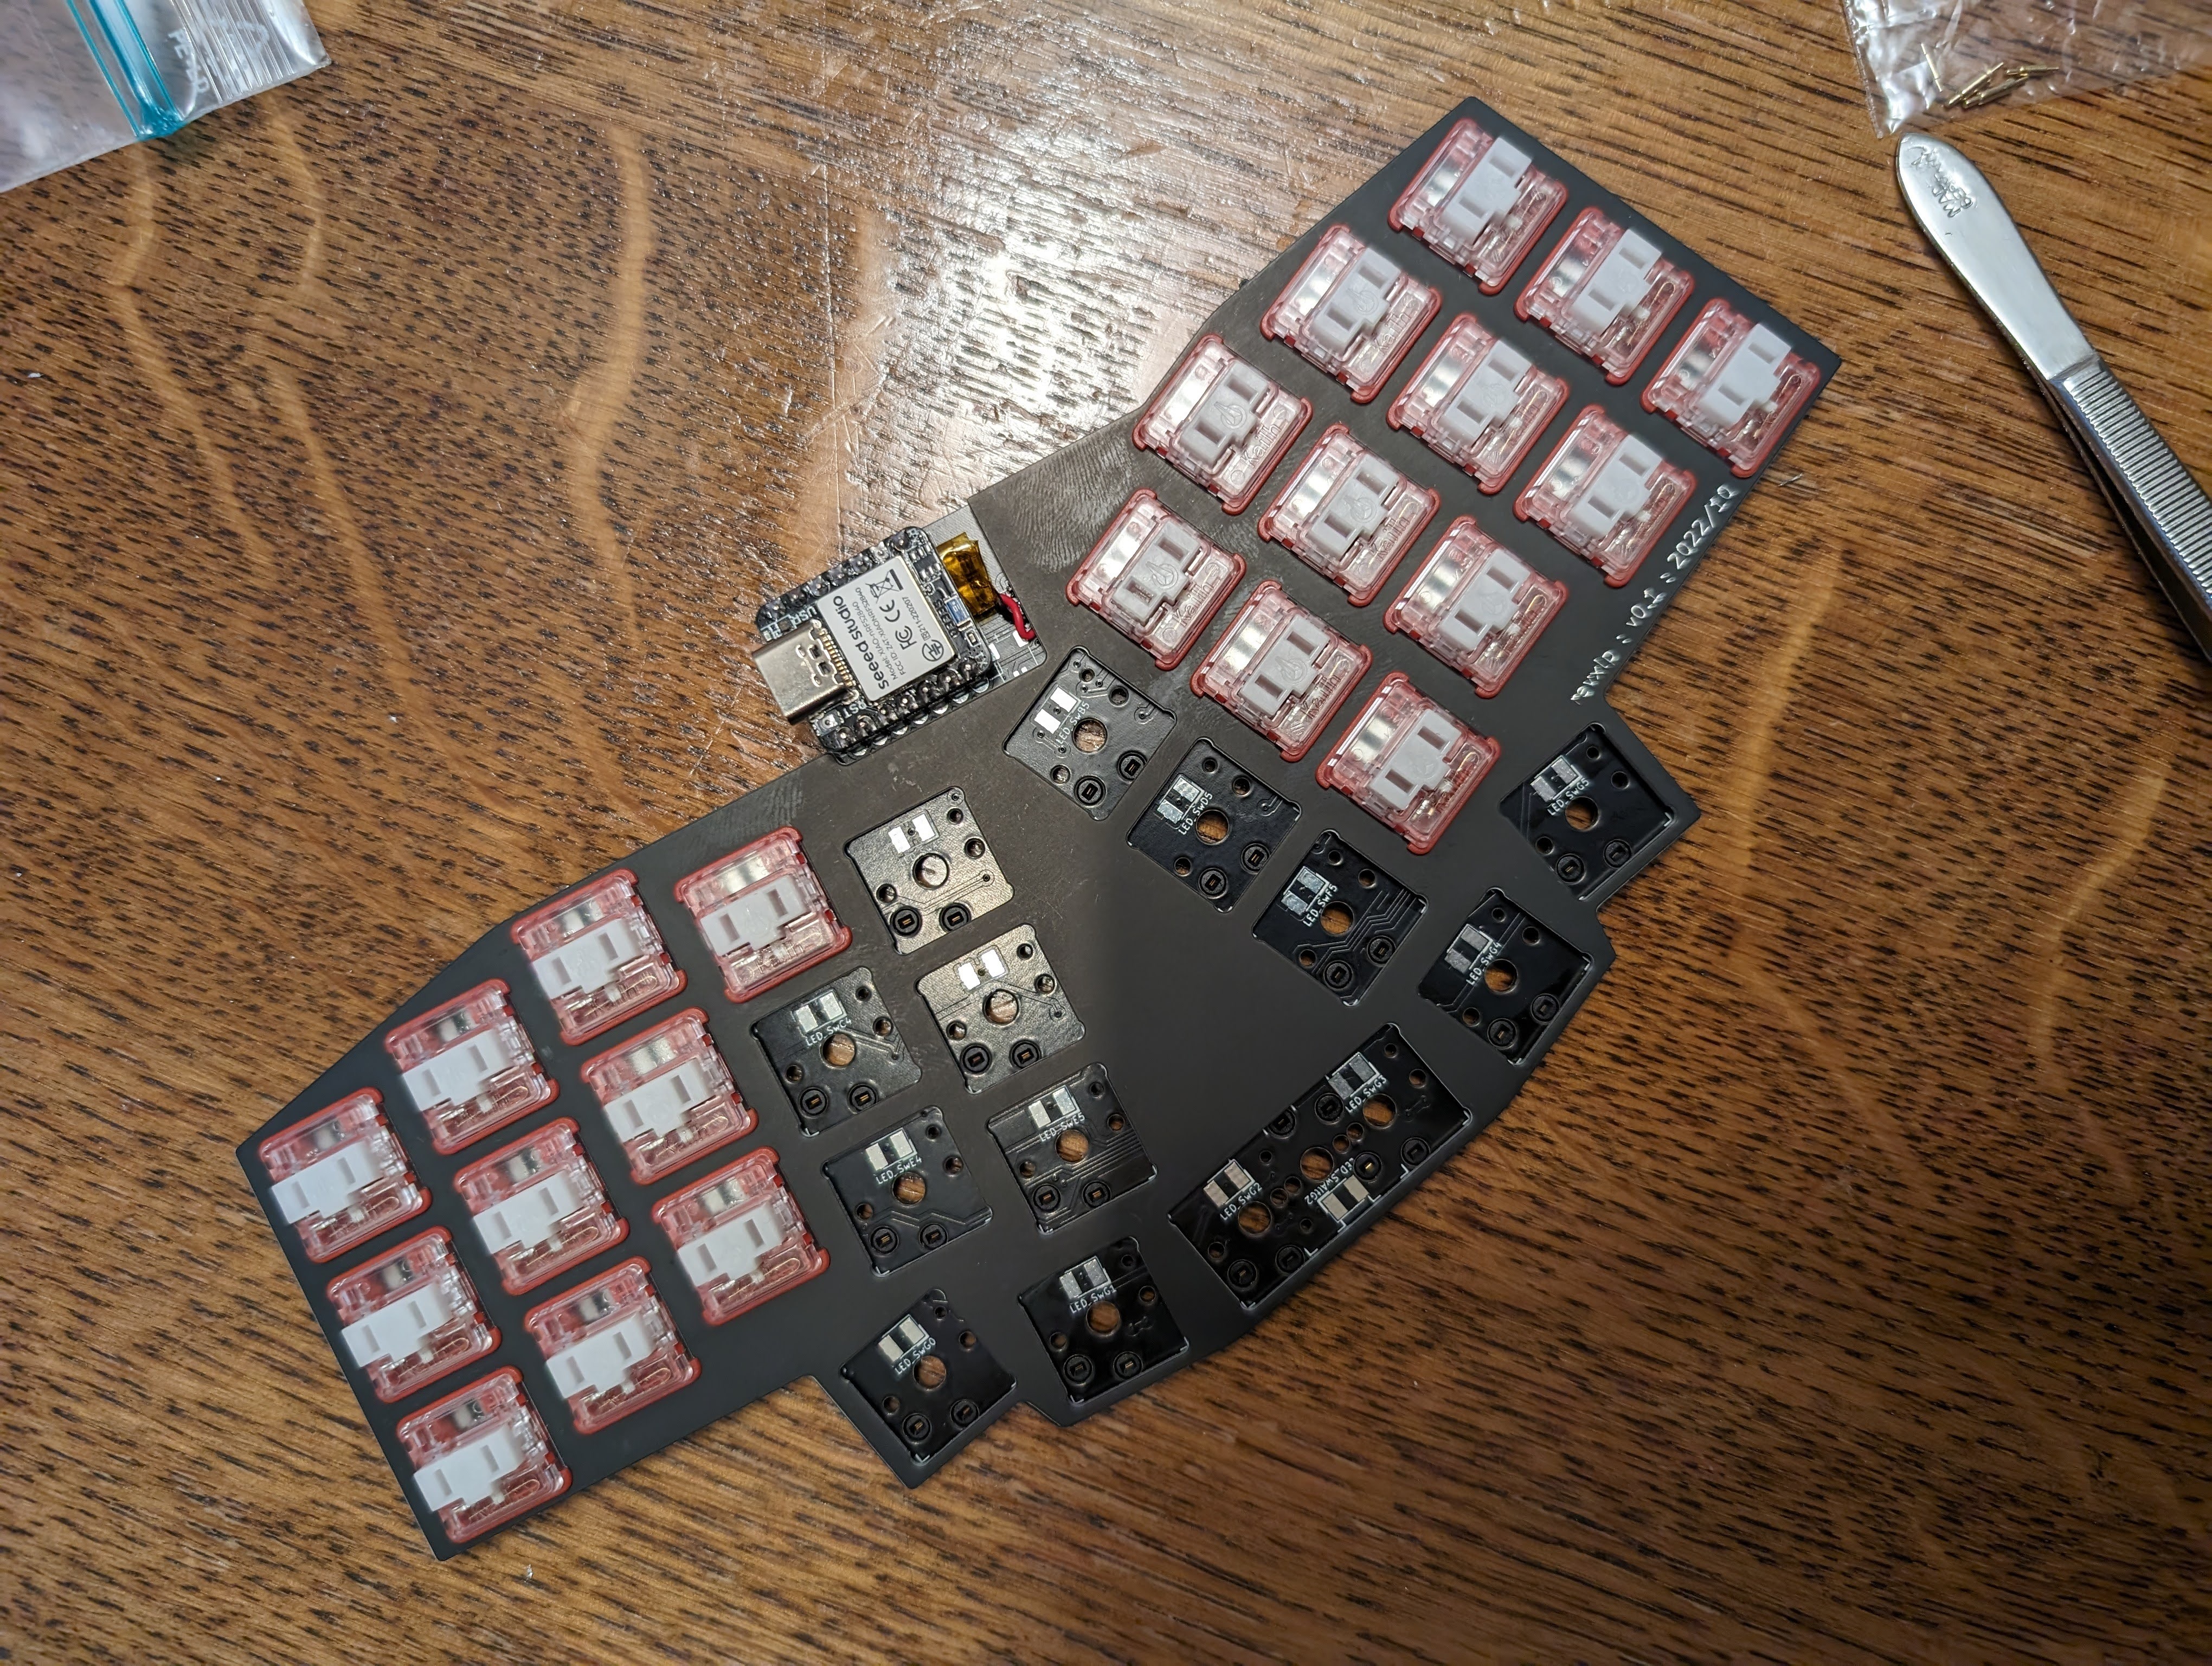
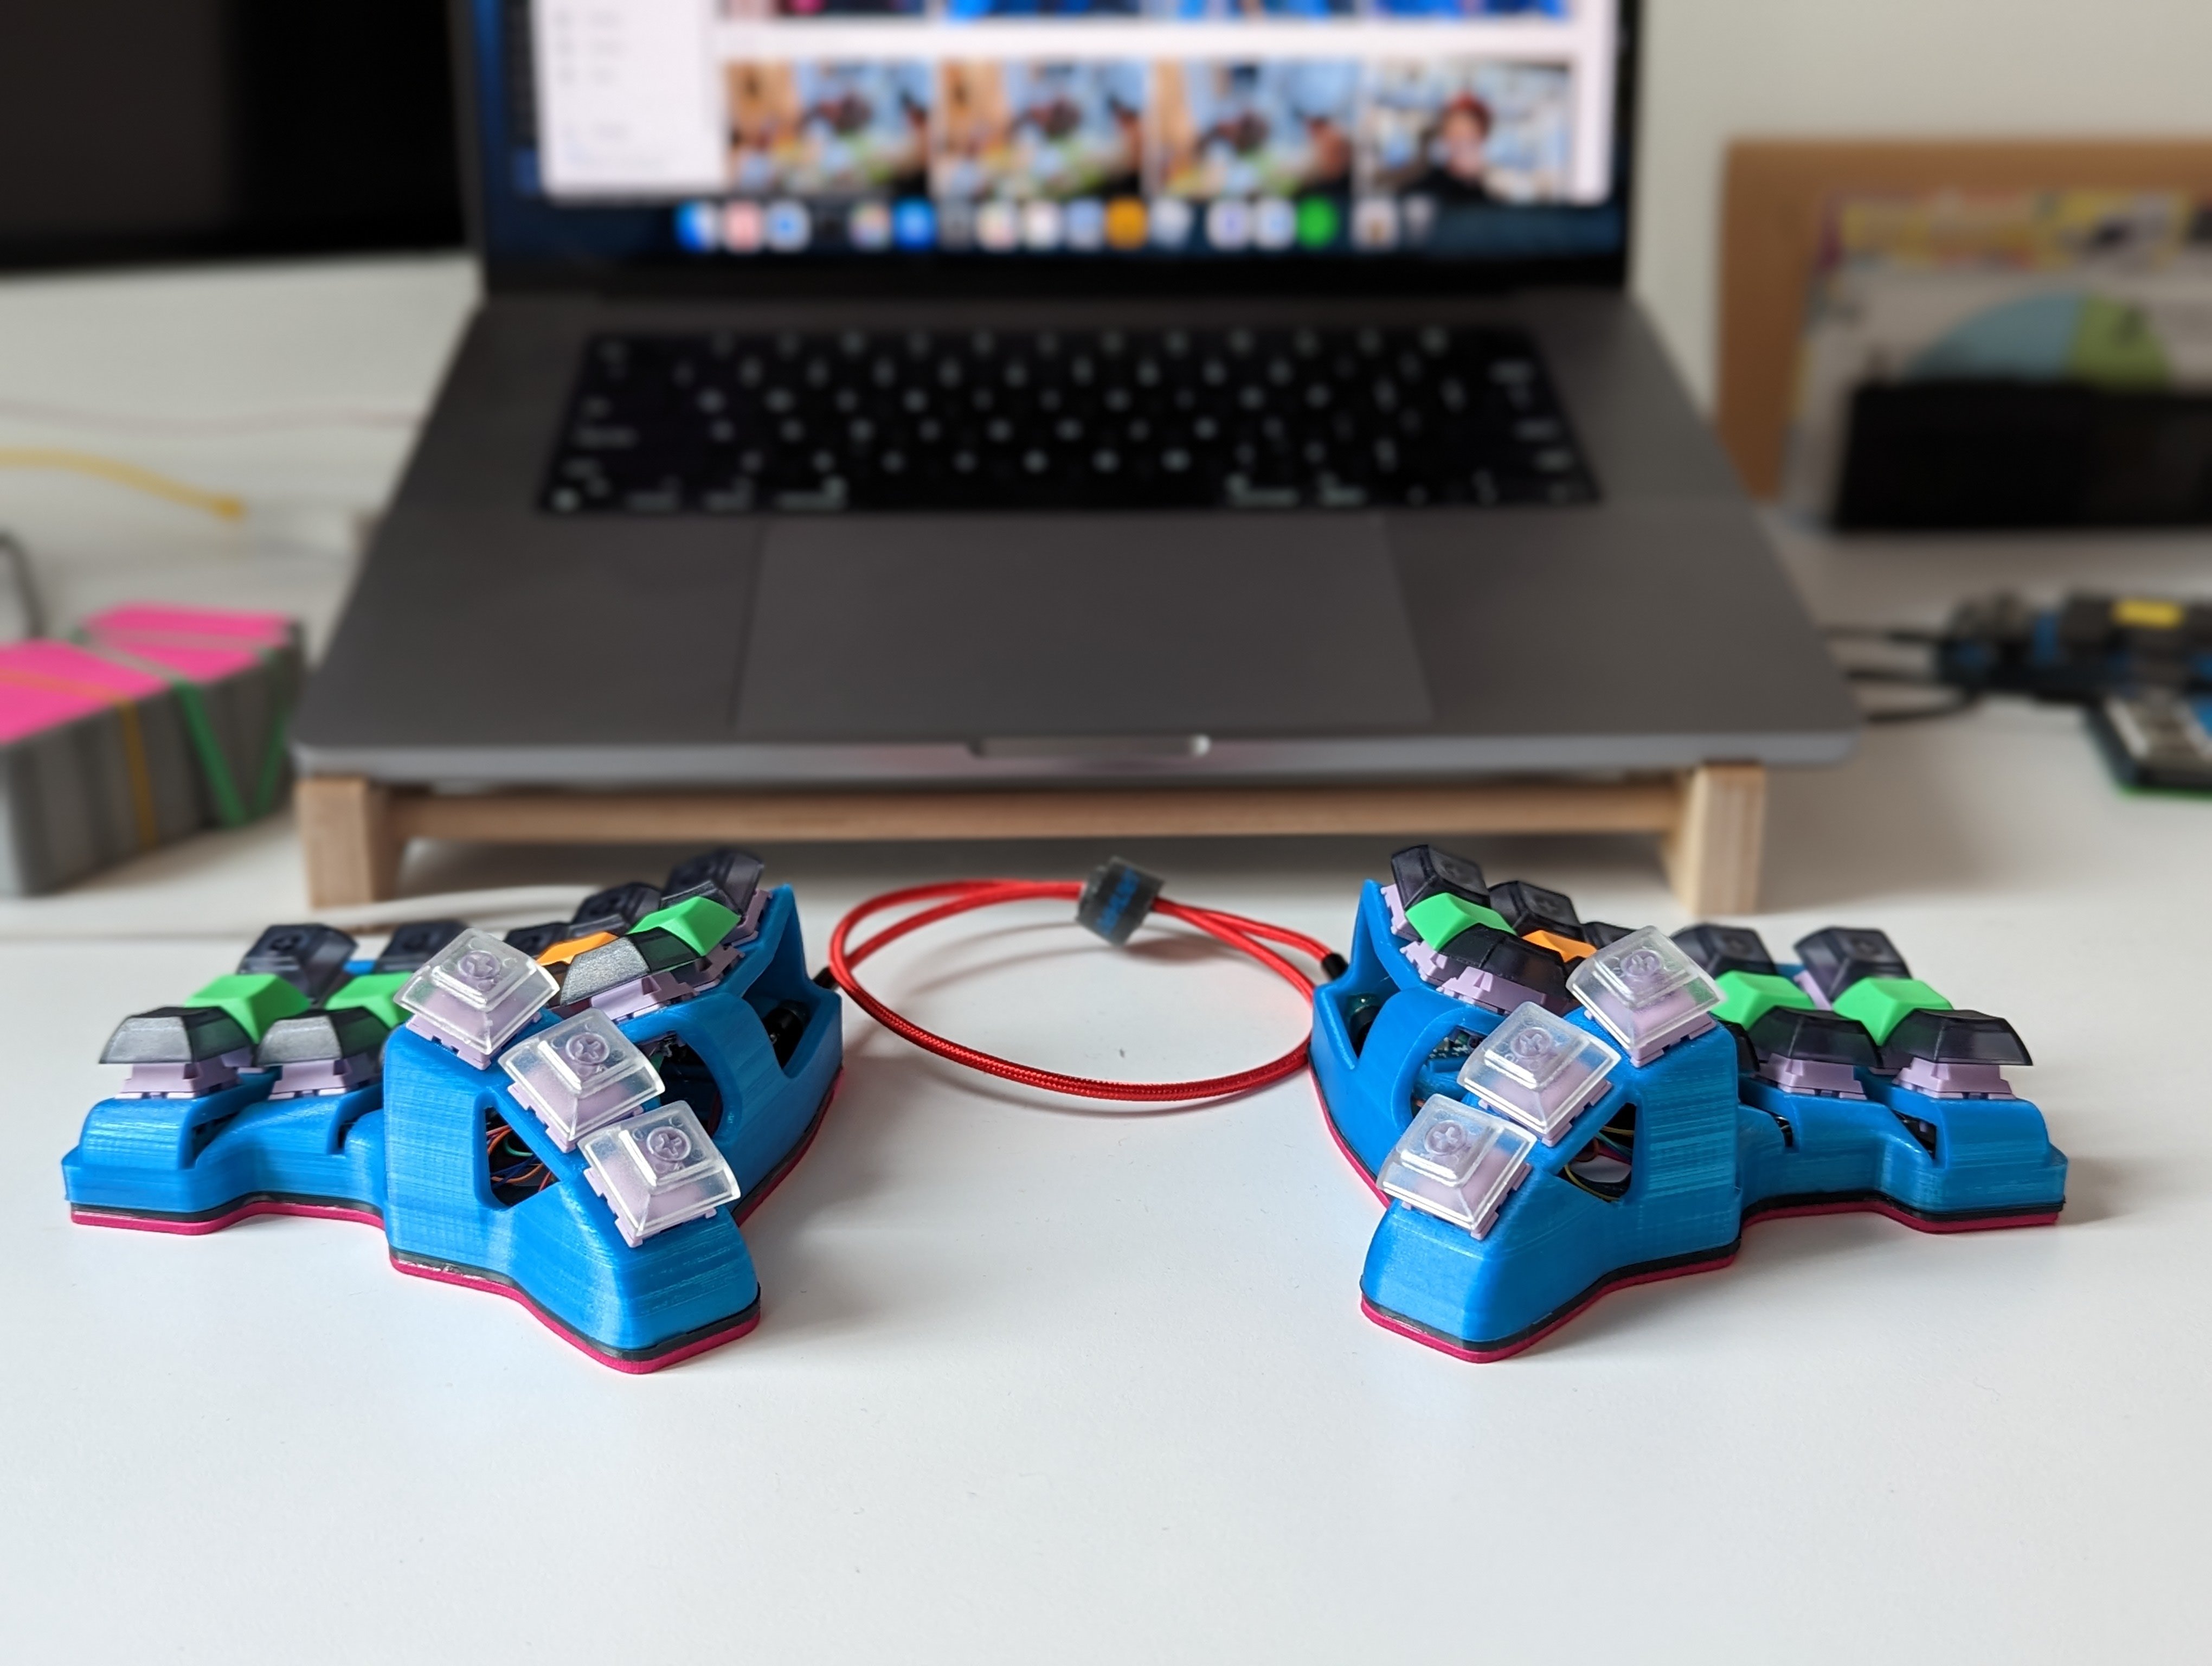
[–] [email protected] 3 points 10 months ago

The revxlp is using a shift register - that's the trick


I built the rexxlp 12u a while ago but honestly 36 keys and miryoku is all I need. So when the 10u came out, thx @[email protected] I had to build it.

It was a tiny challenge for me, due to not properly following the guide. My big fat learning was that the tape on top of the sockets really really makes sense - I had some shorts between pins and then some socket pins were not even connected after I pulled out the board (XIAO ble) with too much force. Now I know.

What do you think?

[–] [email protected] 2 points 10 months ago

Done. Love it. thx @[email protected] and @[email protected] for your help - and thx goes to frobiac from Munich for jumping on a mental health call and debugging the issues. it works so well now. my fav keyboard!

[–] [email protected] 3 points 10 months ago (1 children)

SOLVED

all solved... I had 2 dead pins due not really following the tape socket explanation in the readme. and when I pulled out the xiao, the socket came half way out. I now did solder a new xiao and checked all pins, now all good... phew! thx again! it chose the 12u miryoku firmware and it works

[–] [email protected] 1 points 10 months ago

Just adding the back of the PCB - you can see some missing diodes there. For now I am pretty sure that is OK, as it's what JLCPCB has assembled as in the BOM/Place file.

[–] [email protected] 1 points 10 months ago

@[email protected]

I checked connections from XIAO to the board and also took off the bottom plate, alu, just to be sure there is no shortcut. When plugging into usb-c and turning on, the green led charge indicator is on, seems to charge. I was previously able to connect via ble, too.

All right, here is my build run, it is a success and should build a basic miryoku for revxlp - details here https://github.com/hansamann/miryoku_zmk/actions/runs/6761313214

When I double press reset to have the USB storage of the XIAO appear, it will bring up an error "can't complete operation because some data in ...uf2 can't be read or written. But I think it copies the 359KB of uf2 over correctly. Then Finder of course shows an error as the device resets into the keyboard mode... all expected, right?

Unfortunately it still behaves weirdly. The outer three columns don't do anything. the 4th column top is a 'w' then below r and then x... leaves me clueless. I used JLCPCB with the assembly service. On the back of the pcba, I can see some D's are not places, for example DU D_U2 / D_U4 / D_U3 / D_U9 / D_U8 - but I assume that is all OK. I added the not swap sockets ONLY on the back as the assembly should do the rest on that side of the PCB.

If you could point me to a ready made build for the XIAO-nRF52840 with a default keymap I am happy to try that out.

[–] [email protected] 2 points 10 months ago (1 children)

will try building with defaults... which I pretty much did to be honest. just mac style copy/paste is special. I will take off the alu back and chec the xiao ble connections. thx


Great progress on #revxlp 10u now that batteries arrives. This time, even with pogo pins...

Hardware assembly almost done. Just got some software issues now - like always I try to get #miryoku on and did build the uf2 file already (the same way I did for the 12u version... hmm), copied over. Now a few keys seem to work but emitting very unexpected (not my miryoku colemak mod dh) keys... Do we need a special miryoku build?

[–] [email protected] 1 points 10 months ago

Would you mind making it 36 keys, 3 Thumb keys? Then I am in to try it out... Looks like a great board.

[–] [email protected] 2 points 11 months ago
[–] [email protected] 2 points 1 year ago

I am interested in the 3x5+3 version and would love to get Miryoku on it, plus of course the track pad needs to work, too. Is there an easy way, like a qmk workflow build that achieves this? Or another guide that describes it?

[–] [email protected] 1 points 1 year ago

I still would love to build it but jlcpcb shows these mounting holes as not available... any better idea than just trying again every week?

[–] [email protected] 2 points 1 year ago (1 children)

Awesome, you deserve thx so much. I will try again soon as some of the components are not available, indeed. Would be nice to get it assembled fully.


... plus figured out the basics of qmk. Will need to get it up and running with full miryoku though as this is what i use on ALL my keyboards. So if anyone can tell how i now get the full miryoku on I'd be super happy to give it a try.


I just built cheapino 3x5_3 split and of course need to get miryoku on it - there's a qmk branch here https://github.com/tompi/qmk_firmware/tree/cheapino but could not find the board over at miryoku.

It also has a special encoder, wondering how one could use it in the most meaningful way with miryoku....

Could someone describe the steps or create a miryoku config?


I built a split bastardkbskeletyl and used kmk as firmware on rp2040-zero.

The split module is added last and this is the config for split:

split = Split( data_pin=board.GP11, split_side=varList.ss, use_pio=True, )

I originally used GP10 on both sides... just switched to 11 as I thought maybe the pin of the mc was broken... but after a few minutes, the right side, slave (not the usb side) stopped working again.

When I plug in usb to either side alone, I see debug output, I think it is really nicely wired and either side works nicely alone...

Any ideas? It's kind of weird.. I know GP11 is not a UART pin, but that's why use_pio is True... and it worked again for some minutes. I think it hangs up or so.


I built this lovely bastardkb skeletyl and initially used a bit with miryoku kmk. I noticed for whatever reason that sometimes the right side hung up and now after flashing the latest kmk it does not seem to work at all.

It is well soldered and I somehow believe it's really a kmk issue - followes all the rules for Split etc. I often also had little timing issues with the hold-tap behavior which is really non-existent on zmk and other boards for example.

Long story short: I am using waveshare's rp 2040 zero in here and would want to try out another firmware for miryoku. I will need to configure the board pins, it's hand-wired. What can you recommend to get it done with minimal effort?

QMK?


Just thought I drop this here. I guess Lemmy is the future and I hope many of our members will find us here, too. Feel free to explore our community and if you are around Munich, join us and let's talk tech in a sauna soon!

Our next Meetup:


We're now also on Lemmy and I'd hope some sauna enthusiasts find us here in this sauna community. If you live around Munich or come for a visit, say hi and then we hope to cu soon at a sauna in/around Munich!

Our next meetup will be at the beautiful Starnberg Lake, we'll have a refreshing swim and a cold wheat beer after some really hot sauna ceremonies.


... aktuell ist Reddit noch offen, aber die Zukunft ist hier. Wir lieben Tech und gehen gemeinsam in die Sauna - mostly English & inclusive. Schaut vorbei, sagt hallo.

Unser naechstes Meetub wird wieder etwas weiter draussen stattfinden, der See ist einfach zu gut...

view more: next ›