The only real complaint I have had for my Keychron K4 has been the plastic case, so yesterday I decided NO MORE!
I took some aluminim stock plate I had left over from another unrelated project and trimmed it down, tapped and countersunk mounting holes, and give it a hand brushed look with some 80 grit sand paper.
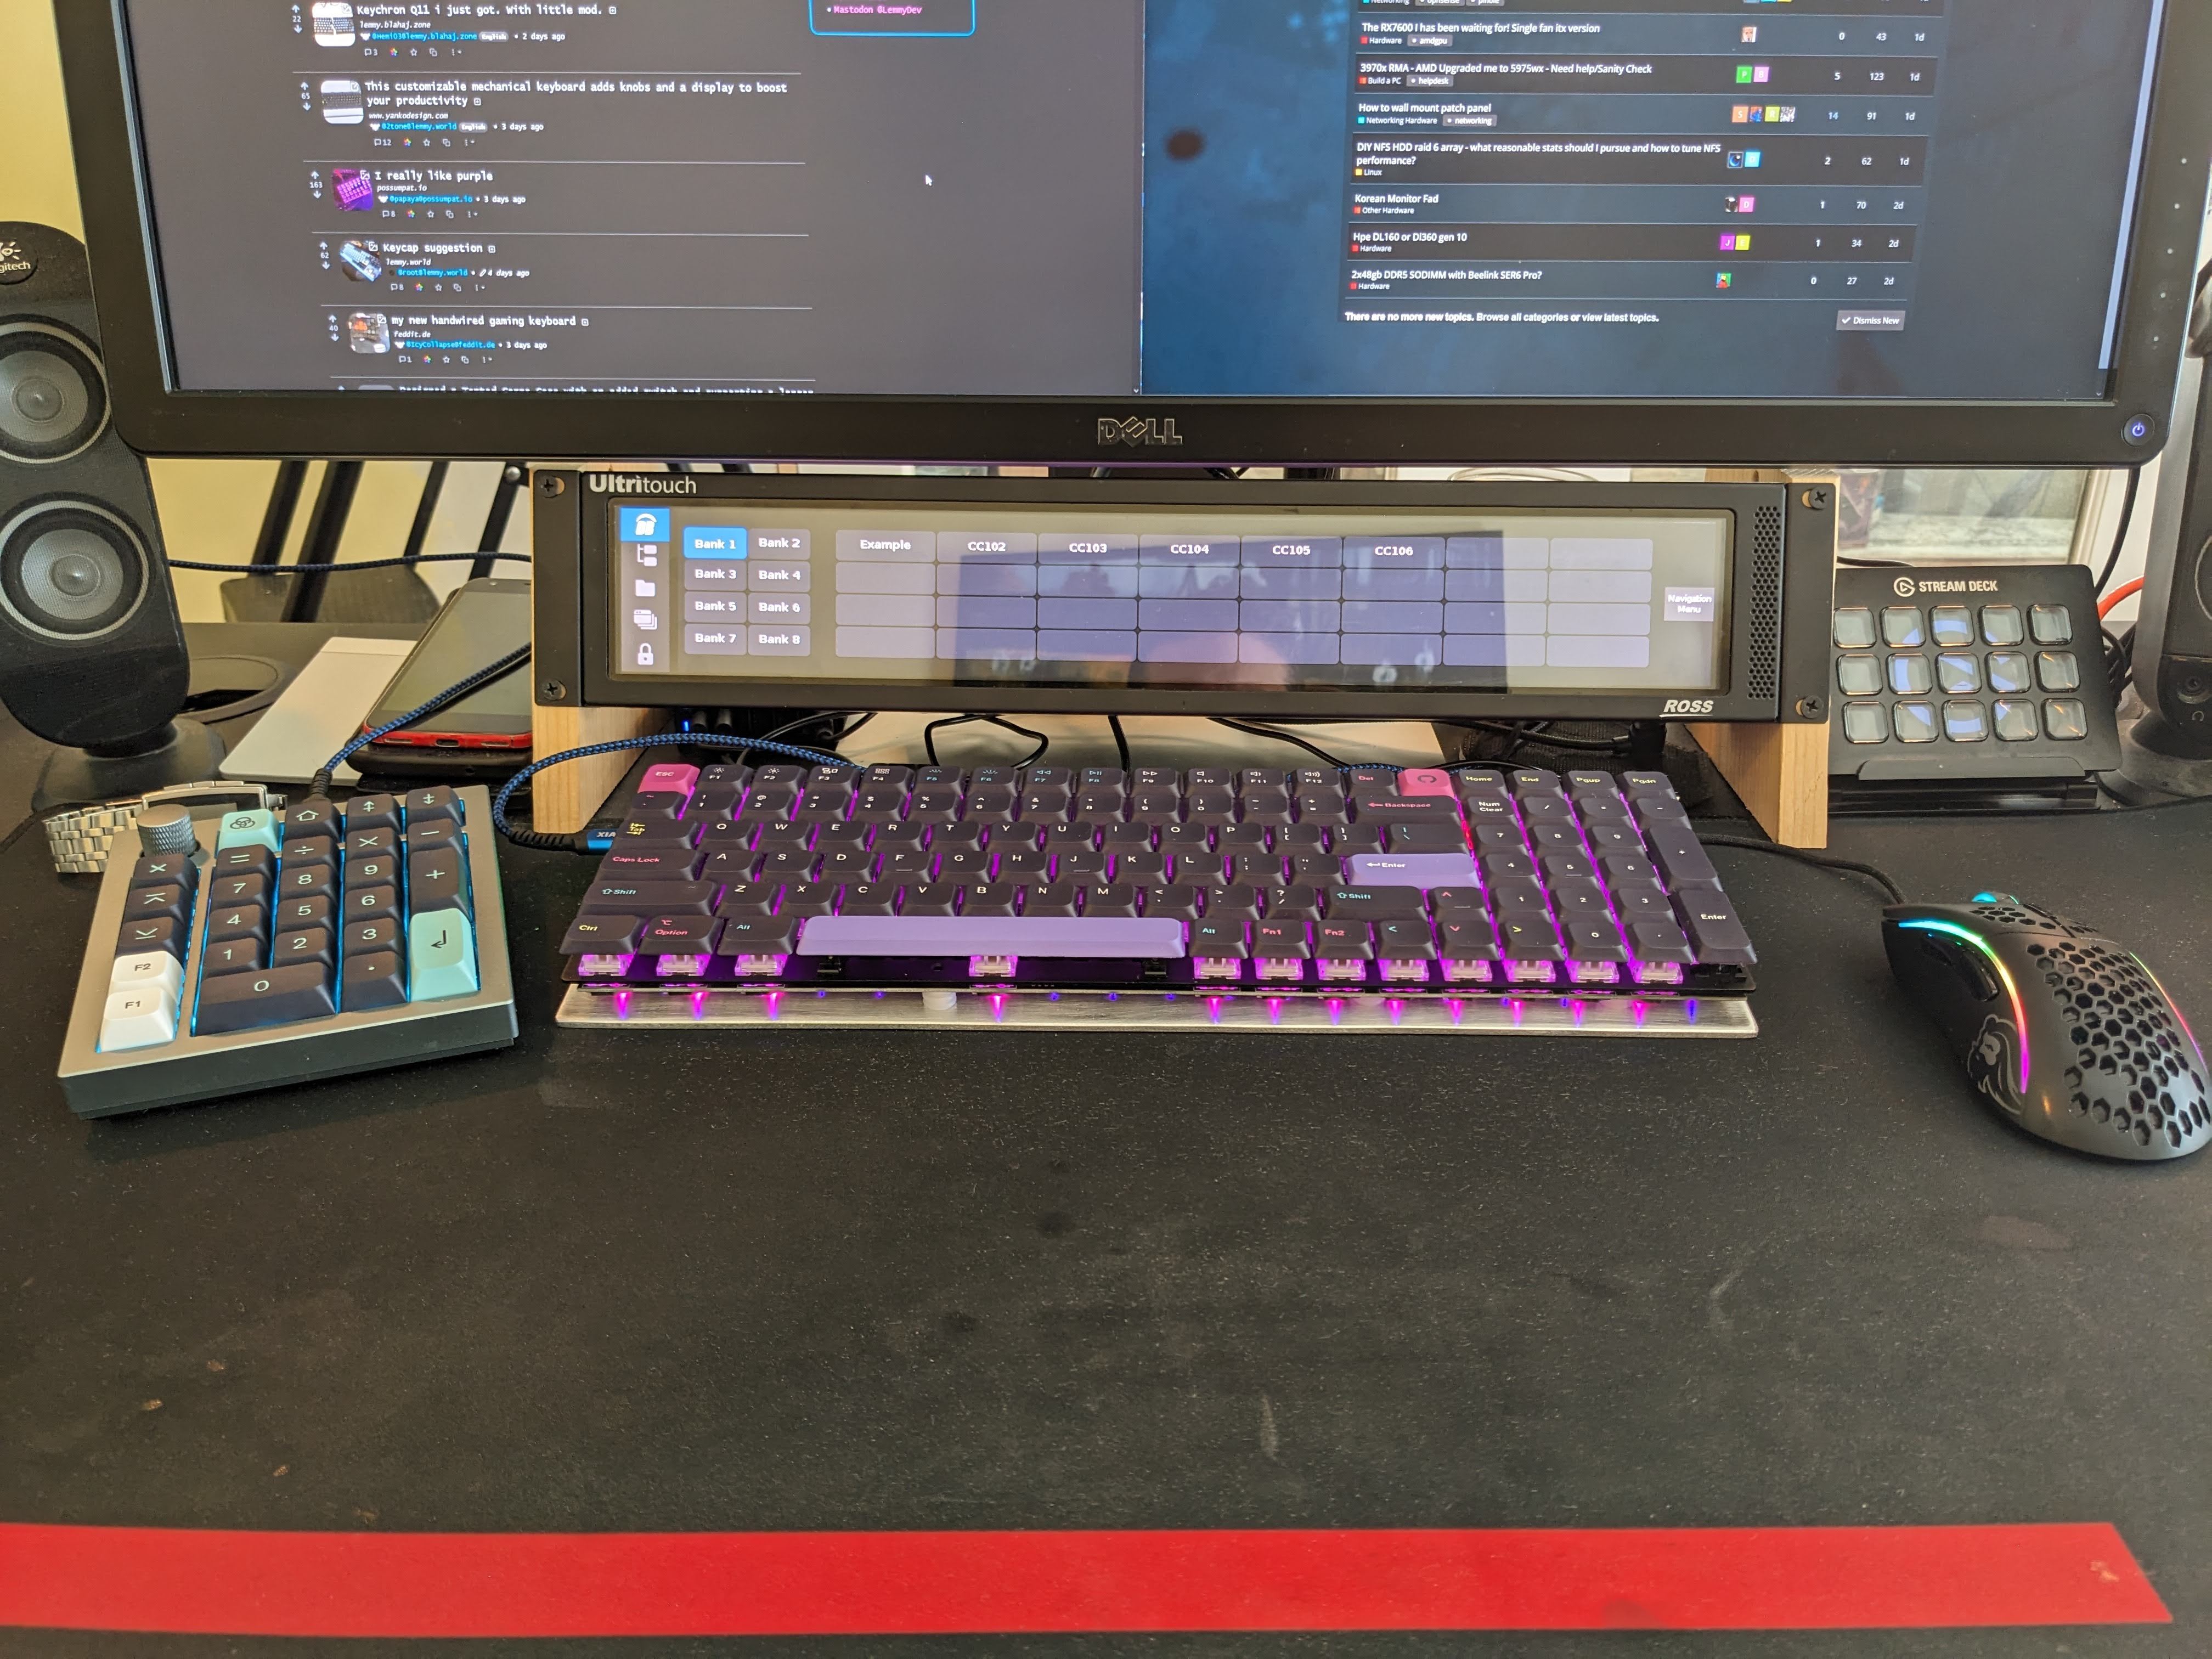
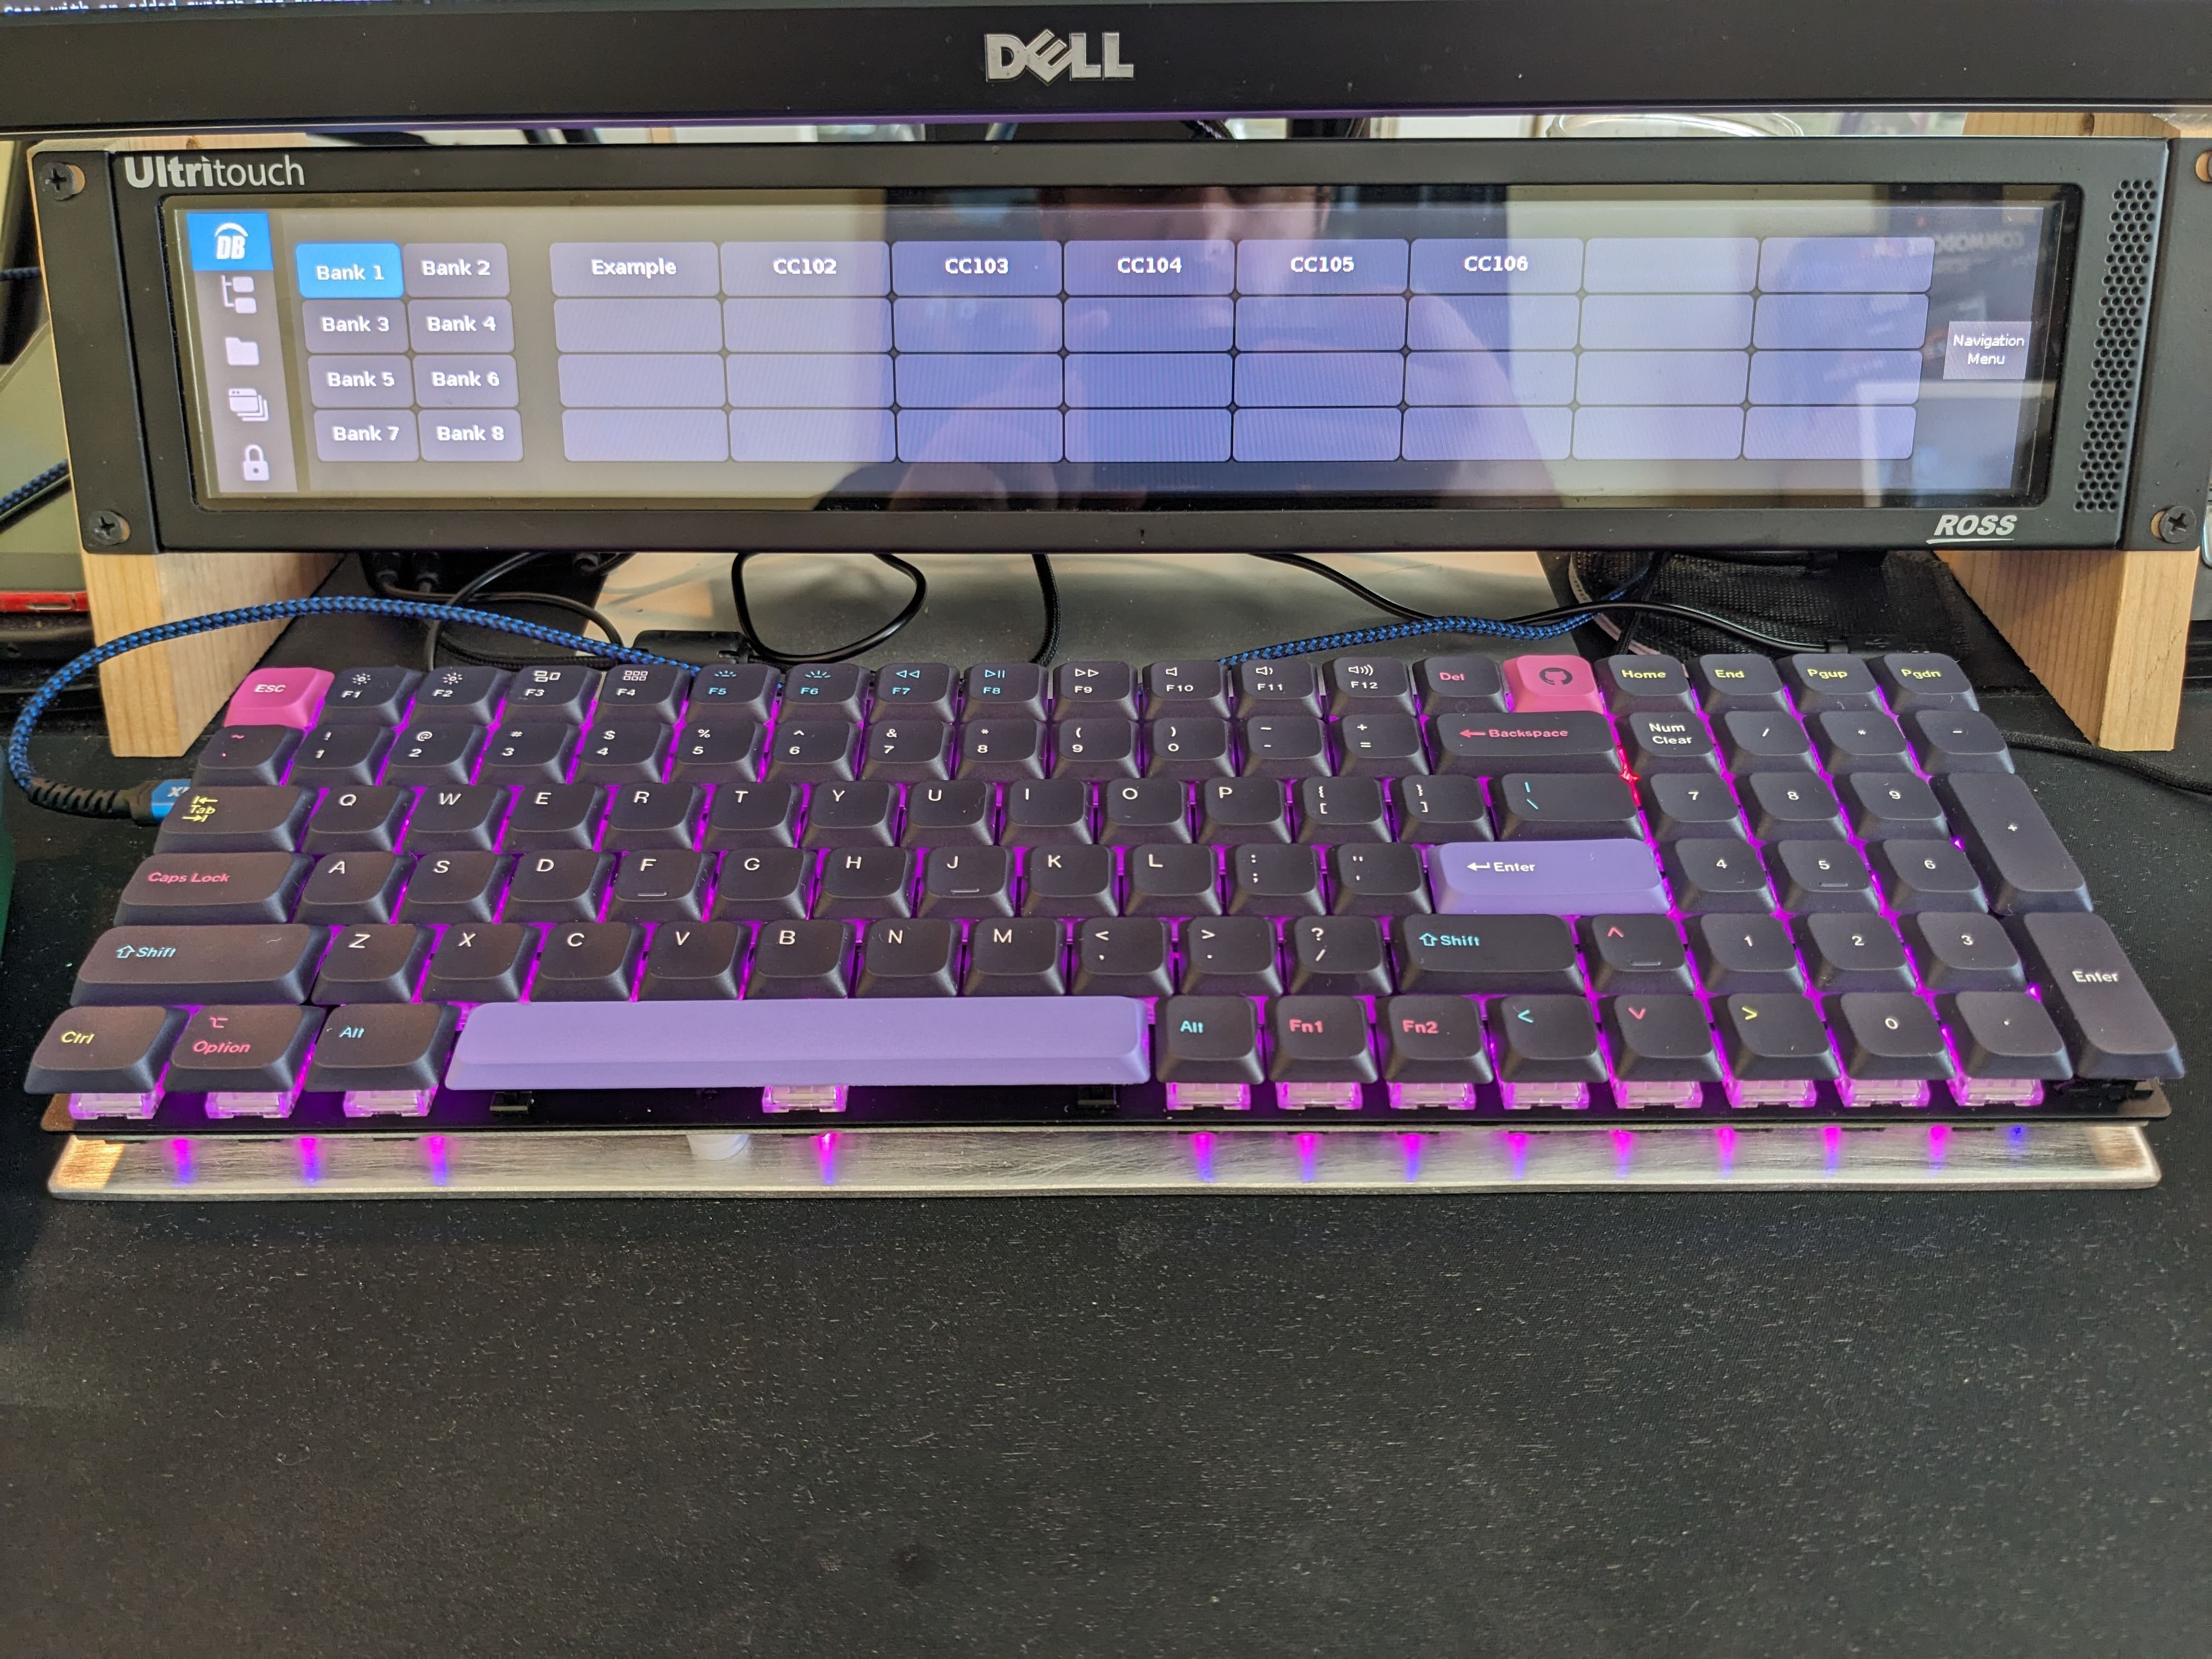
So far it feels solid, and I love the diffuse reflections from the key illumination. Combining the open sandwich plate with low profile caps gives it a really cool "exploded" or raw look.
I also added some silicone rubber to some of the larger keys to tone the "ping" down and give them a heftier feel and sound.
I dont love the stock stabilizers that come with this board so they may be the next update. Switches and Firmware are already all custom.


Pretty darn cool! Some questions:
How did you get the placement of the standoffs correct? What did you use for standoffs? Are those screws covered in o-rings? Are those keycaps the same type as the Keychron low profile series?
Having been working on a custom 3d-printable case for my K8Pro, and one of the biggest challenges has been the exact locations of the standoffs.
When I pulled apart the keyboard I took the top plate and just used a sharpie to mark the screw/standoff locations.
I did not bother with all the other support standoffs that dont require screws. I may 3d print some if I decide I want to make this even lower profile.
Standoffs are 6/32 threaded heat inserts I repurposed, normally I use them for 3d printed projects when I need a secure attachment point. For now they are secured both top and bottom with 6/32 low profile screws like what you would attach a hard drive with. I counter sunk and threaded the holes on the plate to make sure they are secure and dont rattle.
Yes I had a bunch of O rings I got for a build and ended up not liking so I reused them here to create some "soft" pressure to keep the PCB from just grinding away on the standoffs. If I decide to go the 3d printed standoff route so I can drop the PCB down to the very edge of the plate for a lower profile I may keep the rings to have a stiff but forgiving connection to the plate.
Yes they are the Keychron low profile caps, they required some modification to install on my K4v2 as it is a normal keyboard and not a LP one with the LP switches. I had to use an exacto knife to shave the inside of the longer keys so the stabilizers would insert and hold. You can see a little of the crud left over in the bottom picture on the left. If you have a cherry style stabilizer and want to get this or a similar set you will probably need to do the same sort of thing otherwise the plastic will be too tight and split.
if you are struggling to get standoffs in the right spot I would suggest either tracing the top plate or the PCB. The PCB still has small alignment holes for the screw-less standoffs on my board so its easy enough to place them. Otherwise get out your calipers and measure, measure, measure, because there is no really good way to get the numbers into CAD/Fusion other than doing the work.
Thanks a bunch!
Another question: What did you do with the battery? Just discard it?
yep, I run SonixQMK which still does not support Bluetooth and I hate wireless anyway, charging sucks!