Sewing, Repairing and Reducing Waste

1498 readers
1 users here now

A place to share ideas, knowledge and creations with textiles. The focus is on reducing waste, whether that be sewing from the scraps left from other projects, using the end of rolls and remnants, or repairing and remaking finished pieces.

founded 2 years ago
MODERATORS
26


This is an update to this post.

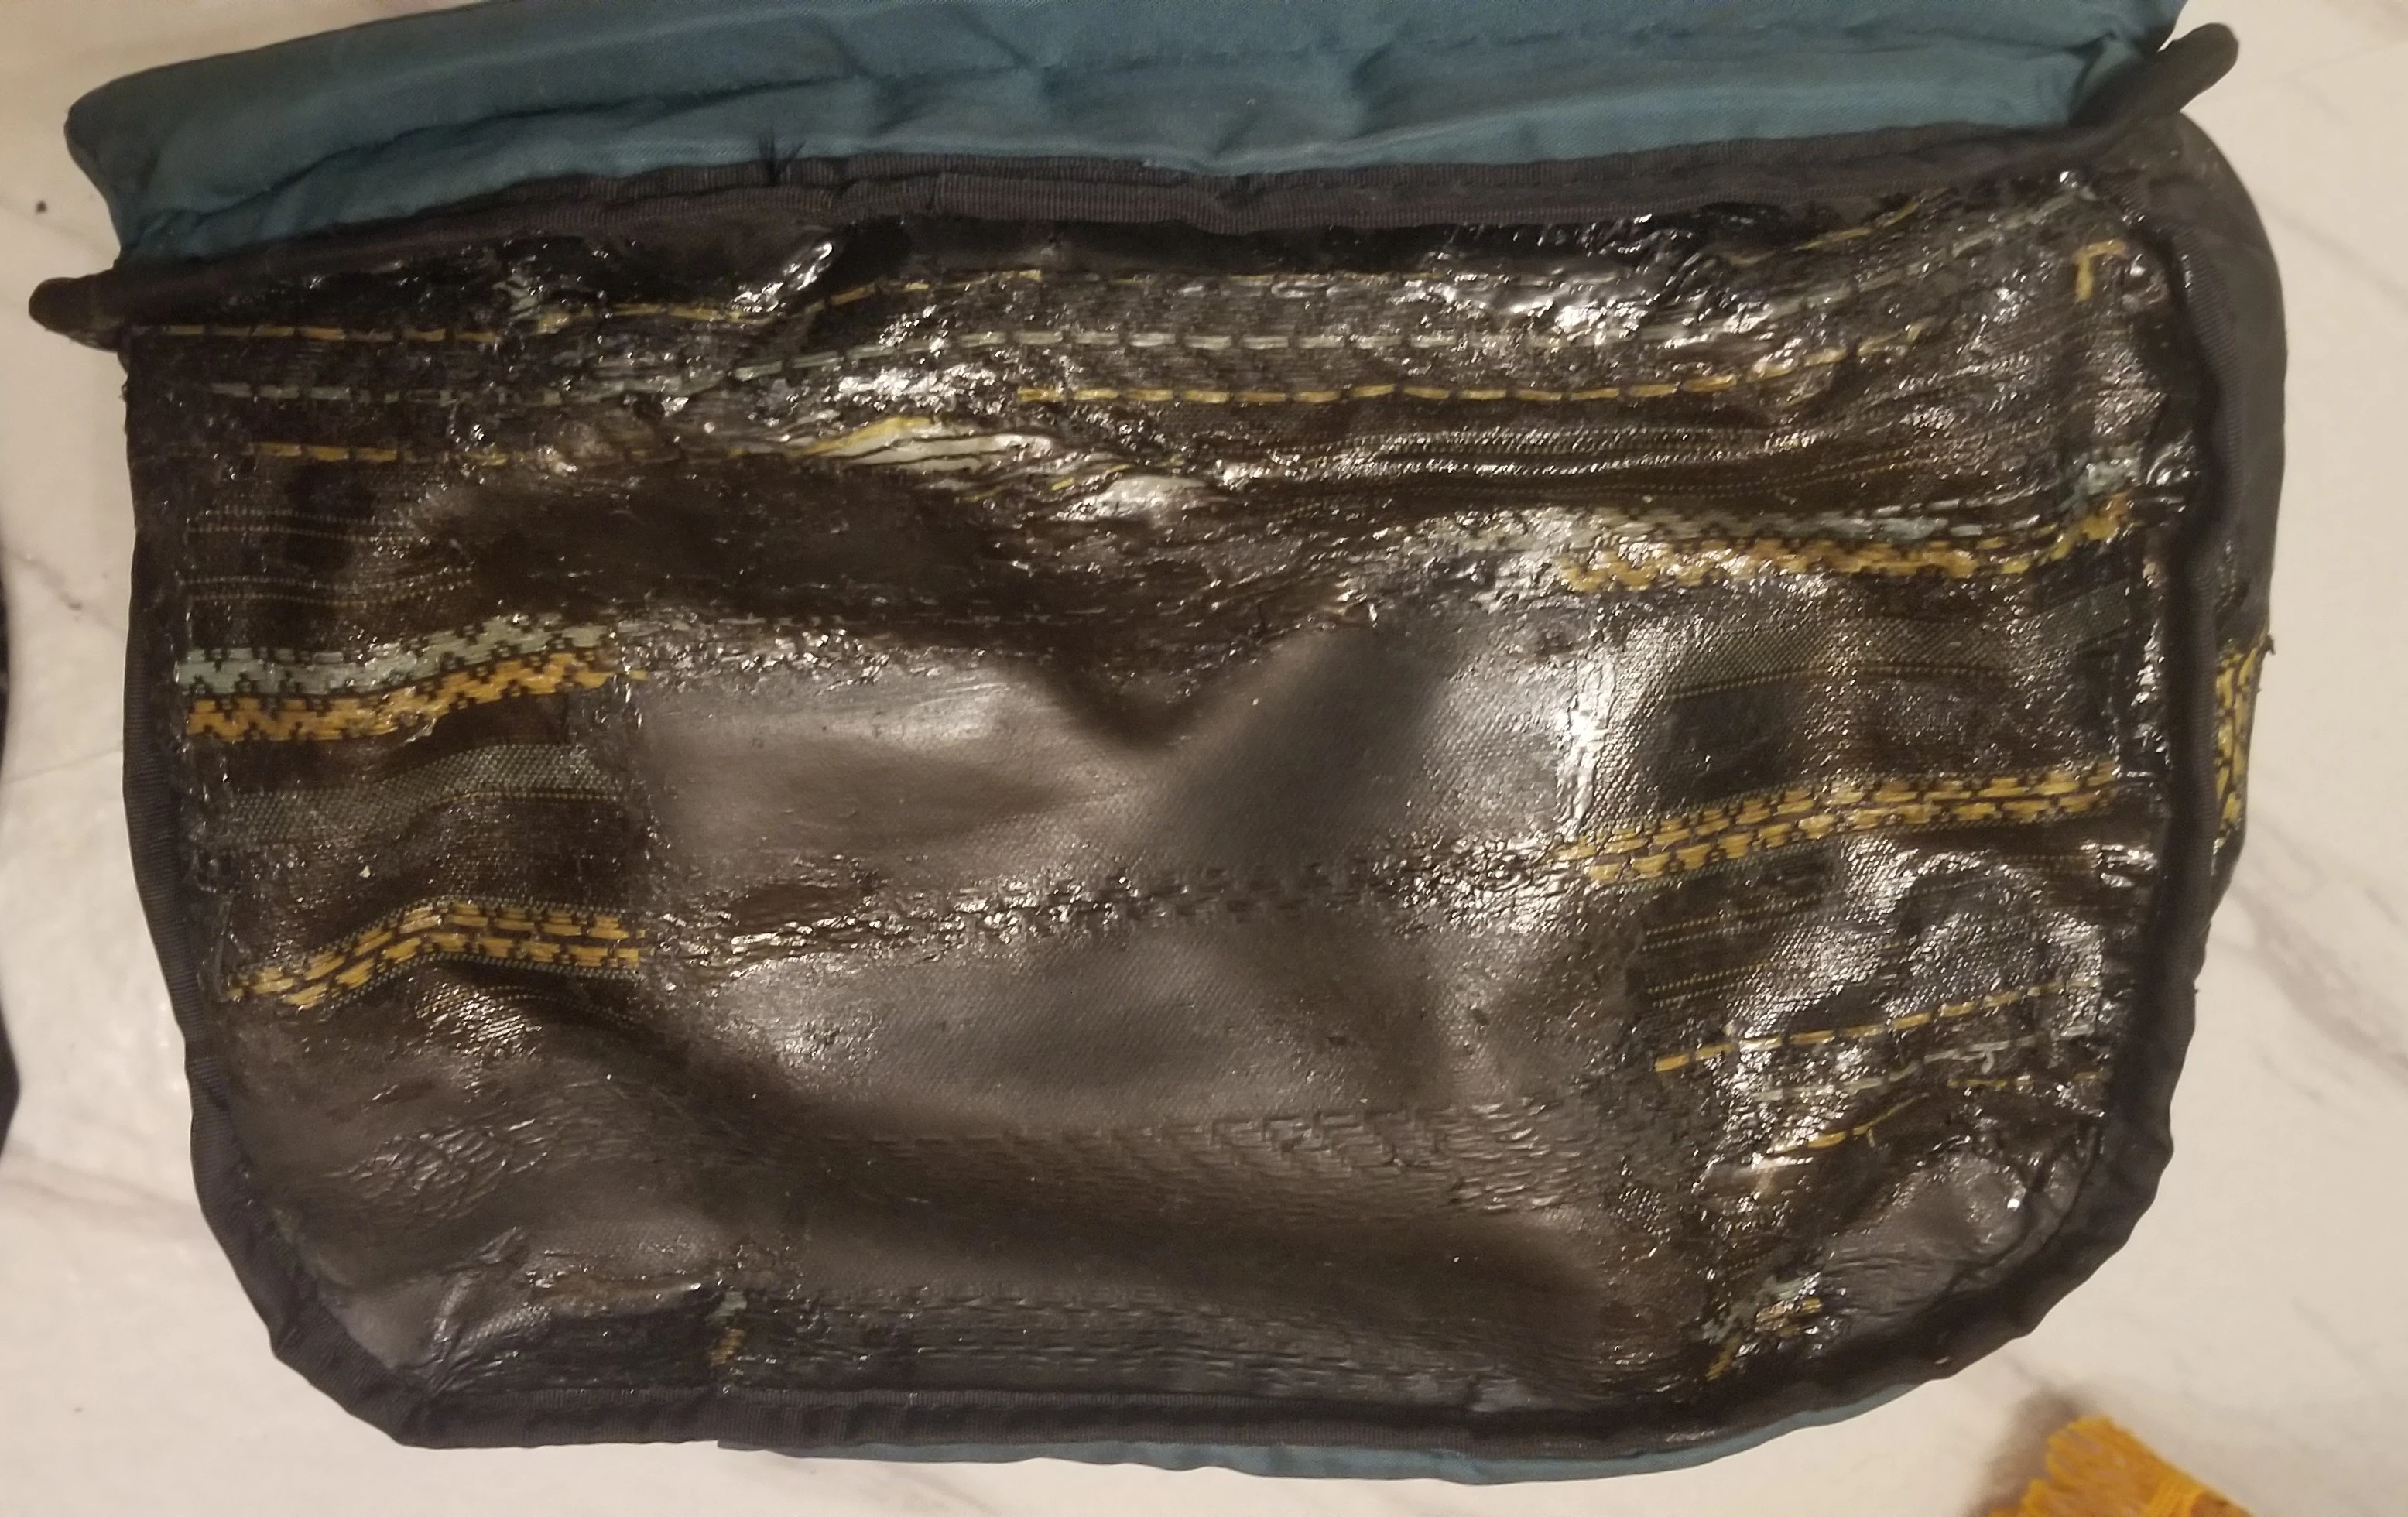
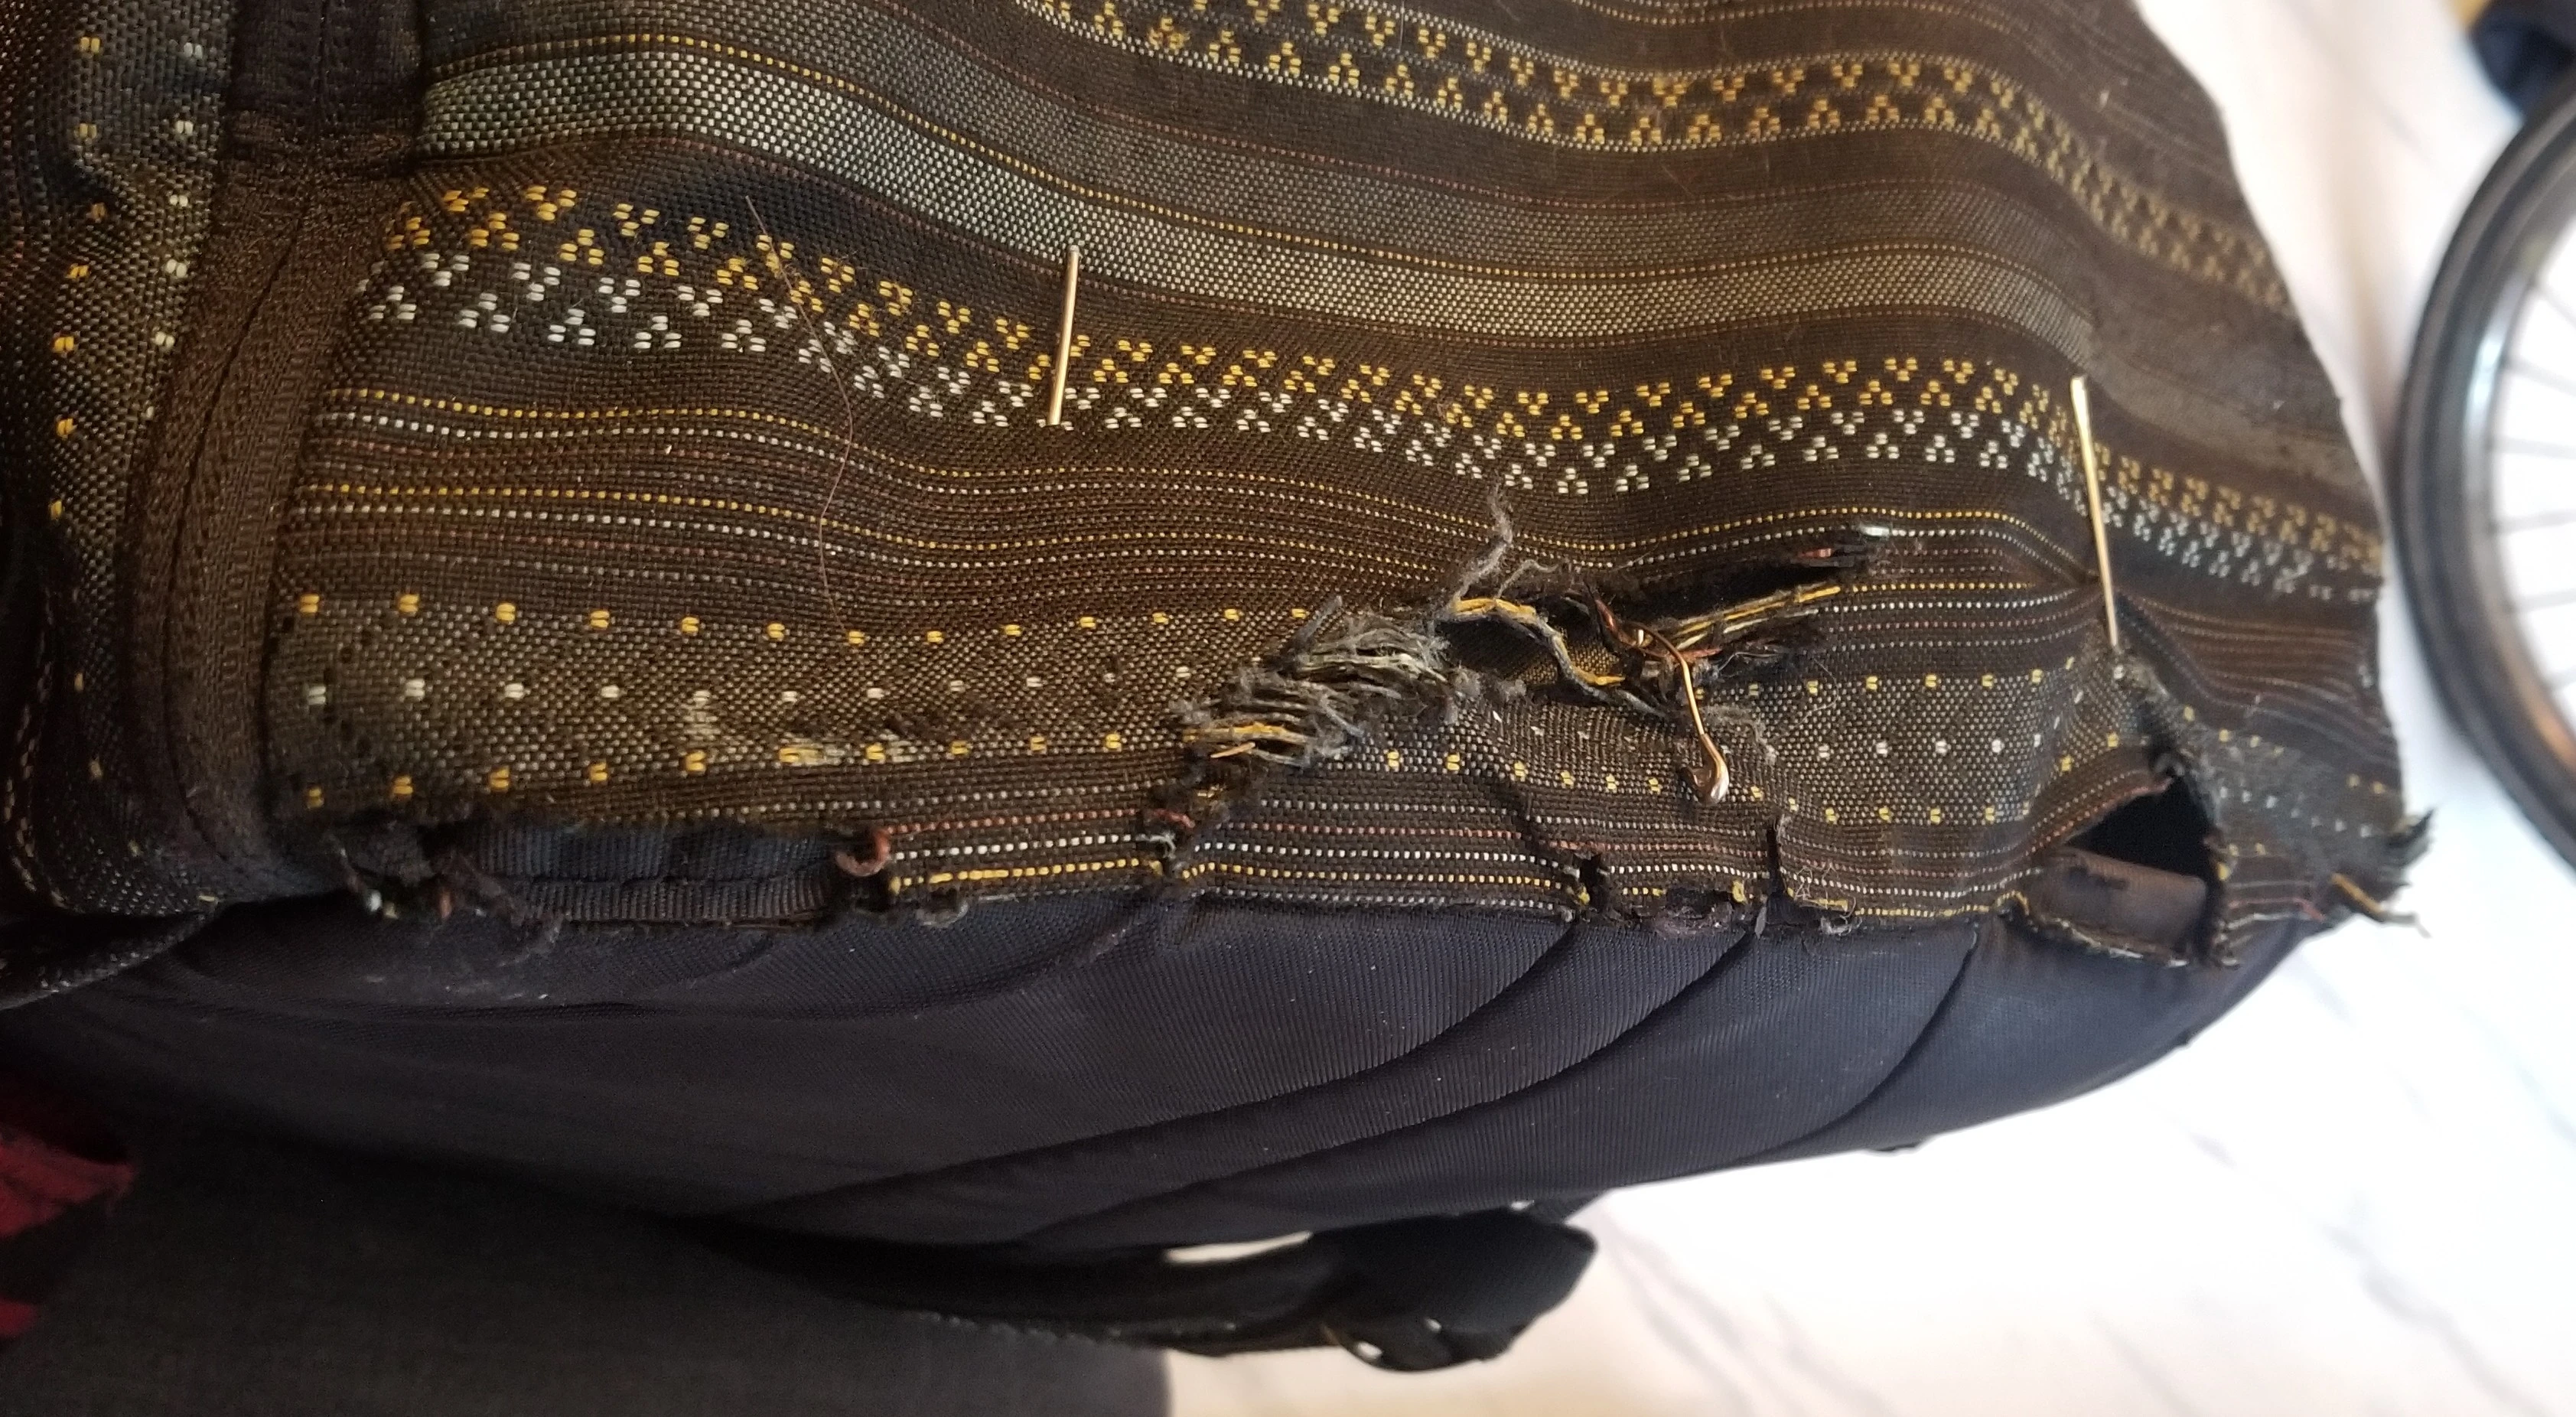
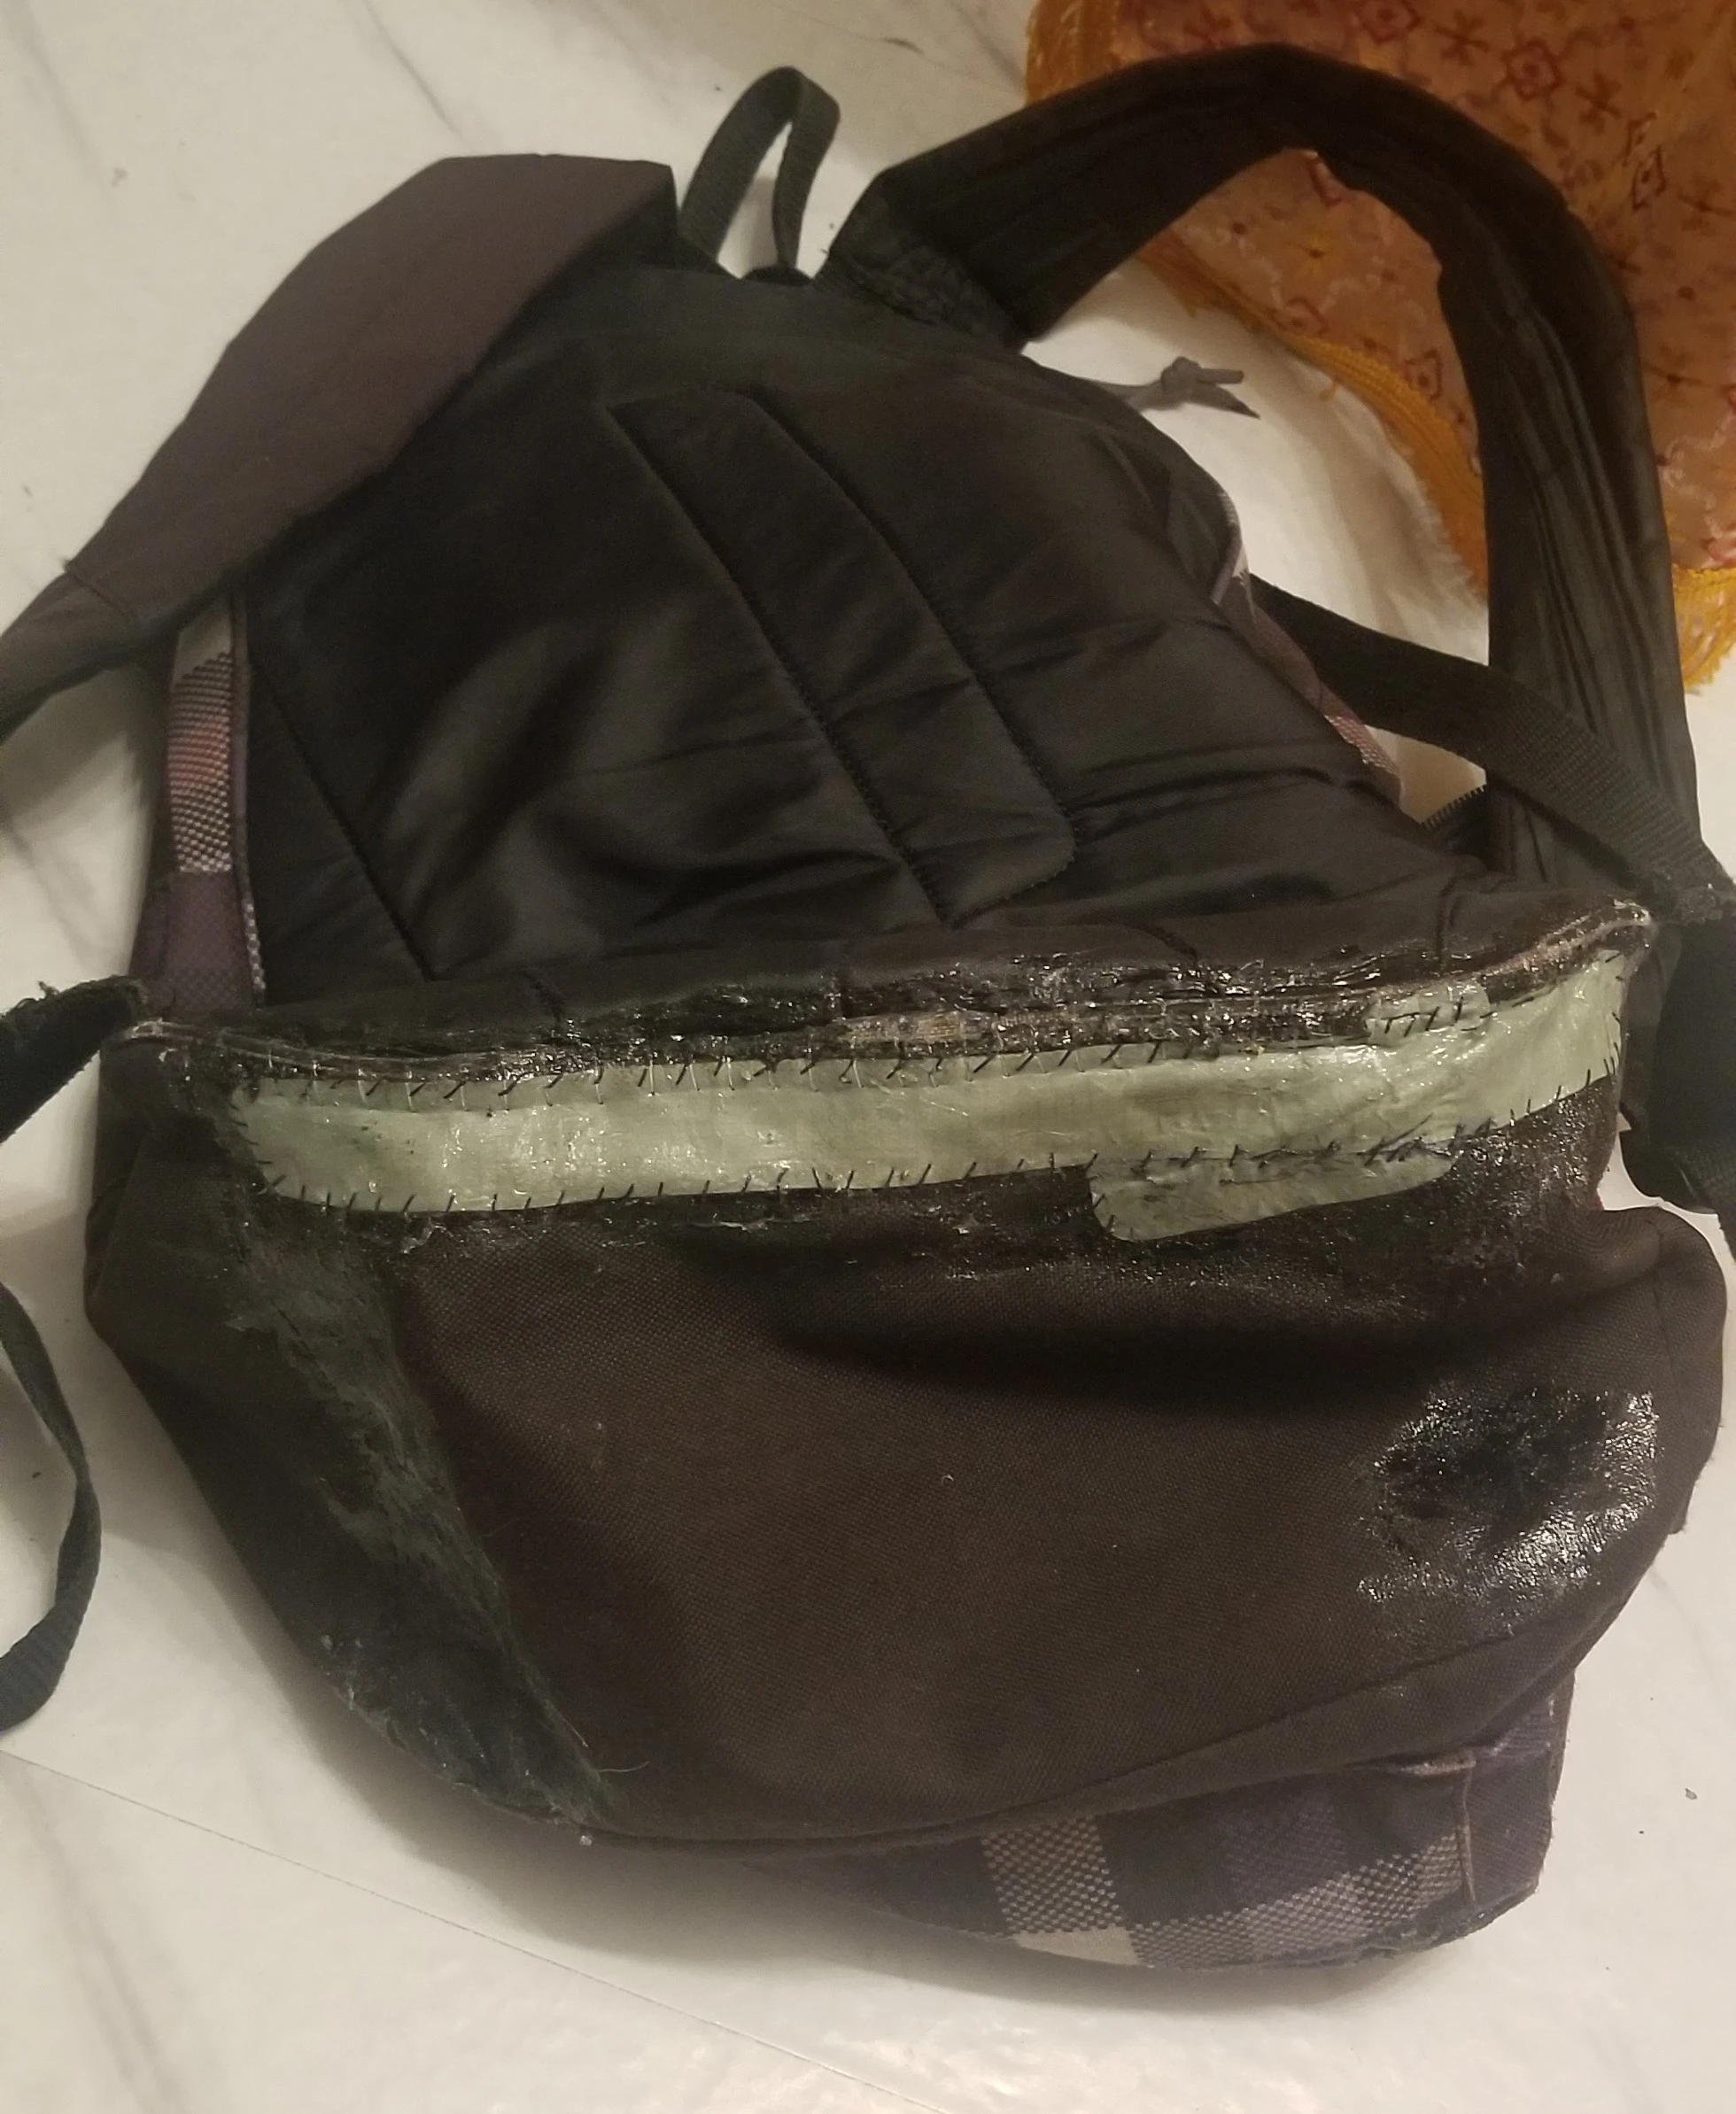
I turned the backpack inside out to see the damage on the inside. Most of the black plastic coating was gone, and you can see the patch I applied in the outside.

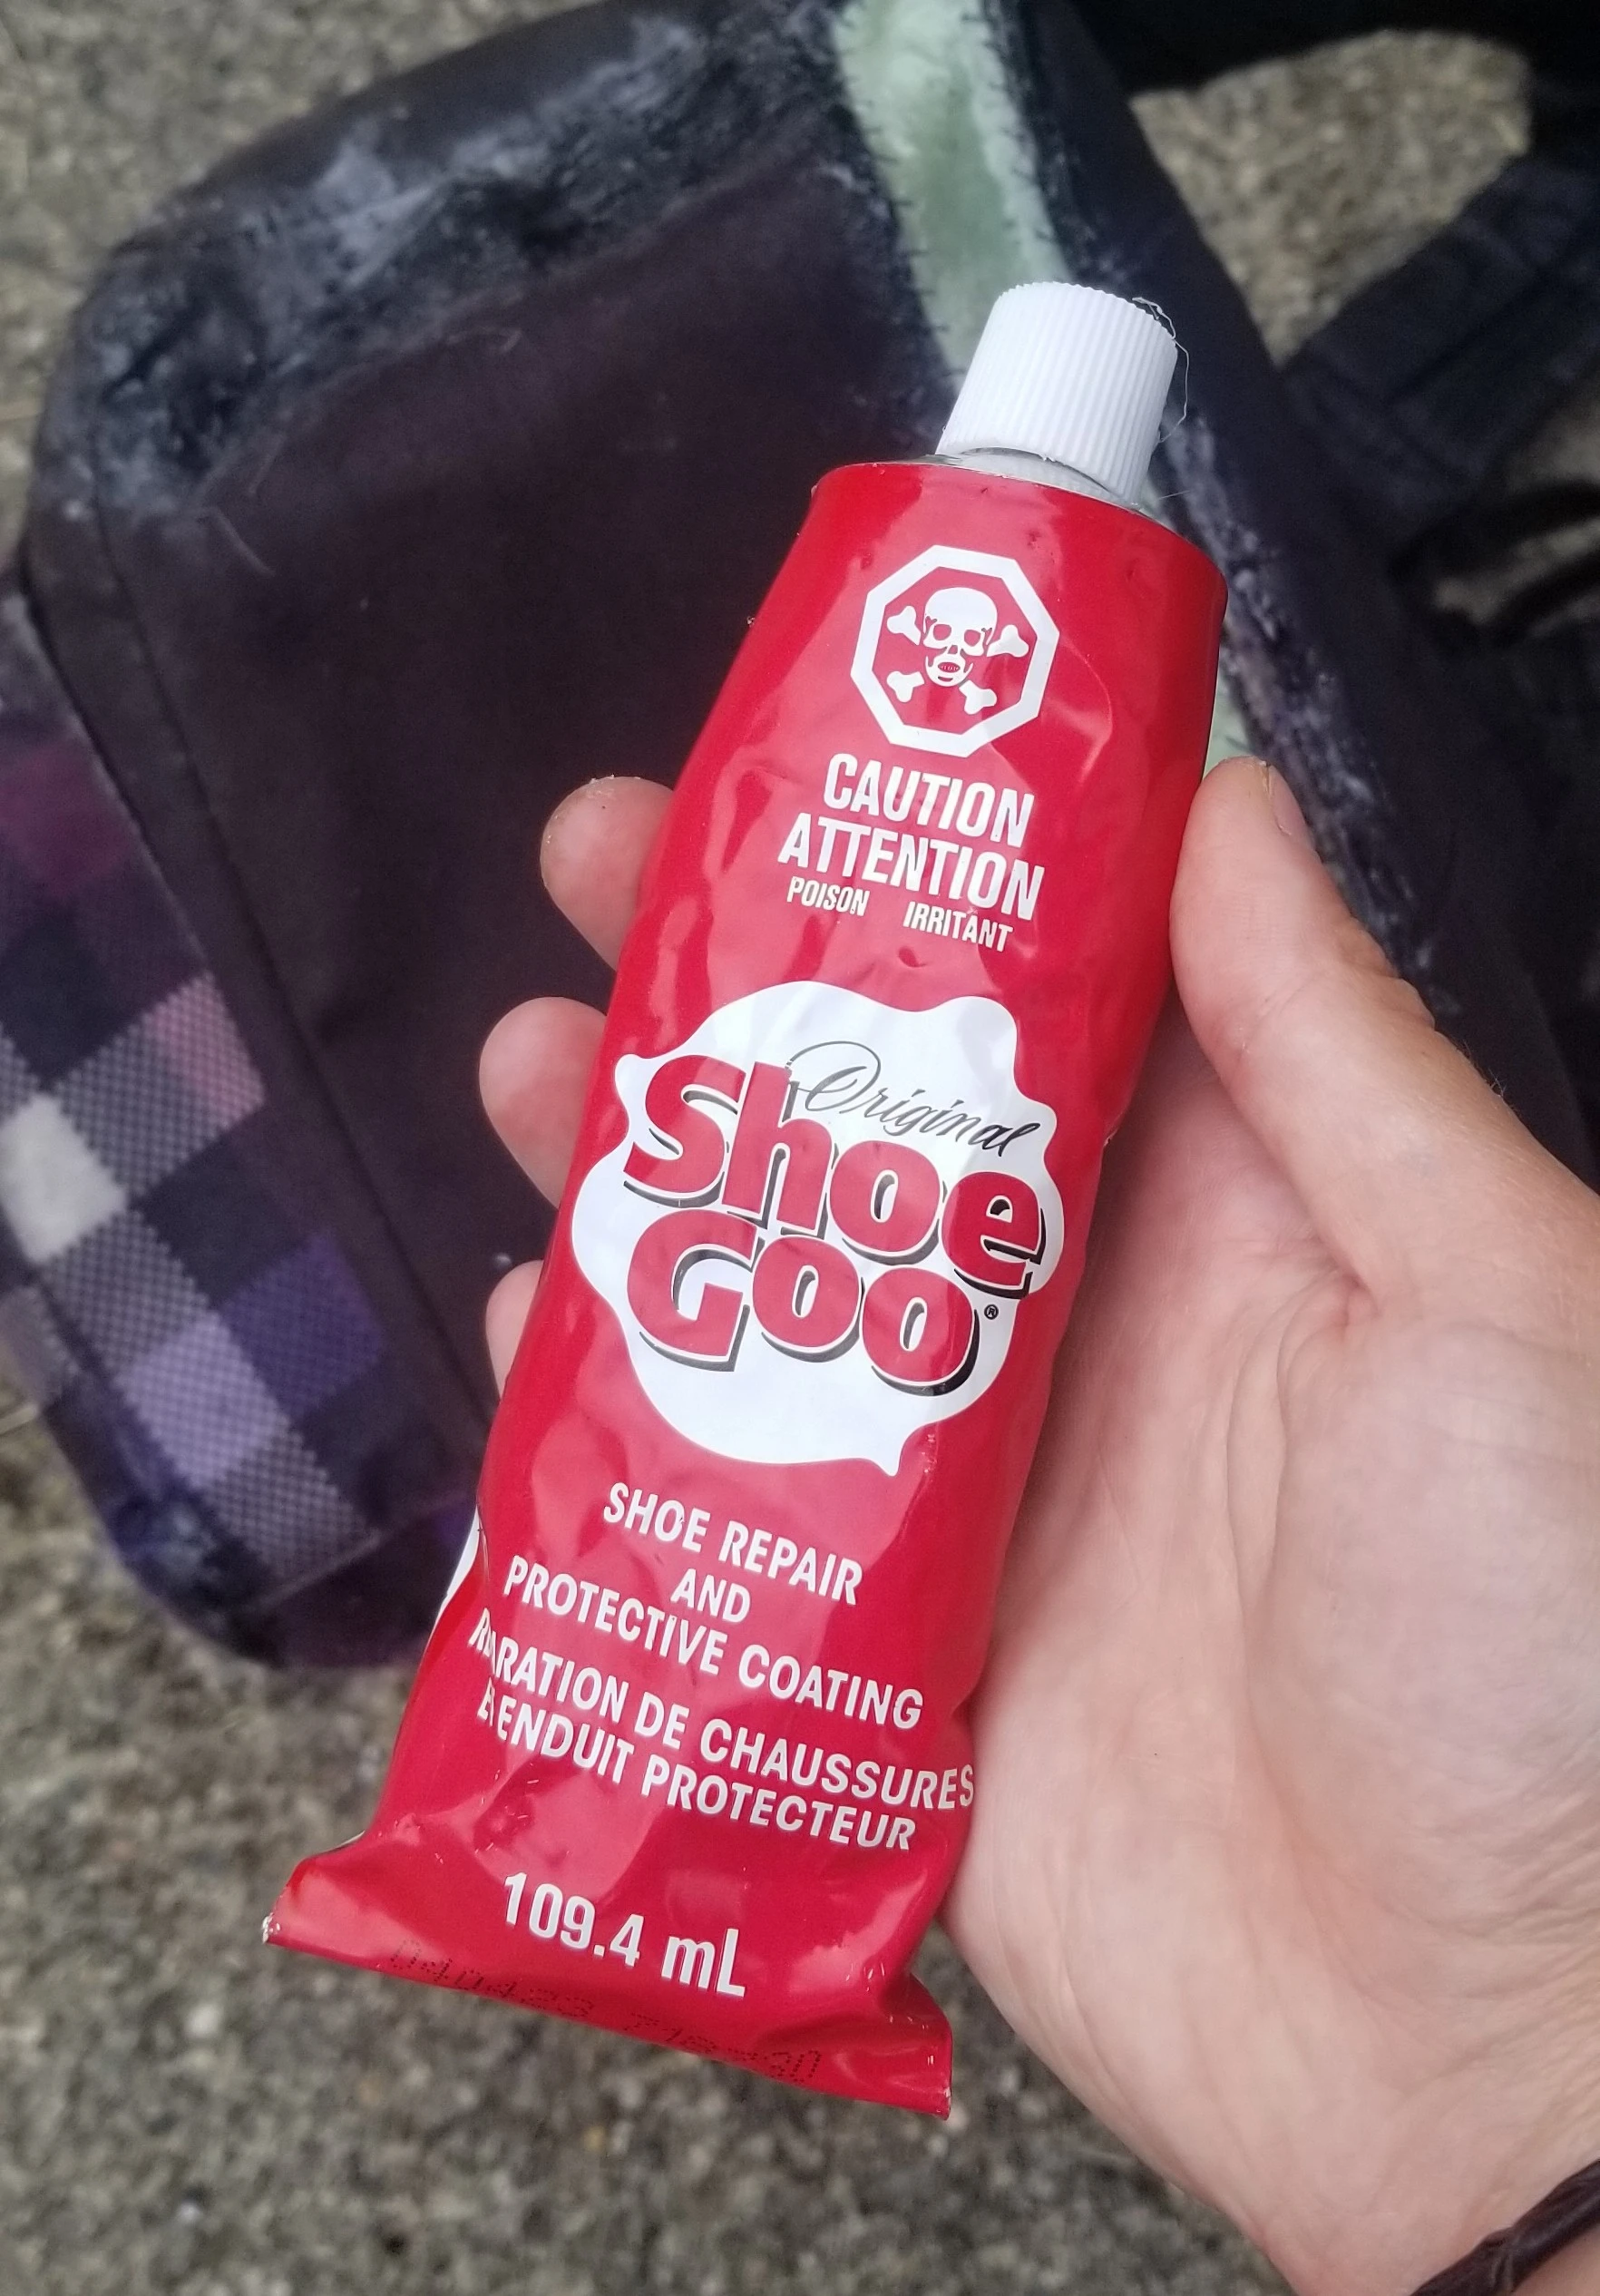
I decided to coat pretty much the entire bottom with Shoe Goo sealant, like I did in my last repair. This gave the material a lot of extra stiffness, as well as waterproofing it. You can see it applied in the shinier areas:

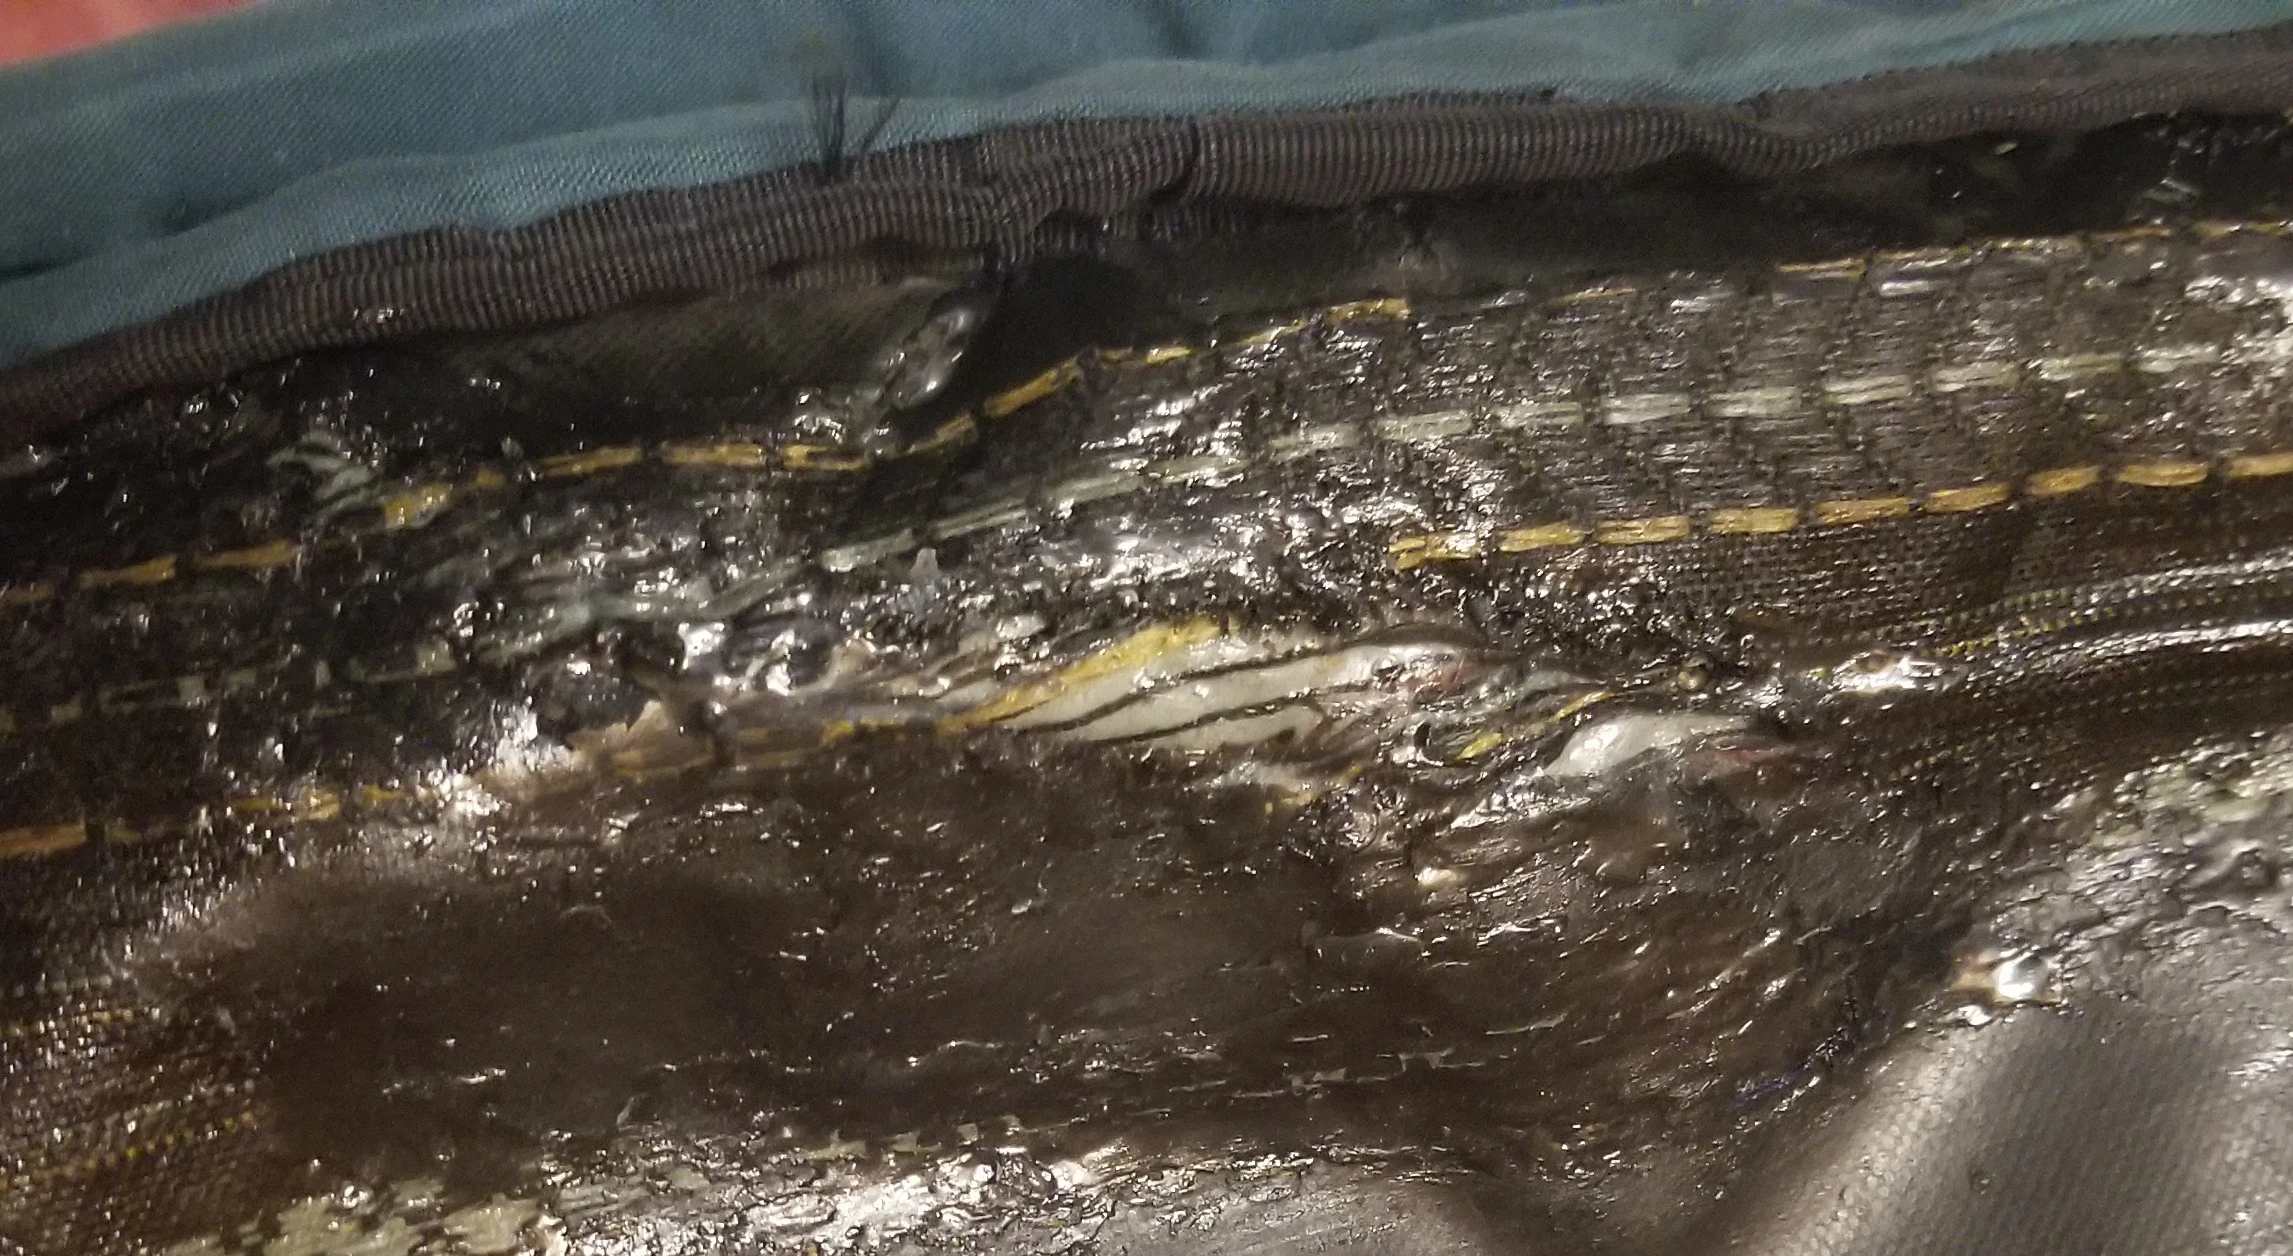
Here is the sealant on the inside of the biggest rip, holding the patch in place:

I know this update isn't particularly visually impressive, but it felt like a pretty successful fix. I'm looking forward to being able to use this bag again!

27
 
 
28


I've been looking for more adjustable closure ideas (excluding zippers and buttons) and ways to reduce my fabric cutting waste. This tutorial pointed me in the right direction!

29


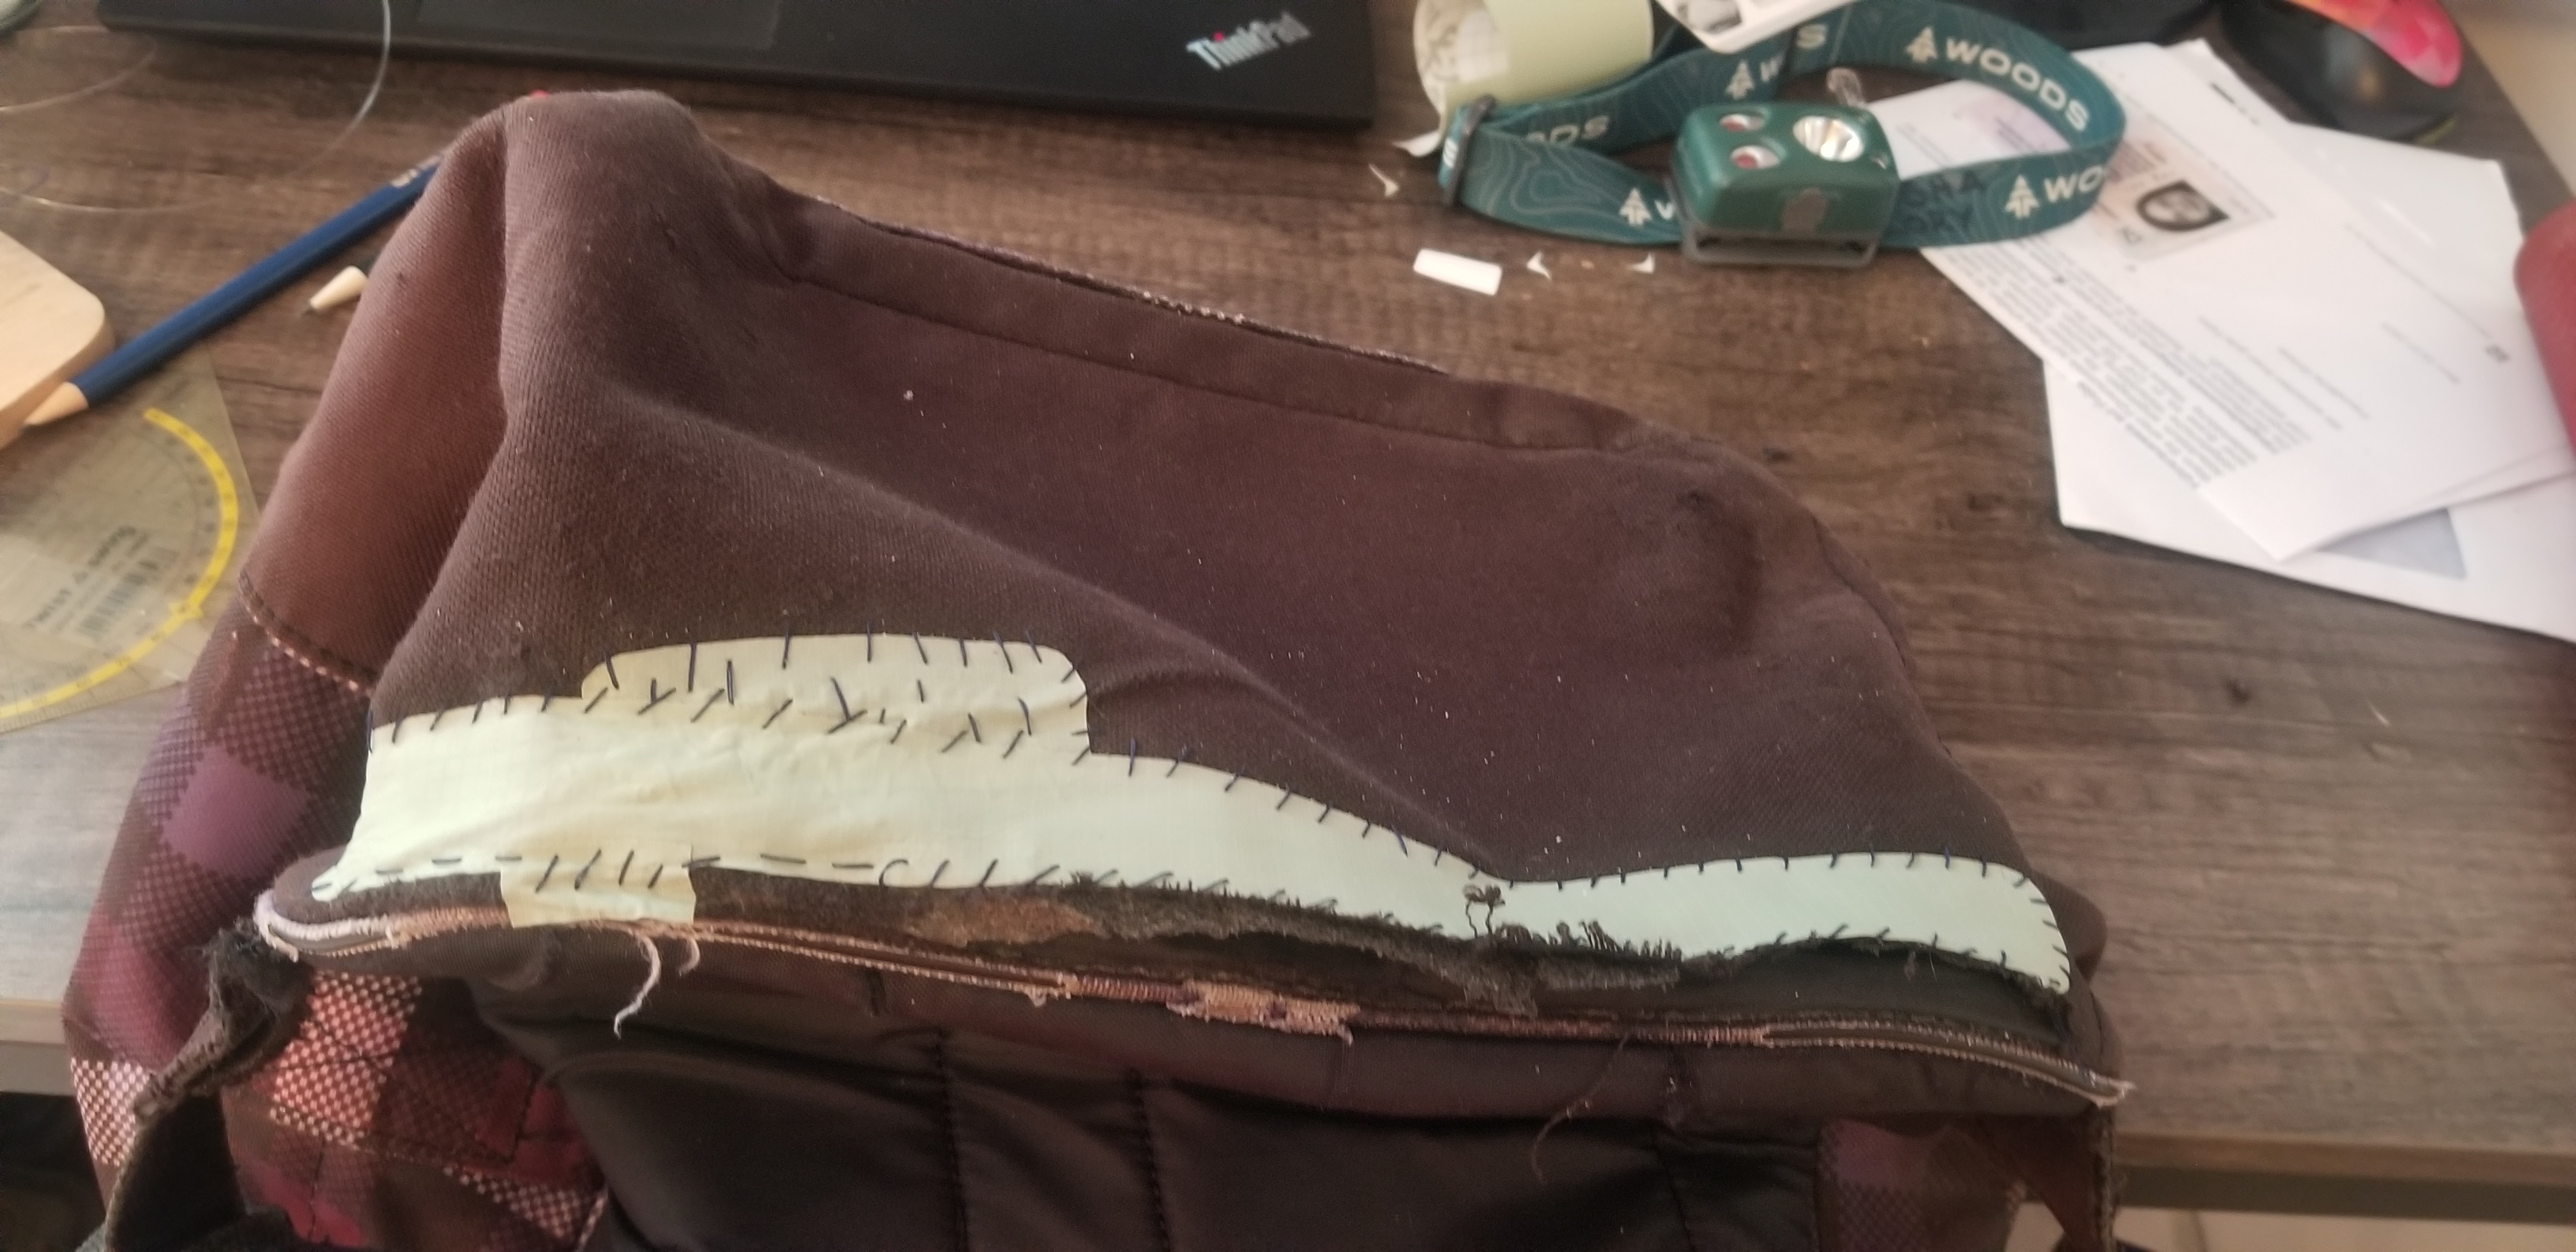
This backpack has been stowed away at the back of my closet for a few months waiting to be fixed. It was being held together pretty tenuously: Sewed some of the smaller rips, then added repair tape to the largest one:
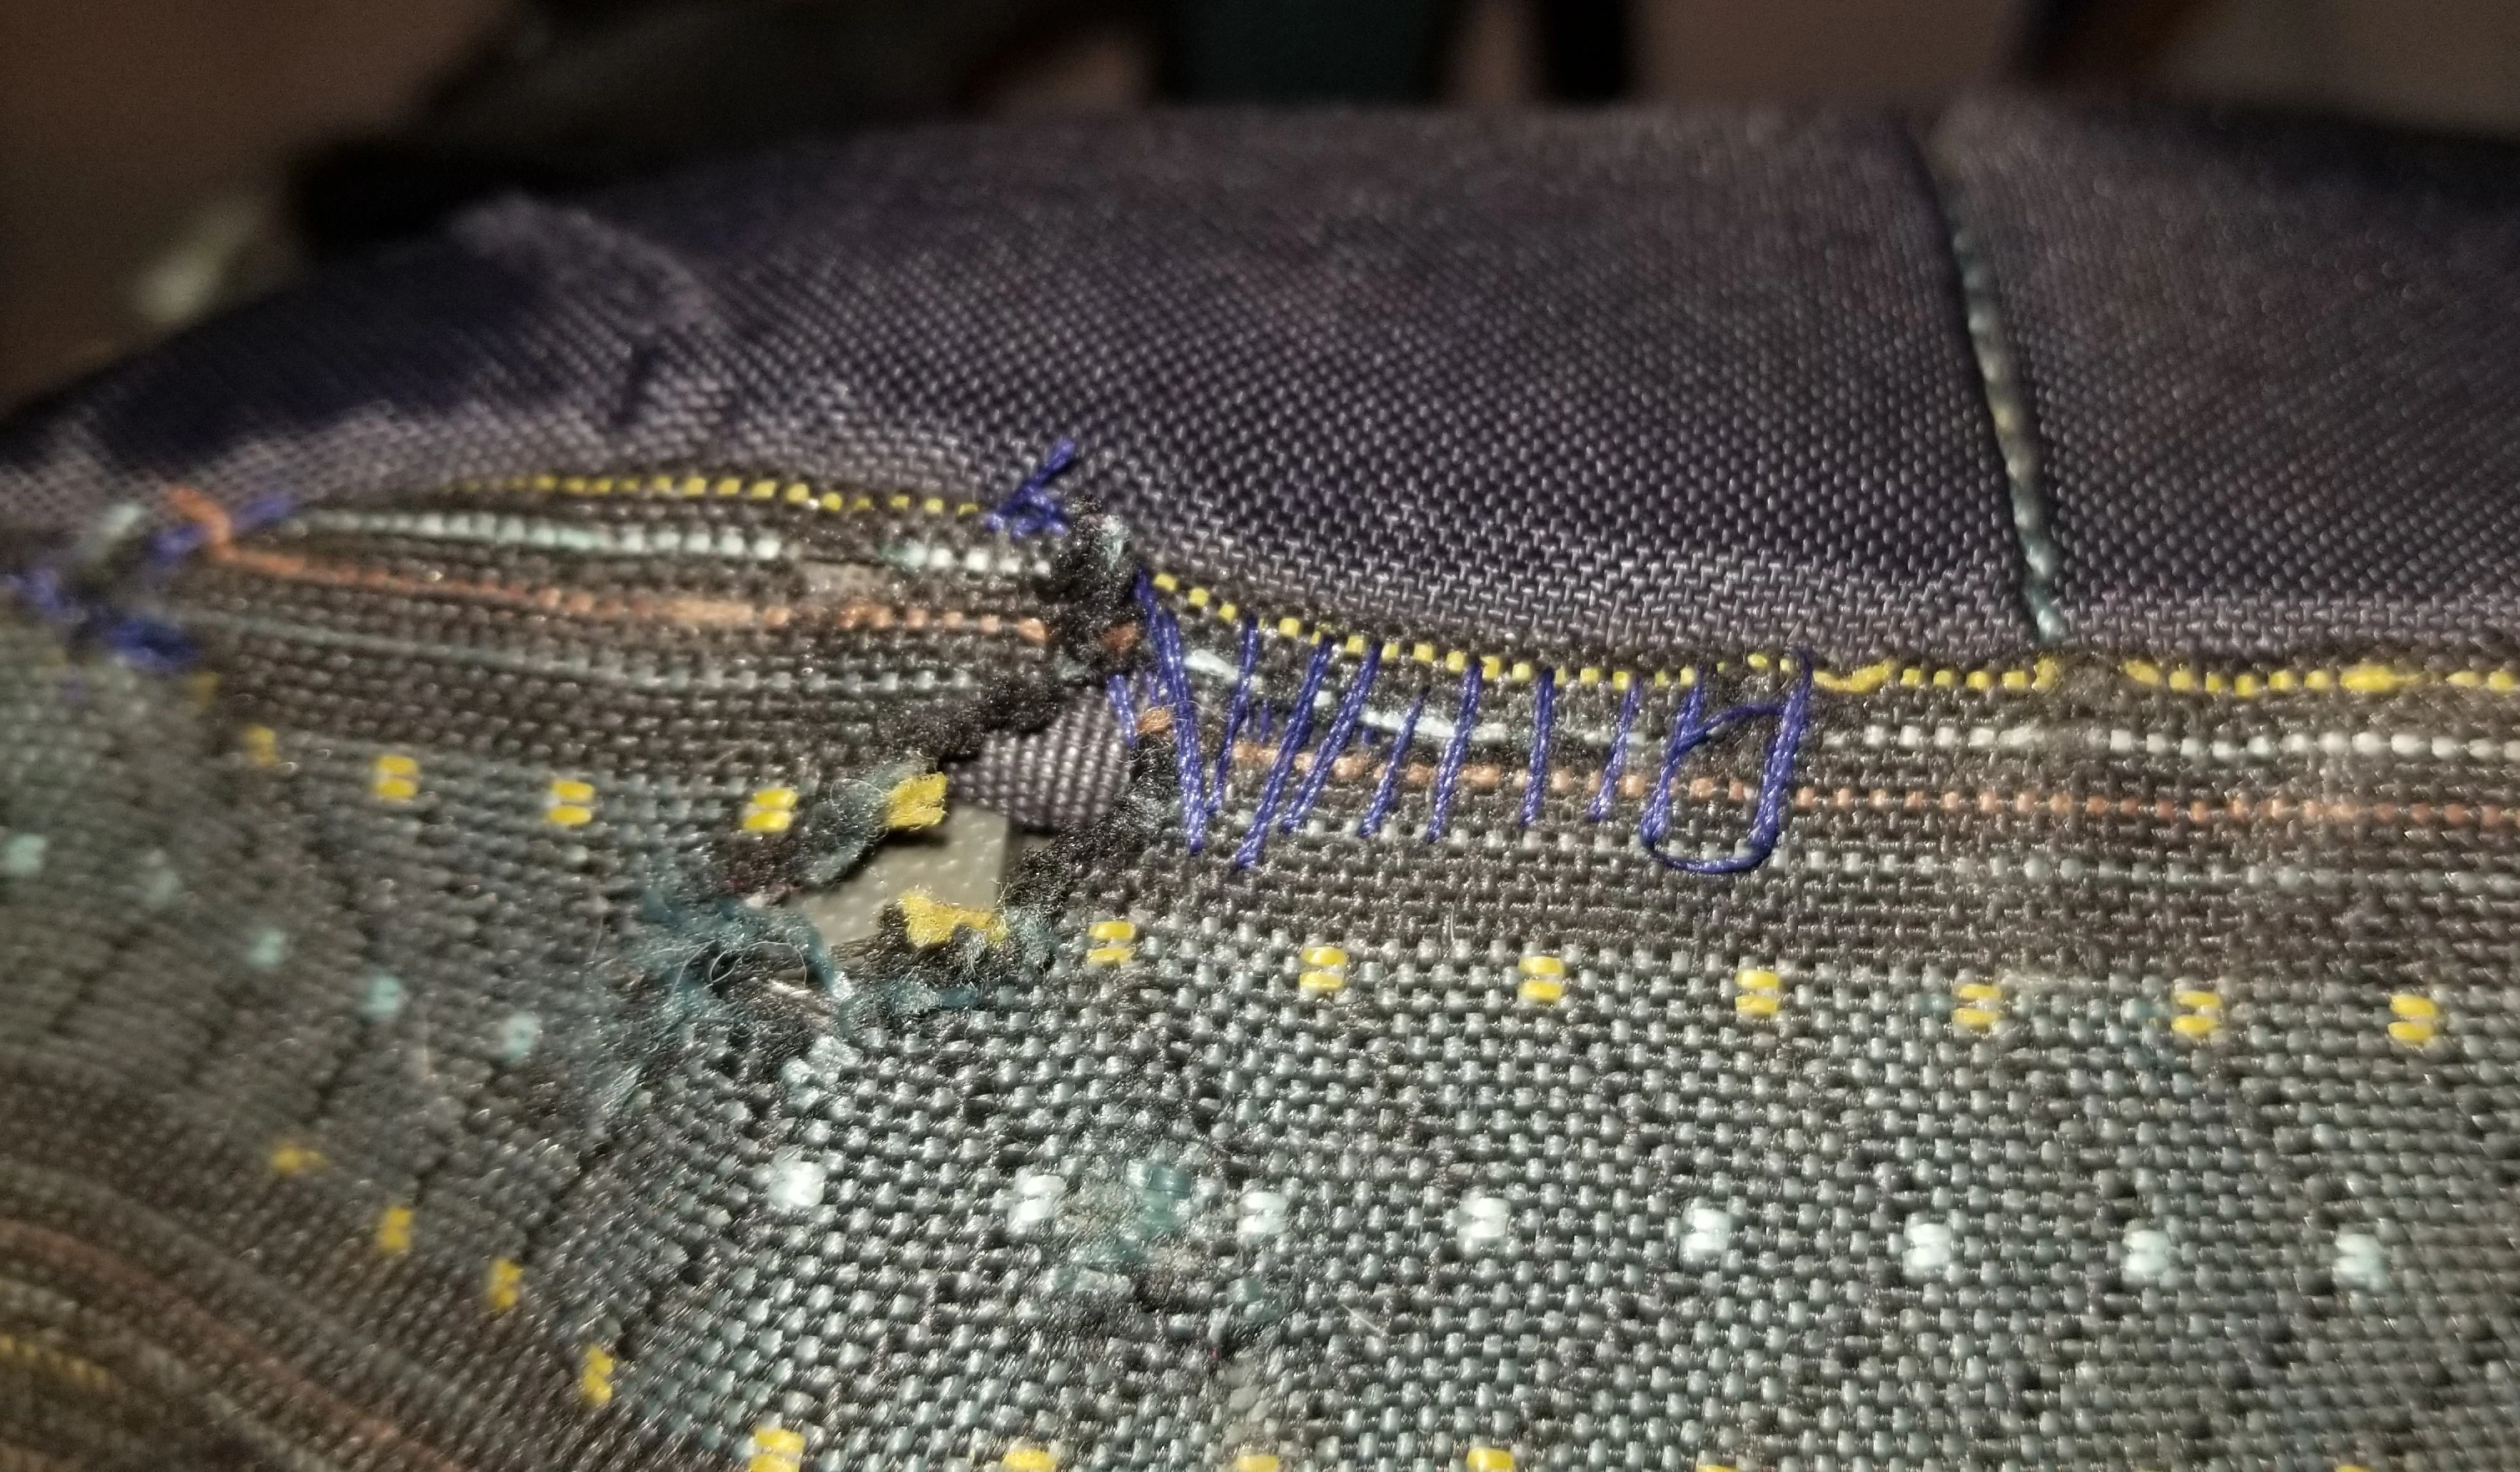
Next step will be to turn it inside out and add some more material to the large rip. The entire bottom is pretty much thin enough to let light through at this point. I'll try to post an update once I fix that!

30


Zipper pull made from some shoelace I had lying around:

Parts of the bottom of the bag were threadbare (literally starting to let light through). Gooped over everything with a bunch of Shoe Goo sealant, which turned out messy but effective:

Overall I'm pretty please with how this turned out. Maybe not too pretty to look at, but thoroughly functional, and I'm sure it'll extend the life of this bag quite a bit

31


Glued and sewed a larger piece of gear repair tape to add fidelity to the ripped edge: Then sewed the rip itself with fishing line (the strongest thing I could think of to hold the weight of the bag's contents, plus I just happened to have it at home:
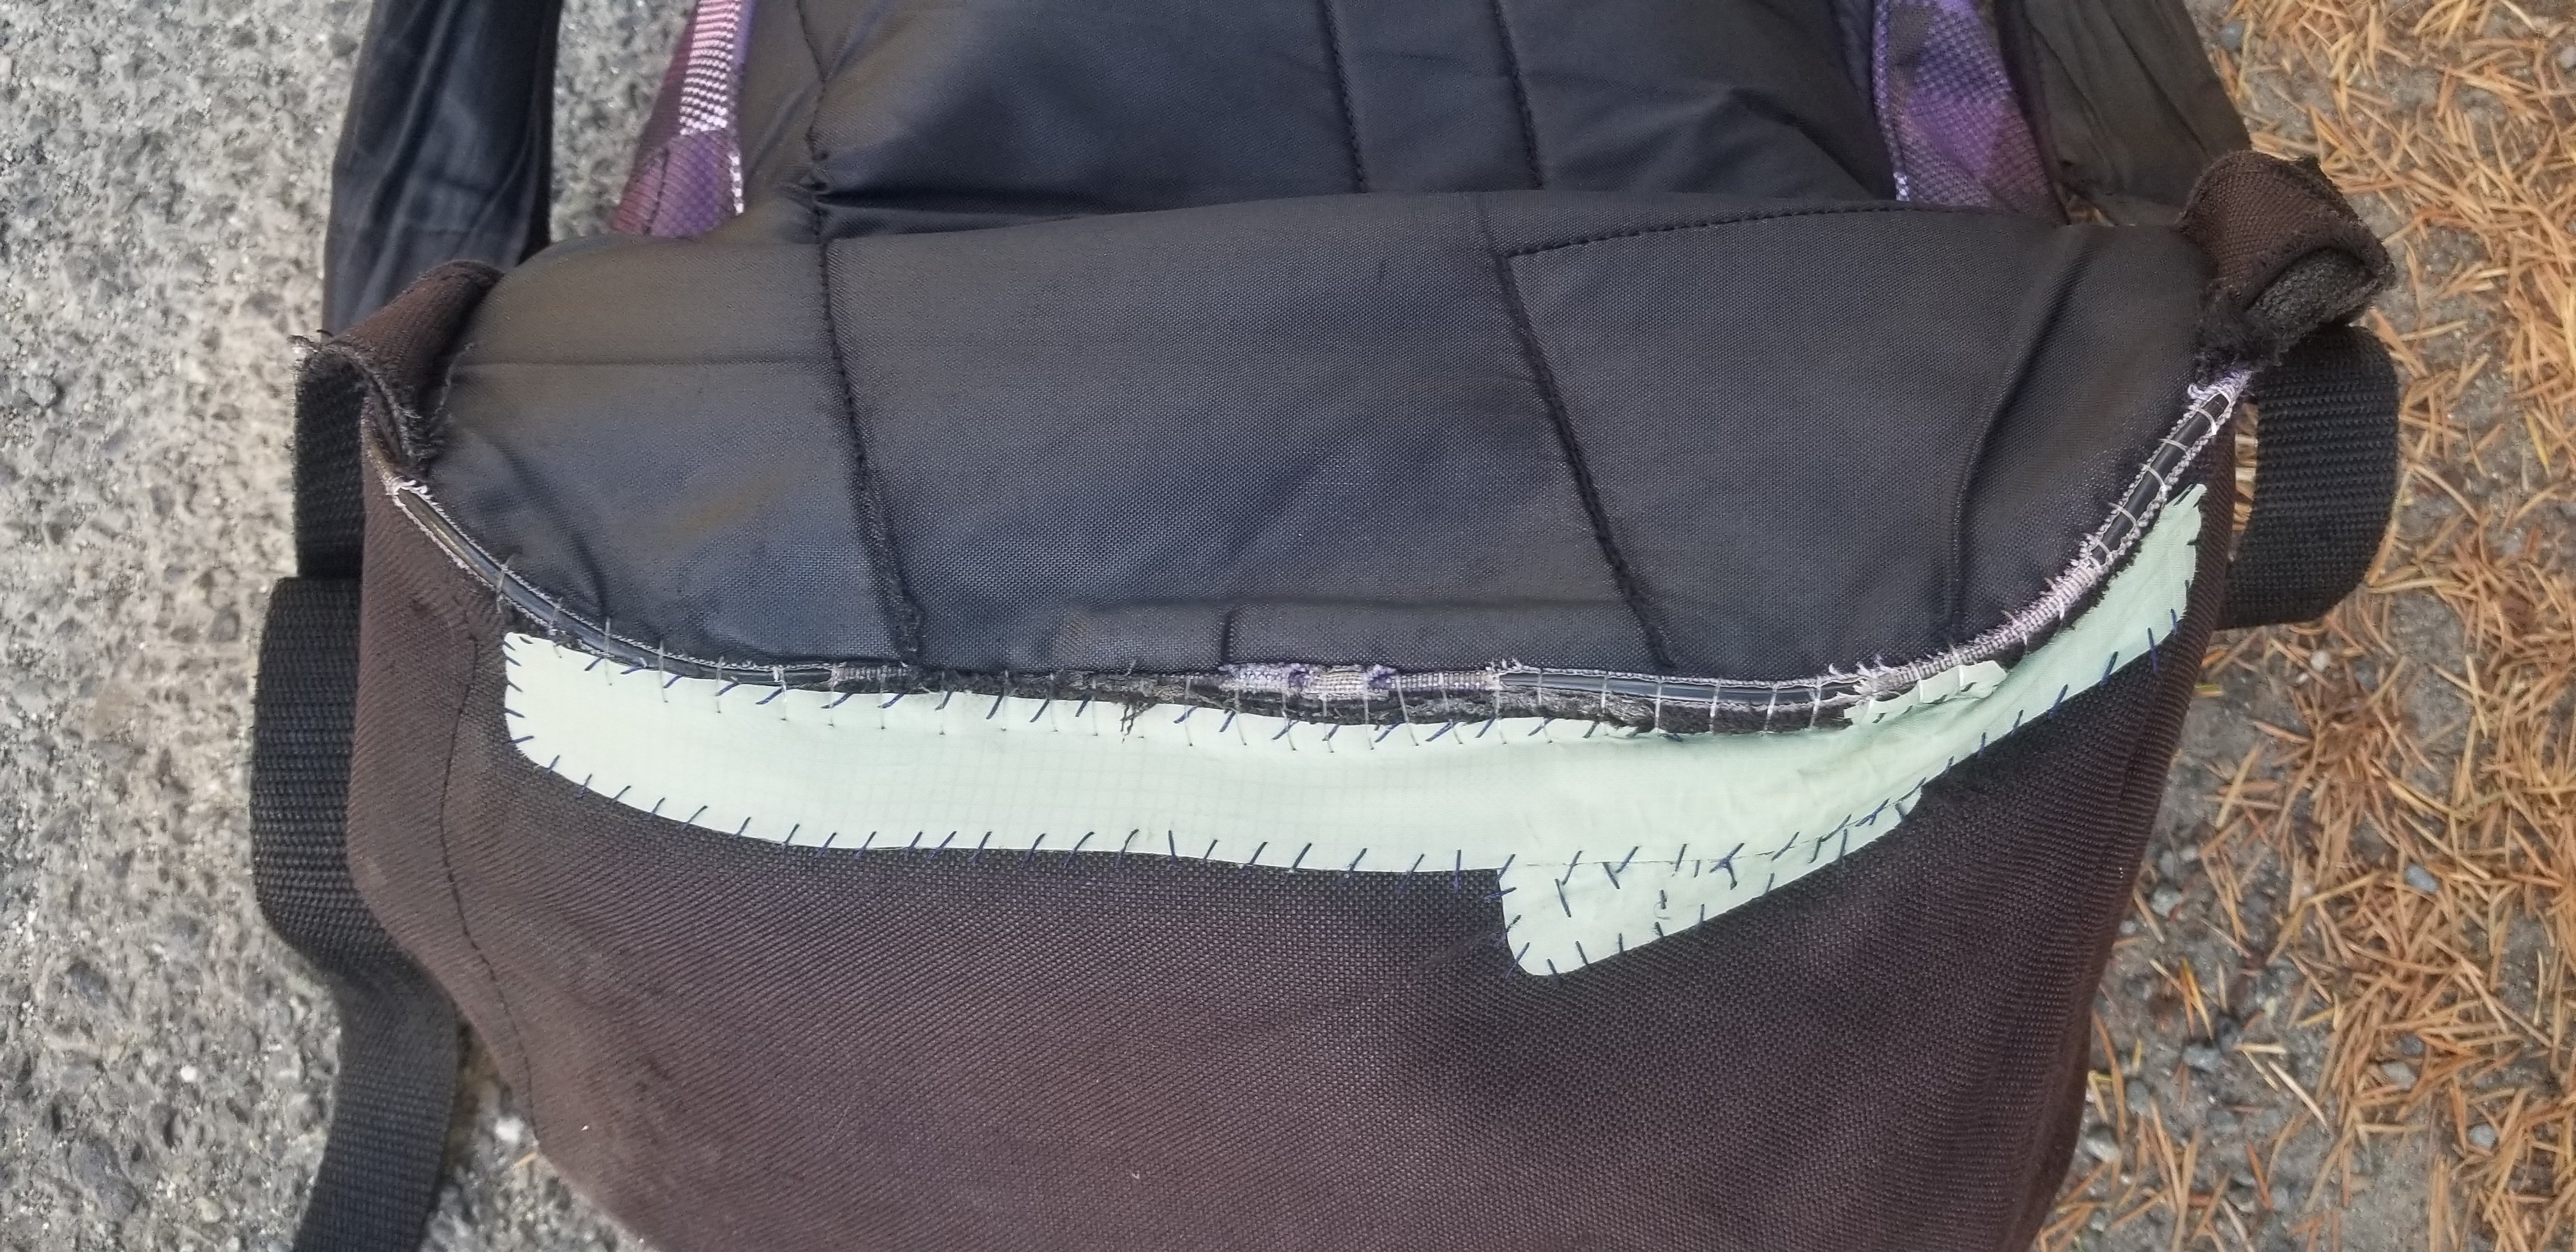
As of this post, I've been using it for a week, and it's held up pretty well. I may add some sealant later to hold things in place.

Now all that's left to do is replace a missing zipper pull and fix some rodent damage to the front compartment... I may post about that at a later time

32


Basically the title. I would love to get at least a basic working knowledge of repairs and alterations, but I have no experience whatsoever. A “questions that don’t deserve their own post” or “starting resources” thing would be very helpful. Thank you!

33


I have this expensive*) suit which is a bit too baggy. I managed to slim down the trousers a bit and now they fit like a glove. But after watching countless videos about altering jackets, I decided to hand it to a tailor. No way I would to touch that.

*) I got it for cheap, second hand in great condition, but still it's one of those brands I could never afford brand new.

34


The small rip was patched with gear repair tape, then sewn over. The larger rip will probably be my next project... any recommendations to make sure it holds?

35


I have made a short video showing how I darn my socks, using a netting stitch rather than straight stitches.

It's the first time I've ever made a video & the stitiching is not the finest or neatest I have ever done, but I hope it shows the process well enough to follow.

36


This looks like a great resource for anyone in USA & Canada

37
38
46
submitted 2 years ago* (last edited 2 years ago) by BrightFadedDog to c/sewingrepairing


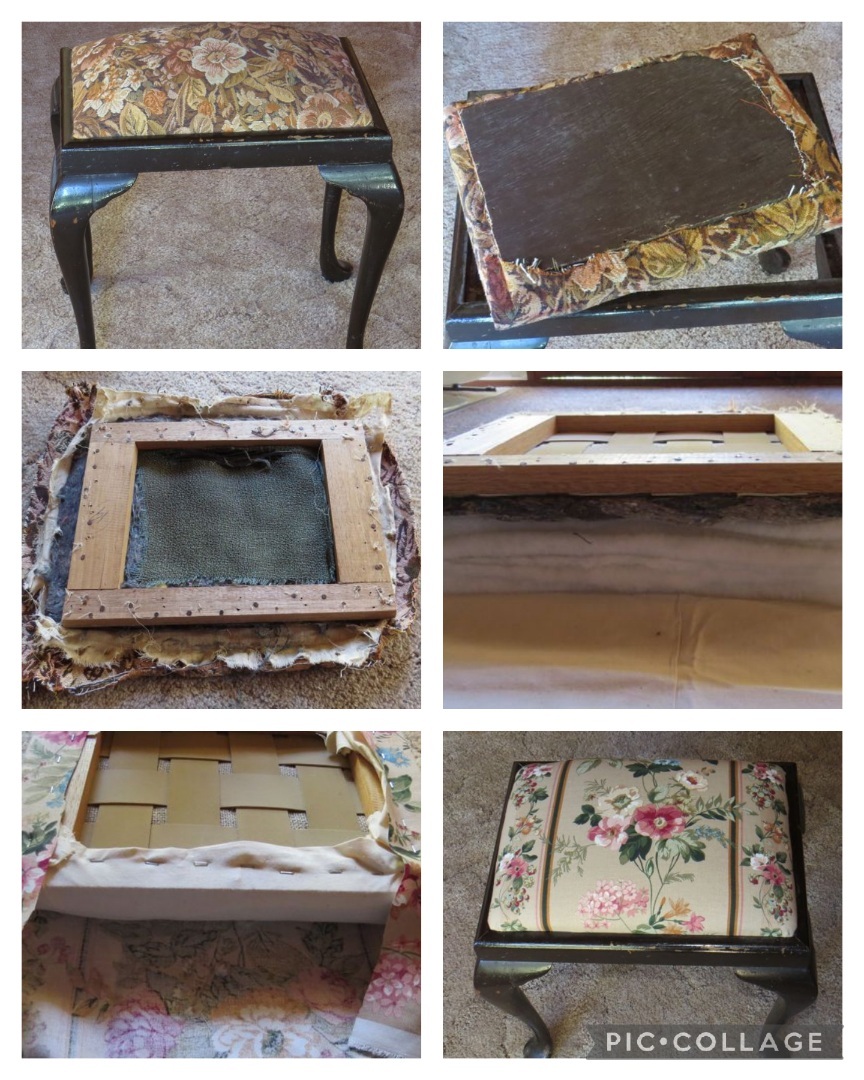
This project is more stapling than sewing, but small upholstery projects are quite easy to do, and can be done with small amounts of fabric and padding. The padding for this project was mostly layers cut from an old quilt.

When you pull apart things like this you often find old repairs and layers of previous fabrics. It can be quite interesting to see the way they have been put together.

39
40
41
 
 
42


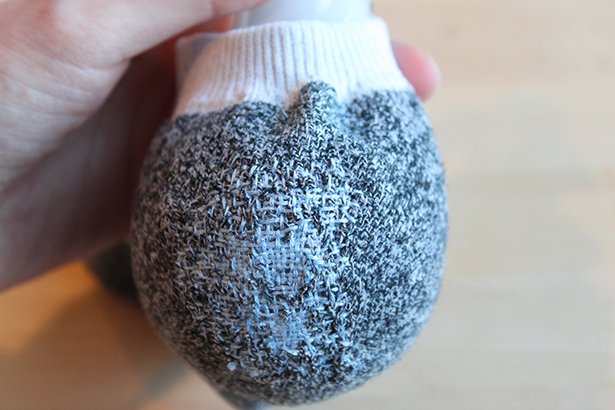
My feet are right at the top of most size ranges, which means I am constantly wearing holes in the toes. I have taken to darning the hole - or often sewing over the thinning patch to reinforce it before a hole wears through.

Whenever I see instructions for how to darn they use straight stiches like shown in this article, but I don't feel that having a solid patch in a stretchy fabric works well, so use a netting style stitch instead so it has more give. (when I get some time I might do some pics/a tutorial to show you).

Does anyone else darn their socks (or any other knitwear) and if so what type of stitch do you use?

43


I'm trying to create a bodice block/sloper. I feel bad going through so much calico but I know it will save time and fabric in the long run.

44
 
 
45


cross-posted from: https://sh.itjust.works/post/55504

There is not really an outdoors/camping community I could find on Lemmy yet, so I thought nature was close! This is a cool site that shows you how you can make your own outdoors gear.

46


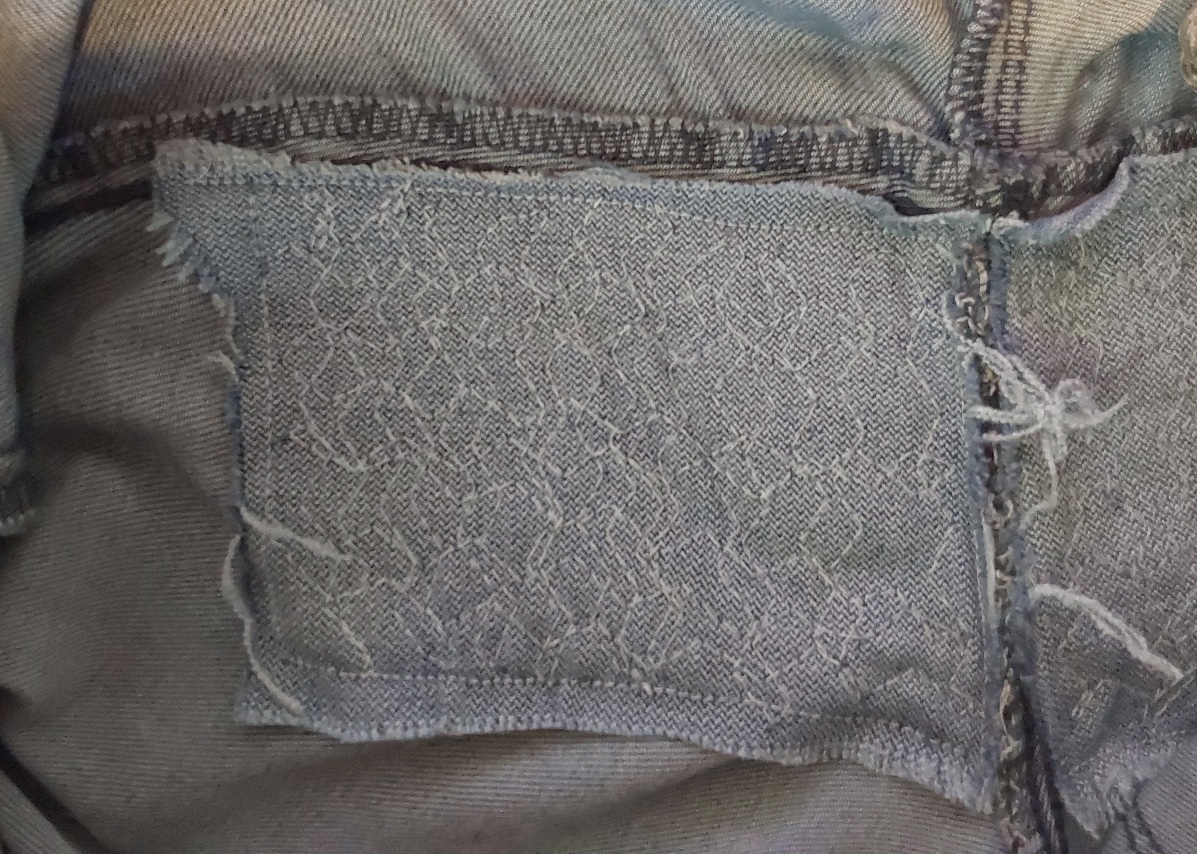
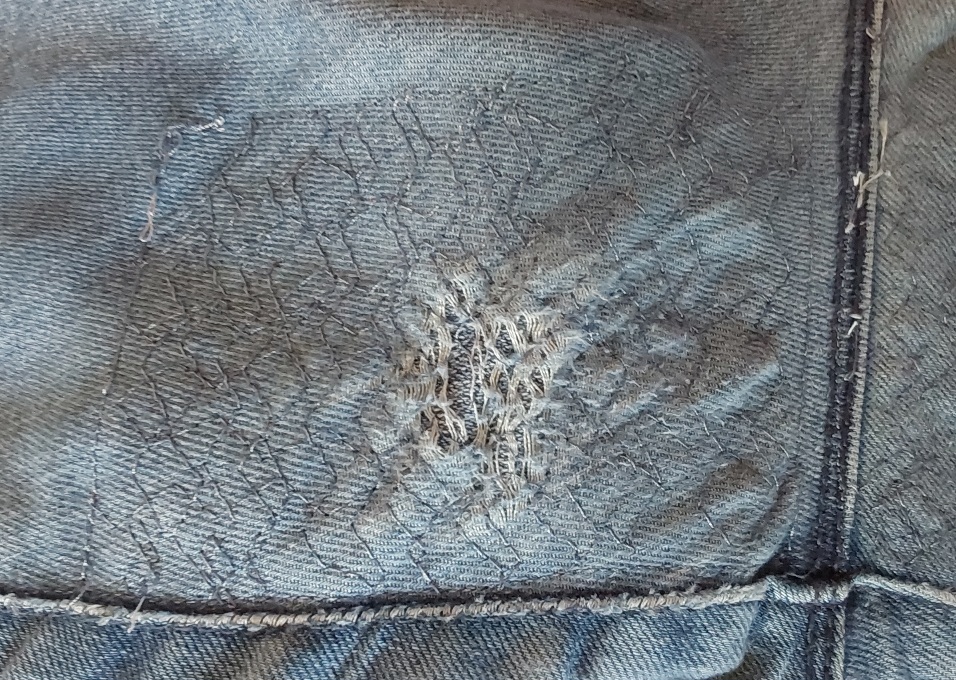
I often find holes wear in my jeans between the legs, so I patch them with fabric on the inside and lots of rows of zig-zag sewing.

It's not a very visible spot so it does not have to be perfect, but it definitely increases the useable life of the jeans considerably.

47


This little bag is one of my recent projects. I was gifting a couple of jars of homemade jam, so used an upholstery sample piece to make a bag.

The construction was quite simple, just sewing into a rectangle and then across the corners to make the shape. The stripes meant I didn't need to do any marking, just cut along the lines!

The straps were folded and sewn with a wide zig-zag stitch down the middle, as it is easier than methods involving turning and/or neatly placed straight stitching.