3DPrinting
3DPrinting is a place where makers of all skill levels and walks of life can learn about and discuss 3D printing and development of 3D printed parts and devices.
The r/functionalprint community is now located at: [email protected] or [email protected]
There are CAD communities available at: [email protected] or [email protected]
Rules
-
No bigotry - including racism, sexism, ableism, homophobia, transphobia, or xenophobia. Code of Conduct.
-
Be respectful, especially when disagreeing. Everyone should feel welcome here.
-
No porn (NSFW prints are acceptable but must be marked NSFW)
-
No Ads / Spamming / Guerrilla Marketing
-
Do not create links to reddit
-
If you see an issue please flag it
-
No guns
-
No injury gore posts
If you need an easy way to host pictures, https://catbox.moe may be an option. Be ethical about what you post and donate if you are able or use this a lot. It is just an individual hosting content, not a company. The image embedding syntax for Lemmy is 
Moderation policy: Light, mostly invisible
view the rest of the comments

Do you have a multimeter? I'm not familiar with your printer, but is it possible to disconnect the heater wires from the motherboard and check the resistance between them?
Yeah, i have ohm'ed the heater. It actually was the same resistance as the one i thought was dead... I don't remember the value (I'm at work right now)
You don't want to read the resistance of the heater. You want to find the voltage being sent to the heat cartridge.
When you're able to, disconnect your heat cart and stick your multimeter probes in the socket (or touch the top of the cable screws), and heat the nozzle. Should read 24v IIRC. Based on your answer to my other comment, my assumption is the number will not change when you turn on the heater, implying board or mosfet failure.
You want to do both
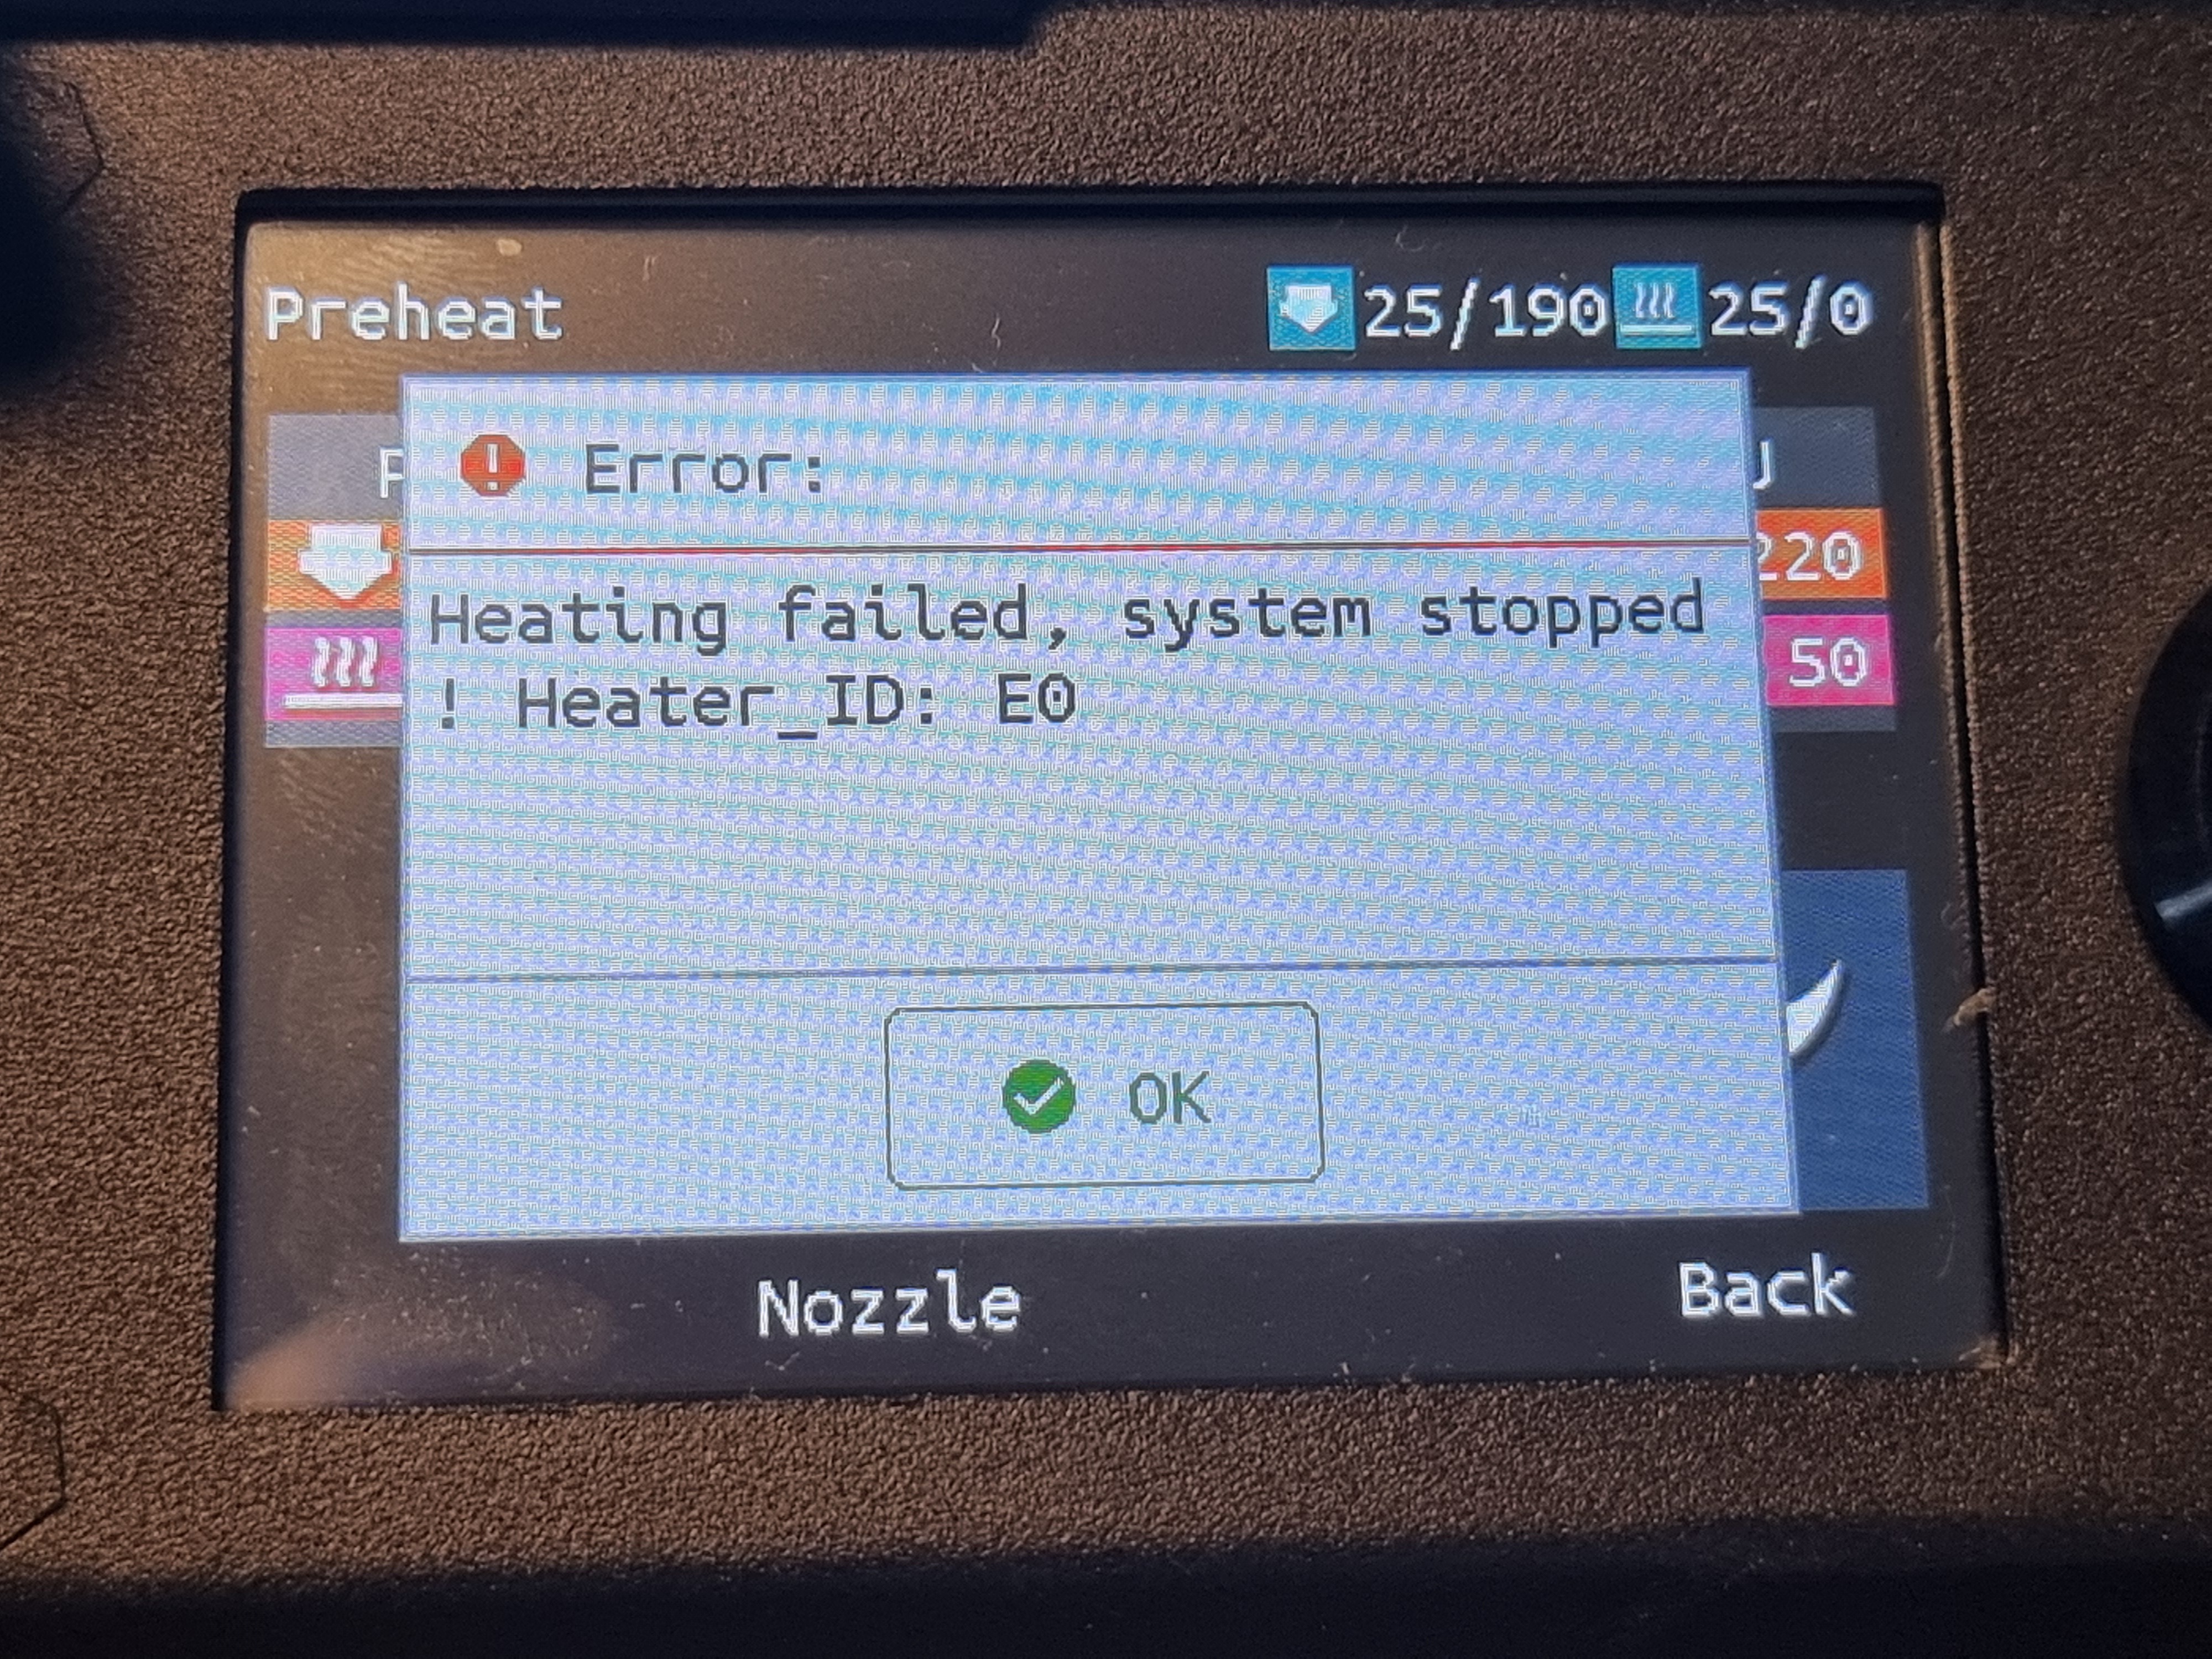
I will measure the voltage when I get back home later today. It probably will show no volts, so which board is defect? The little one in the hotend or the board on the other side of the USB-C cable? How to verify the mosfet?
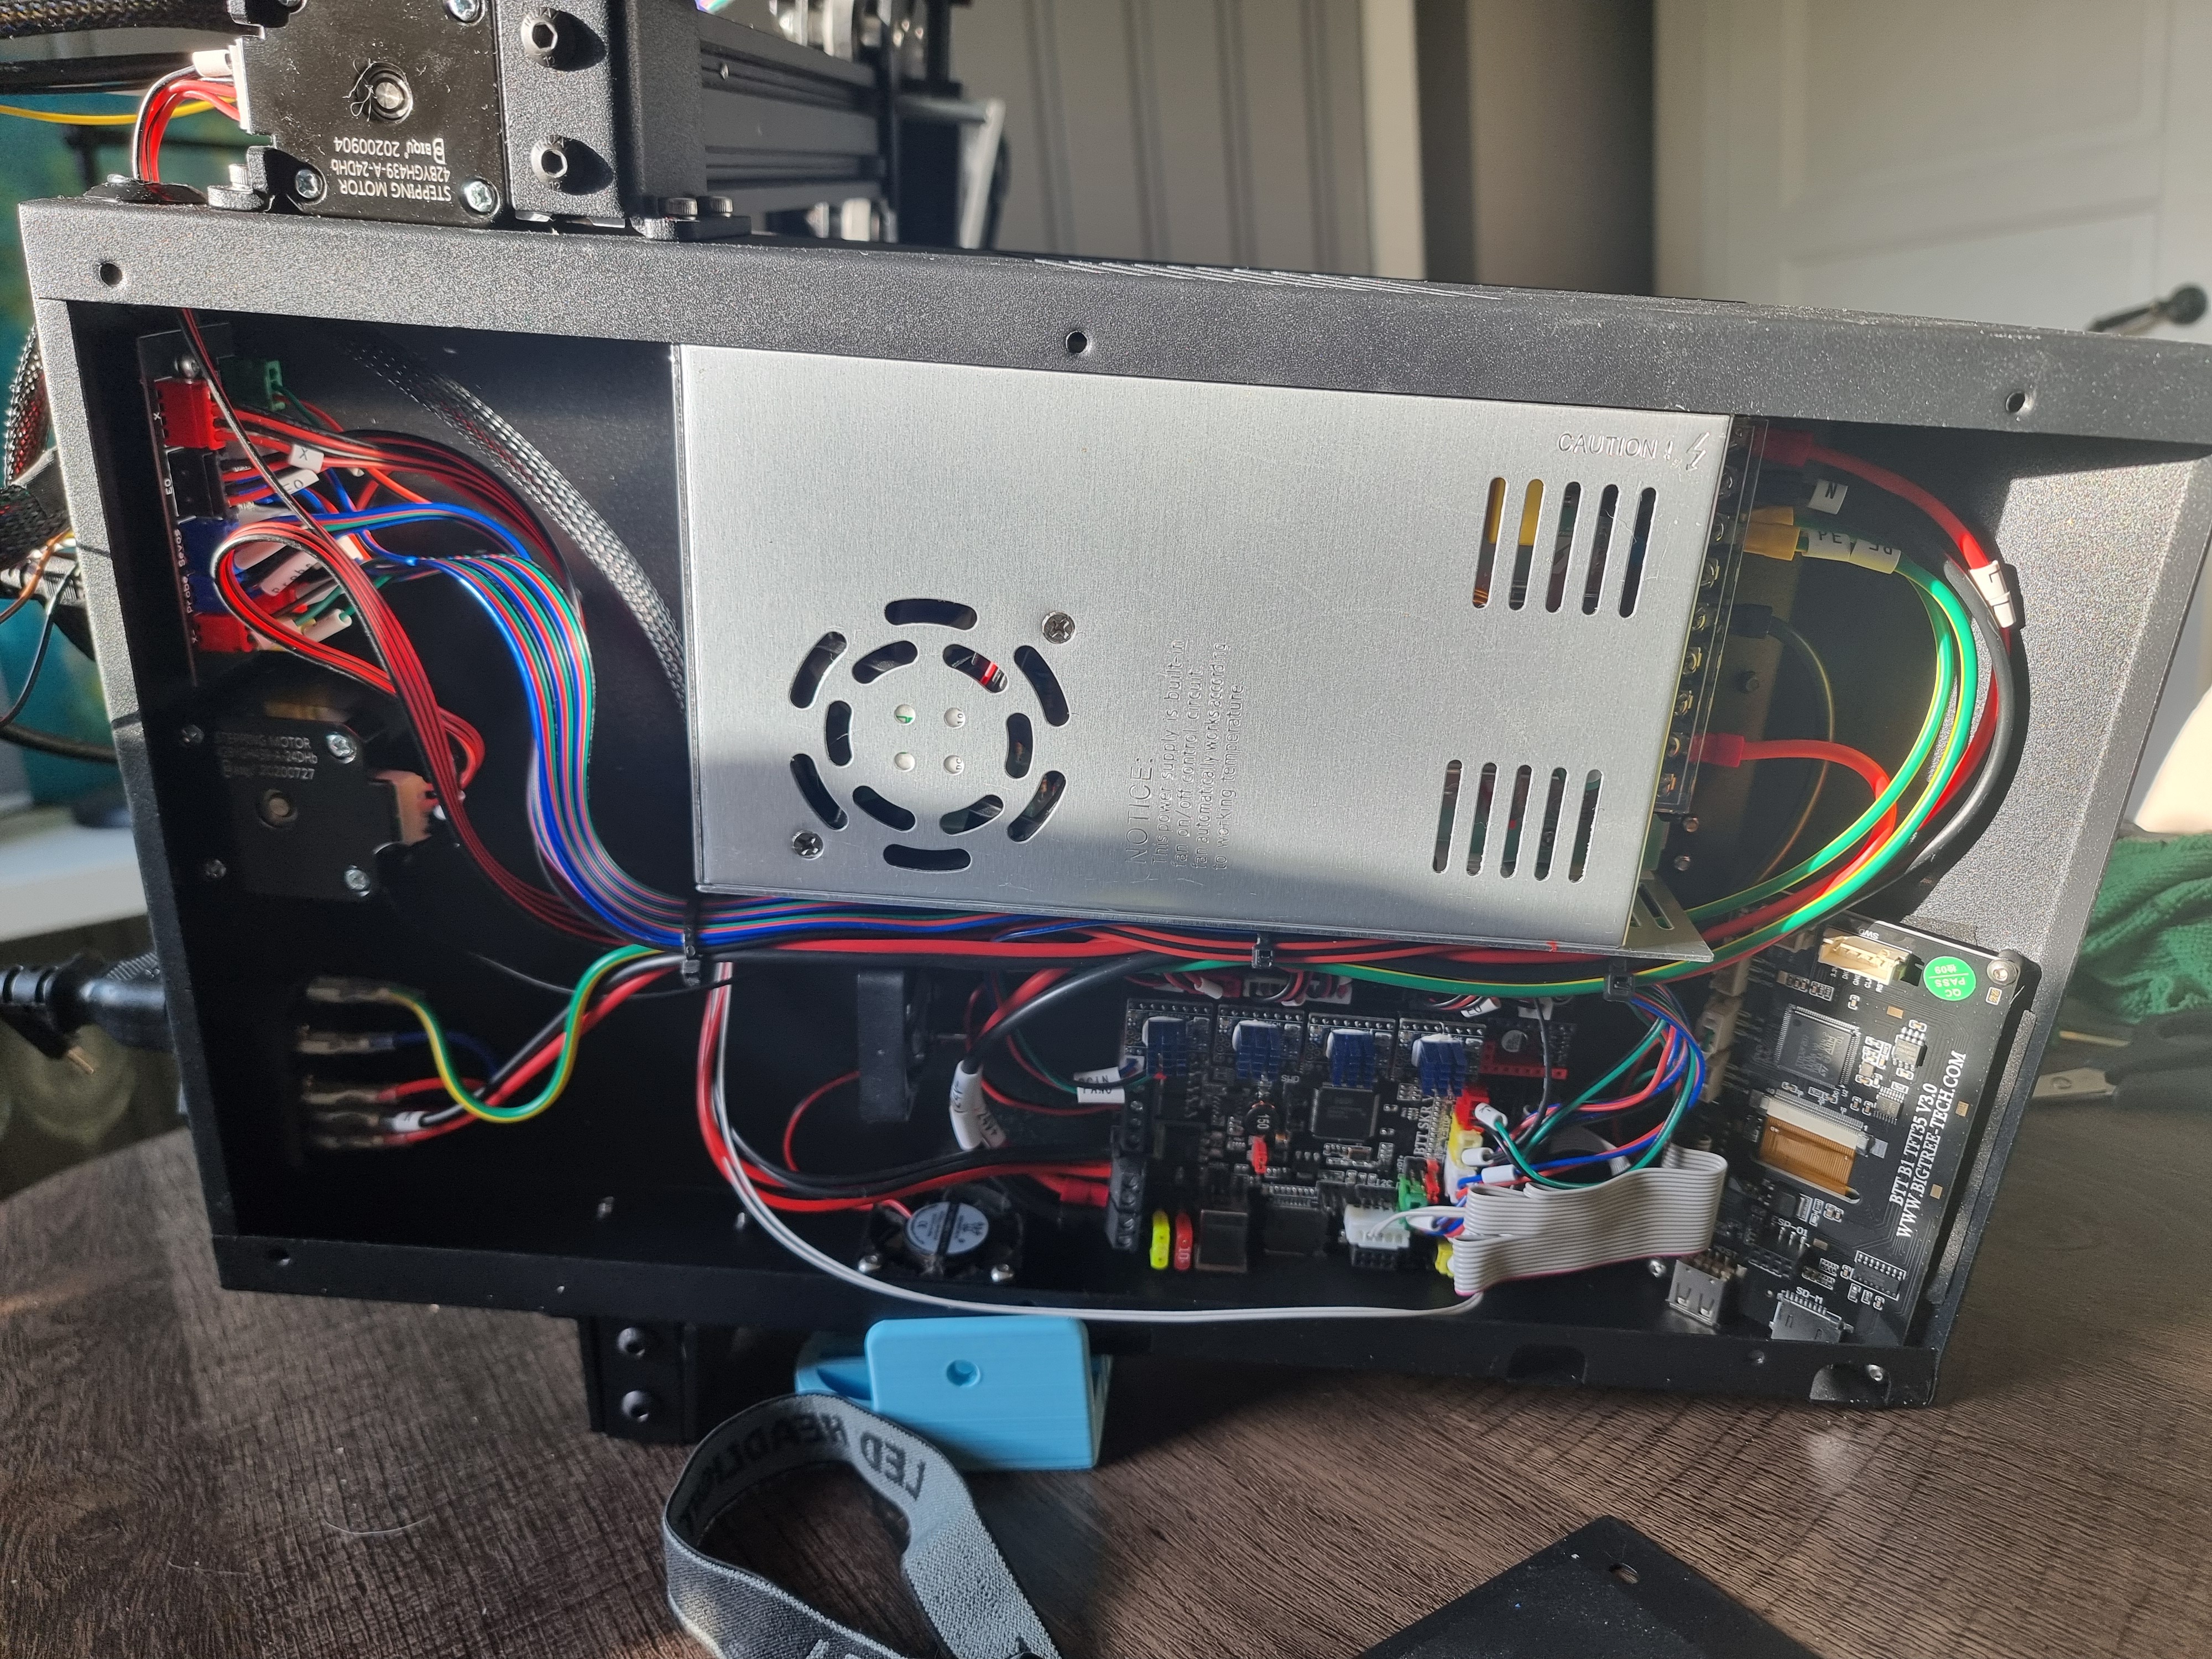
My money is on the main board inside the printer. The "board" on your hotend (if it's like others) doesn't really have any computers or controllers on it, it's more like a fancy cable connector between the main board and those components.
If you test the voltage and get nothing, it's either the main board or the mosfet for the heater. If you test it and it gives you a stable 24v, the problem lies somewhere between the main board and the heat cartridge (cable, connector, the hotend board, cartridge itself).
Can't say for sure without looking up your board and pin out chart but I'm pretty confident you're probing one of these guys
#3 goes up to a board back on the printer. This board has multiple outlets, and one USB-C that goes up to the hotend.
This is the board that has a USB-C on the outside for the hotend
The outside view
So that little board is simply connecting all the cables from the main board into one cable (the USB C cable). If you're getting nothing from the main board, either the board itself or the mosfet for the heater is dying.
Honestly, I don't know how you'd go about testing board vs mosfet, if it were me I'd just replace the board, but somebody else might be able to tell you if there's a better route to take
Yes, that little board connects many of the cables from the main board to one USB-C, the the black and the white connectors. The USB-C is the only one going to the hotend.
Anways, thank you, kind internet stranger, for trying to help me out with this. Looks like I'm gonna have to replace the mainboard.
Our hobby survives on the backbone of kind internet strangers, to deny your call is to deny yourself.
I don't know your printer's configuration, but assuming a pretty standard setup (single extruder, single X and Y steppers, single or dual z) I can recommend the SKR MINI 3.0. It's a gem to handle, documentation and firmware are readily available on their GitHub, and best of all, they're cheap and easy to source (assuming you're in the US).
While you're looking in to changing your main board, may I suggest you take a peek at Klipper? It's phenomenally worth the effort it takes to set up, and you're already going to be doing a big amount of the same legwork if you're getting a different main board than stock.
Yeah, it's a pretty standard setup. The previous owner put a BLTouch on the printer but never got it to work. I've had the printer for about 2 weeks and was about to figure this ABL out, but it misses the ABL option in the menu.
I'm pretty new in the 3D print business and know nothing about flashing, compiling, and all the options you can do. You recommend the SKR MINI 3.0, and i didn't know i could change the mobo to other than the original SKR V1.4. What are the benefits of changing to the SKR MINI? And, no, I'm not in the US. But I'll find it here in Norway..
And Klipper? Not heard of that either, but a fast youtube peek tells me that this too might be interesting..
That's what's great about (most) printers, you can do whatever you want with them 😁
That's because you're using the stock firmware, which was not compiled with the bltouch in mind. If you want to get that working, you'd have to flash a different firmware, at which point I'd highly recommend Klipper, maybe I'm just bad at using Marlin (the other popular 3d printing firmware) but compiling firmware for it was a million times more difficult than getting klipper working
SKR MINI V3 and a Rasperry Pi 4 (for Klipper) is ordered and in the mail..
Shit, what have i done. Haha
You've added another notch to you nerd belt!
That's the exact setup I've got. Let me know if you have any questions or issues getting things set up. Once you have it figured out you'll wonder why anyone uses marlin.. there's just so much available. With marlin, literally everything is baked directly into the firmware, and unless you compiled it yourself or dug through the code you've got no idea what's going on with the printer. Set up a retraction tower? Better hope it was set up right because marlin won't tell you current retract settings. Leveled your bed? Better hope that the numbers stick and the mesh is actually applied to prints.
With Klipper, not only is all of that easily configurable by editing a text file, all of that information is available directly in the GUI. Want your printer to do something else at the start of every print? Just change your start up macro. Realize that you set the wrong retract distance in your slicer? Just change the setting in the GUI. Start a print job with 5 models and one of them starts to fail? Don't cancel the whole print, just the part that's failing.
These are just off the top of my head improvements and there's literally dozens if not hundreds more. What have you done? You've elevated.
I only have questions.
First things first, i probably should get control on the cables and their markings before i take out the old mainboard.
I'll start this adventure as soon as the parts arrive. Parts are still in the mail somewhere..
Thanks for offering to help me out here.
Home, and done some measuring.
Just started the printer: 1,24 VAC
Preheating the nozzle: 0,00 VAC
After error beep: 1,24 VAC
Just started the printer: 1,57 VAC
Preheating the nozzle: 0,00 VAC
After error beep: 1,57 VAC
Old heater: 13,6 Ohm
New heater: 14,6 Ohm
So, no power to the nozzle heater. Now, how to verify the mosfet?